Learn how to create a fancy Medieval Sword & Shield in Photoshop from scratch!
Final Result
 1. Create a new document that’s 550×600 pixels. Go to View > Show > Grid (or ctrl+’).
 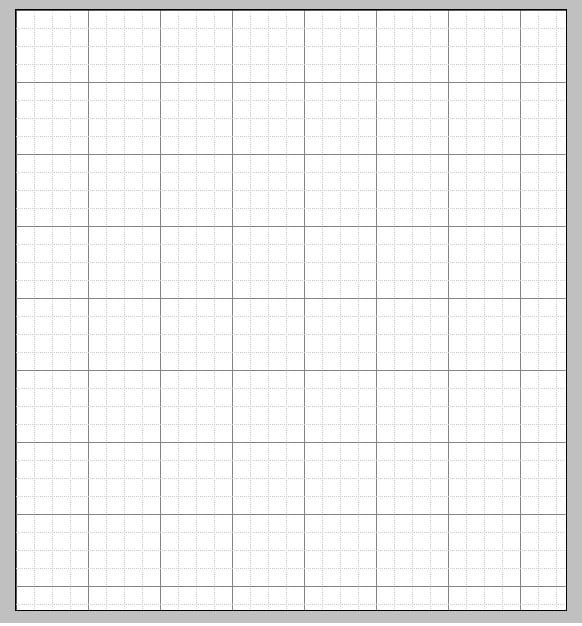 2. Using the pen tool and the  colour black draw 1 half of the shield using the grid as a guide.
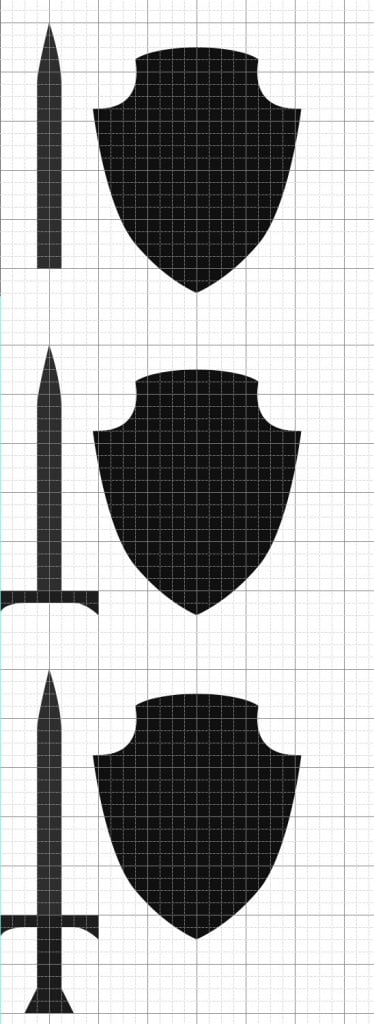
 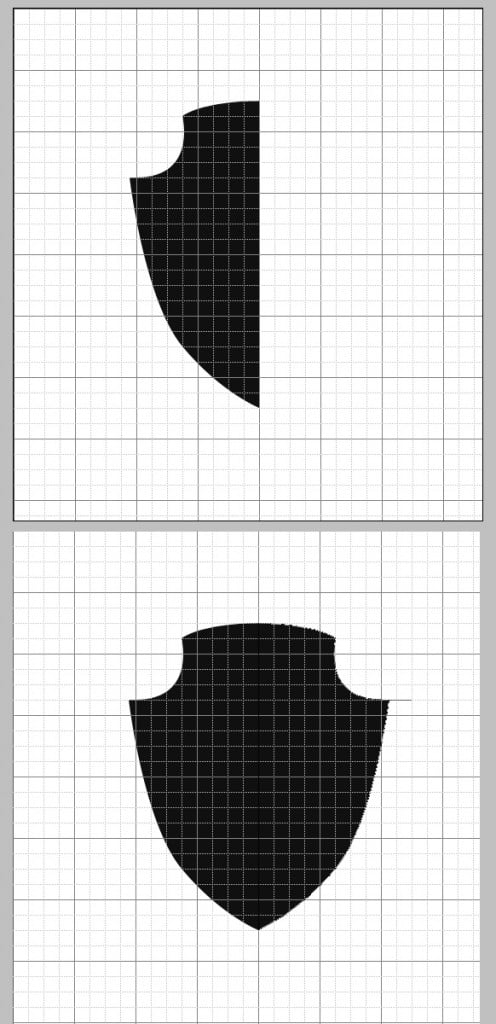 3. Duplicate the 1st half by dragging it to the new layer icon, press ctrl+t to make the shape editable and flip it to the other half of the shield. Holding down shift highlight the 2 layers, right click and Convert to Smart Object. Next draw each part of the sword, don’t turn the sword parts into a 1 object because we’ll be editing each part differently.
Shield
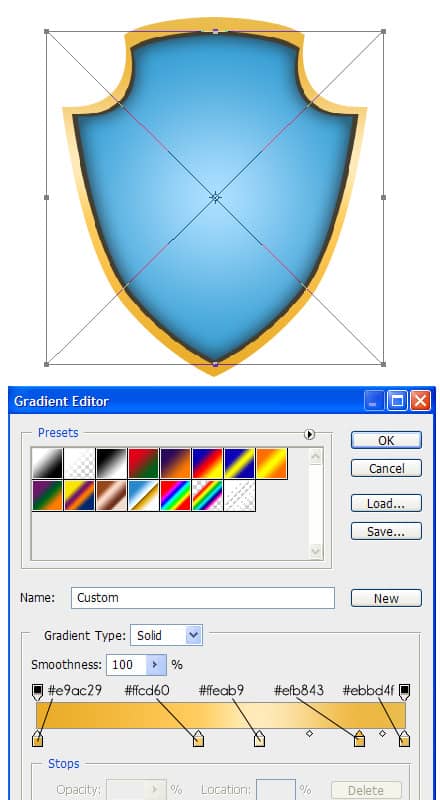
4. Press ctrl+’ to remove the grid. Place the sword parts into a folder and the shield into a folder. Duplicate the shield, right click and go into blending options & put in the settings below in Gradient Overlay & Inner Glow. Press ctrl+t, hold down the shift key and hold down the edges to make it smaller.  5. Duplicate the shield again and put it underneath the blue shield, make it slightly bigger like below. On the back shield go into blending options > gradient overlay and put in a Linear Gradient using the colours below:
  6. Next get this Grunge Thick Paint Stroke Brush Set and draw one of the vertical brushes using the colour below on a new layer. Press ctrl+t and rotate the brush like below. Go to the blue shield layer, press ctrl + click on the image box on the layer to highlight the shape. Go back to the brush layer, press ctrl+x & paste it back on top of the shield.
  7. Do the same process to make the opposite side stripe. Make the opposite side #8437b7 in colour.
  8. Using the pen tool go to the edges of the shield and using the colour white draw on the edges. Set the layer blending mode to multiply to make it invisible. Go into blending options > gradient overlay and put in the settings below:
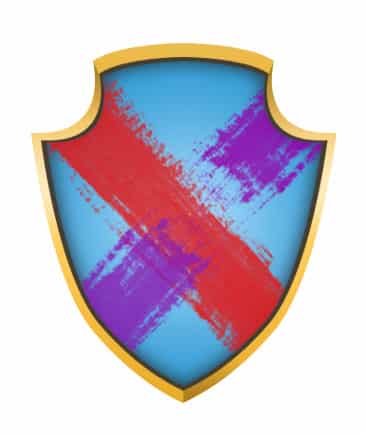
 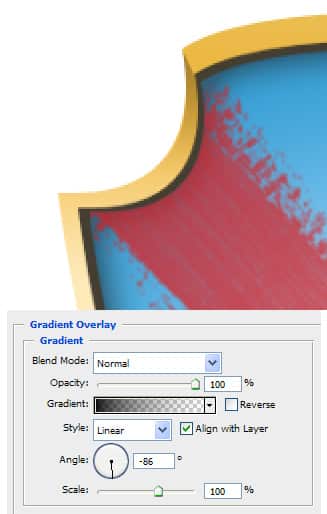 9. Once you’ve done the shading. Get a soft edged  brush with a 19% opacity, create a new layer and put on the highlights.
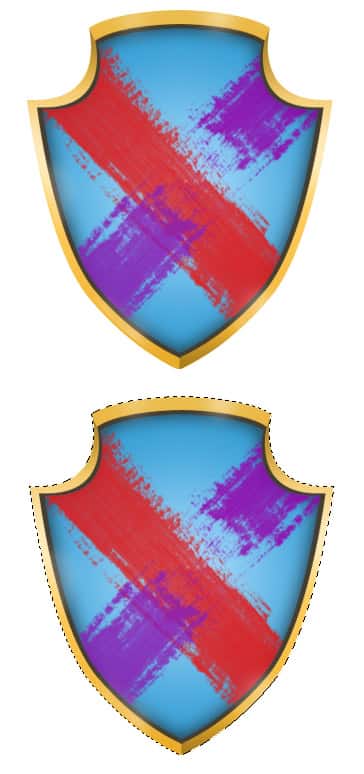
  10. After the highlights go to the back shield, press ctrl + click on the image box to highlight the shape. Go back to the highlights layer and press ctrl+x and paste it back on the canvas. This is so the highlights don’t shine out of the shield.
Sword
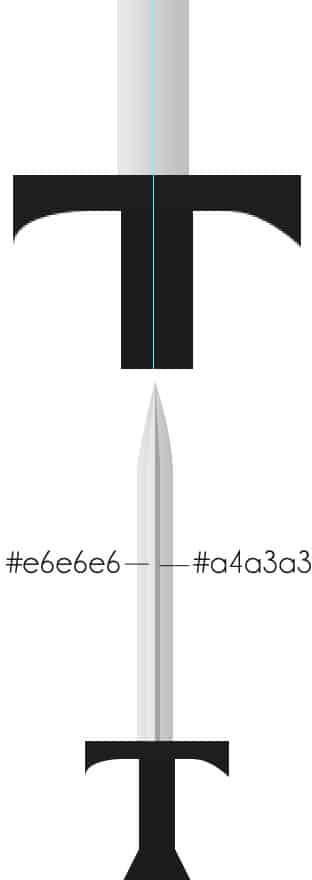
11. Now go into the sword folder, right click & go into blending options on the on the blade and put in the following Gradient Overlay: 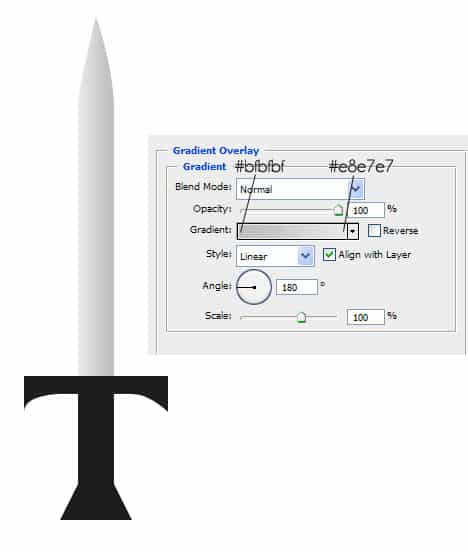 12. Press ctrl+r to bring up the rulers on the canvas, click on the left rulers to drag out a line, put this line in the centre of the sword, get the pen tool and draw 2 shapes in the middle of the sword using the colours below:
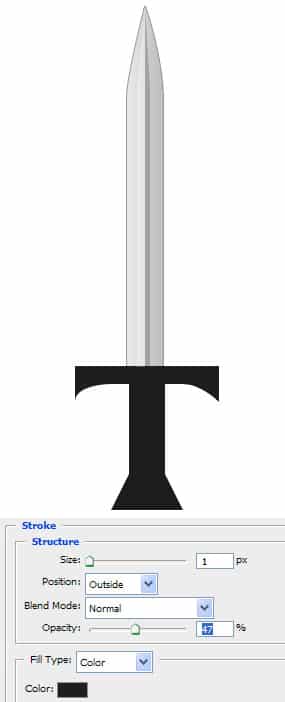
  13. Go into Blending Options on the blade and put a stroke using the settings below:
  14. Using the line tool, hold down shift and draw 3 straight lines with the colours below:
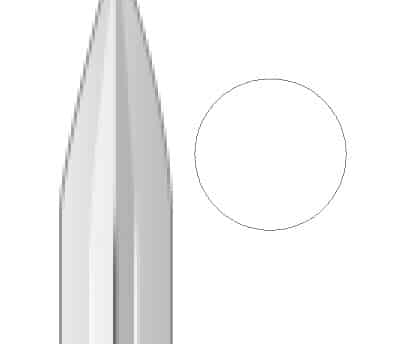
 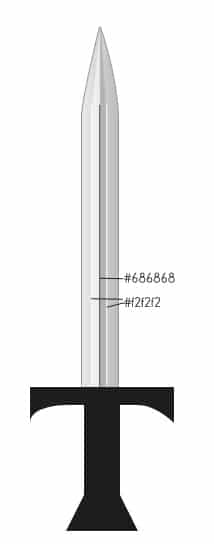 15. Highlight all the lines, right click and Convert to Smart Object then Rasterize Layer. Get a soft edged eraser at 37% and erase the top part of the lines.
  16. Get the pen tool and draw a shape like below, right click into Blending Options > Gradient Overlay and put in the gradient below. Duplicate the shape by dragging it to the new layer icon. Press ctrl+t and drag the shape to the opposite side.
 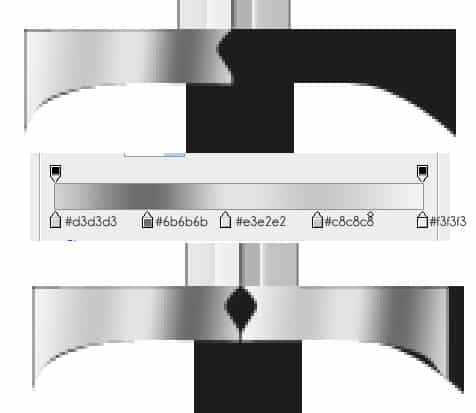 17. Remove the original black section. Get the pen tool and draw the shape below using a Gradient Overlay. Do this for both sides.
 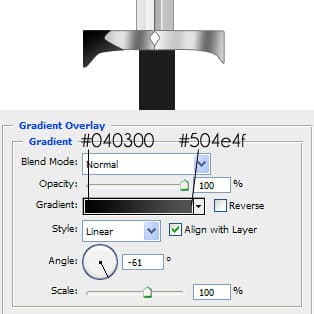 18. With the pen tool draw and little shape in the middle of the space. Go into Blending Options > Gradient Overlay and put in this green gradient:
  19. Get the Rounded Rectangle tool and draw a shape like below and put in a Gradient Overlay with the colours below:
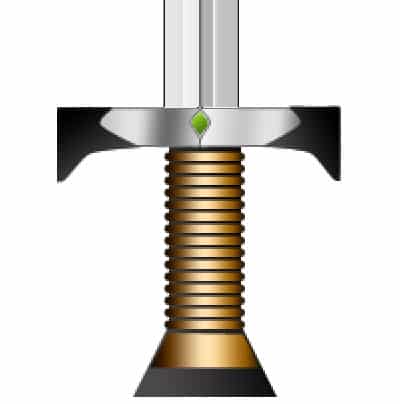
 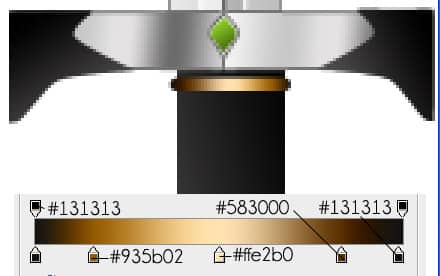 20. Duplicate the shape to go on the handle. Using the pen tool draw the bottom part with the same gradient overlay.
  21. Get the pen tool and draw a shape on the blade like below using white, set the blending mode to multiply to make it transparent. Go into Gradient Overlay and put in the following setting:
 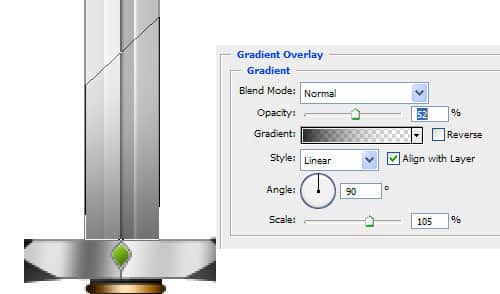 22. Remove the original black handle of the sword. Get the pen tool and draw one side of the handle like below using the Gradient overlay settings:
  23. Duplicate the handle, press ctrl+t to flip it over to the other side, change the gradient overlay to the settings below.
 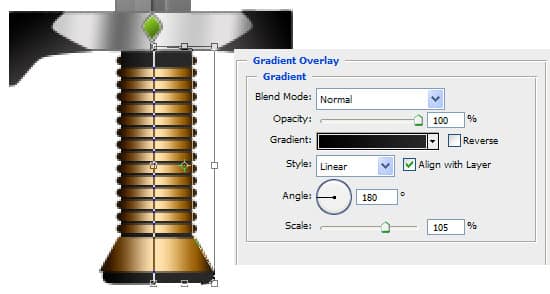 24. Now duplicate the sword folder, on the duplicated folder right click and Convert to Smart Object & duplicate the layer. Remove the original sword folder from view. Go to each sword, press ctrl+t and rotate each sword.
 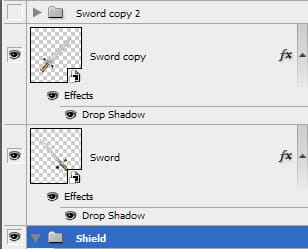 25. On the sword layers, right-click go into Blending Options > Drop Down Shadow and put in the settings below:
 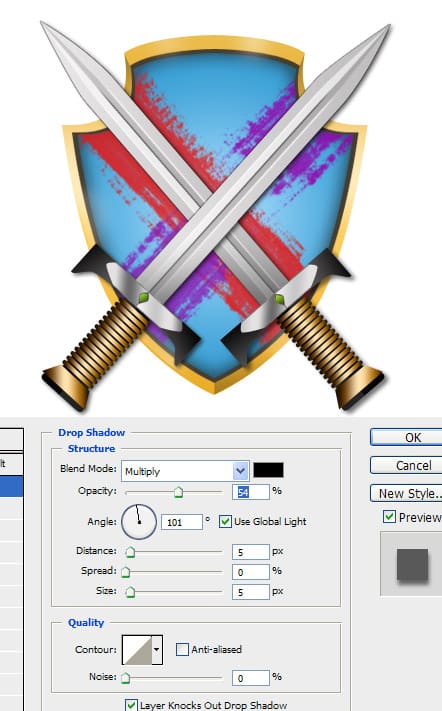 26. Go to the background and go into Blending options and put a Linear Gradient using the colours: #000000 & #404040. Next go to the bottom shield shape, go into Blending Options  and put in the settings for Drop Shadow & Outer Glow.
 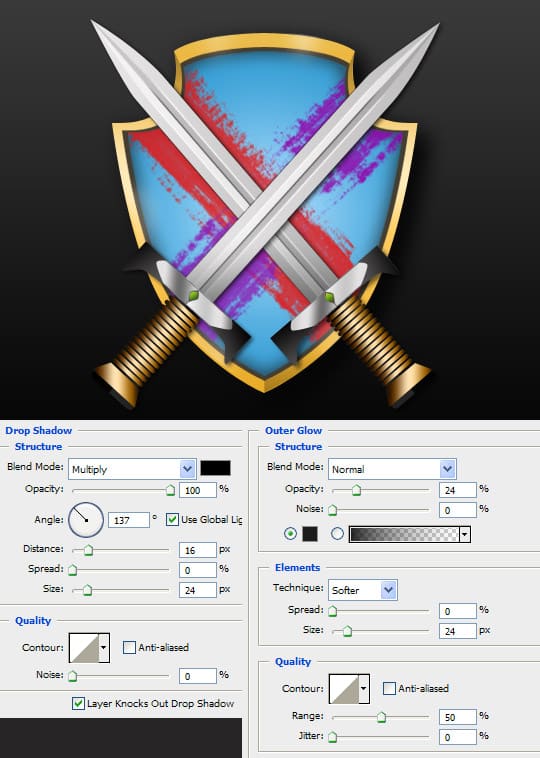 27. Next go intp Custom Shapes and choose this shape:
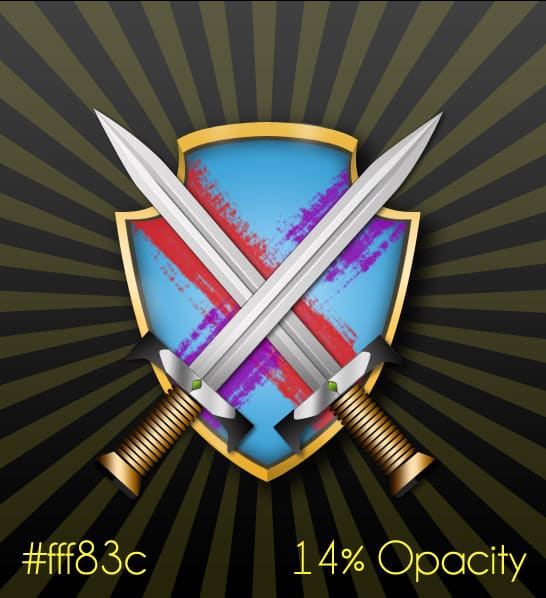
 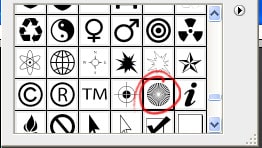 28. Choose the colour I have below. Draw the shape holding shift so the shape perfect. Press ctrl+t and enlarge the shape while holding down shift. Make the opacity 14% on the shape.
  29. Grab some splatters and drips from here. Create a new layer and put on some splatters & drips on the background using the colour black.
