In this tutorial, we’ll learn how to create Custom Photoshop Brush Sets from scratch!
Option 1
Get some white paper and create what you want to be a brush (eg. paint strokes, sketches) & scan in the idea.
Option 2
You can scan in a texture if it’s small enough to go on the scanner (eg. wood, metal), make sure it won’t damage the scanner in anyway first.
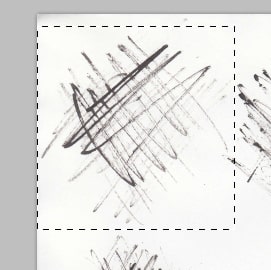
1. After you’ve scanned it in, open it up in Photoshop, using the Rectangular Marquee Tool, select around want you want. Copy and paste it into a new document.
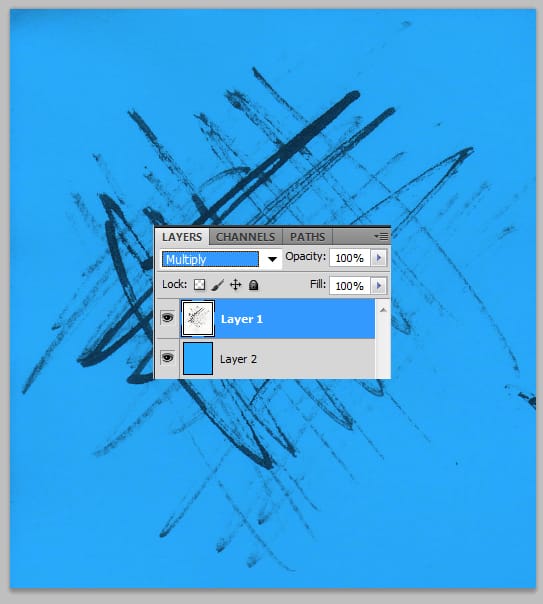
2. Set the Blending Mode for the Brush image to Multiply so the white background (if you have any) is invisible. Create a new layer underneath the brush and fill it a light color to help with editing the brush.
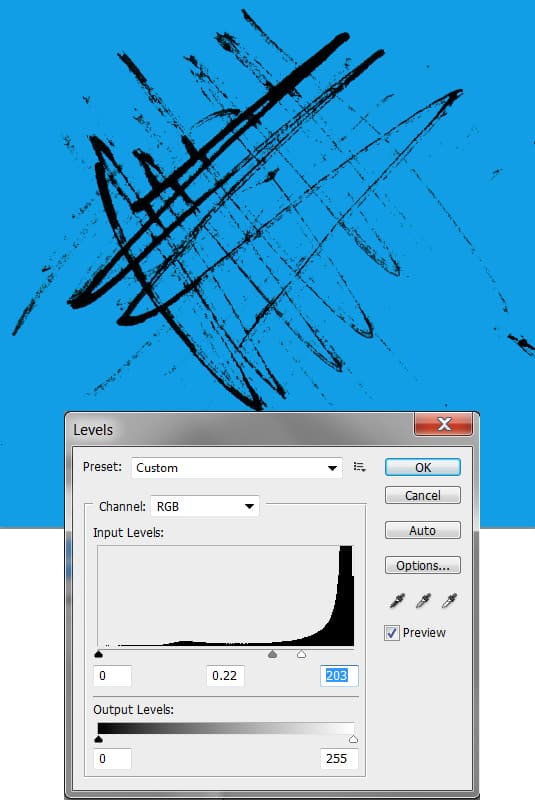
3.  On the brush layer go to Image > Adjustments > Levels and adjust it so the background is completely  clear and only the main brush is seen.
4. Now remove the coloured background layer from view, go to Edit > Define Brush Preset and create the new brush.
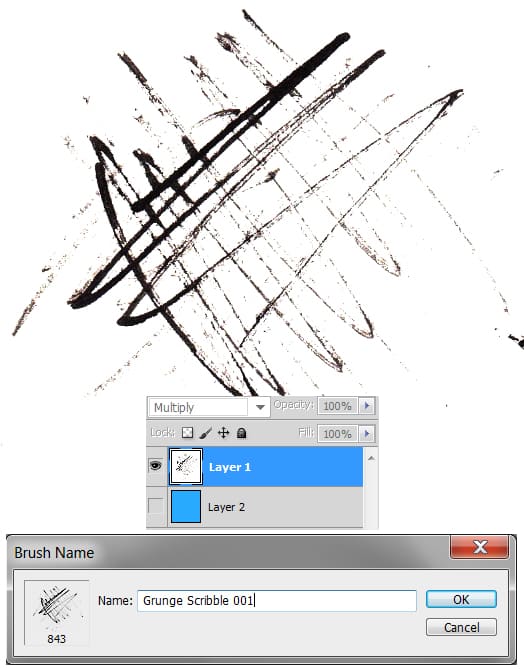
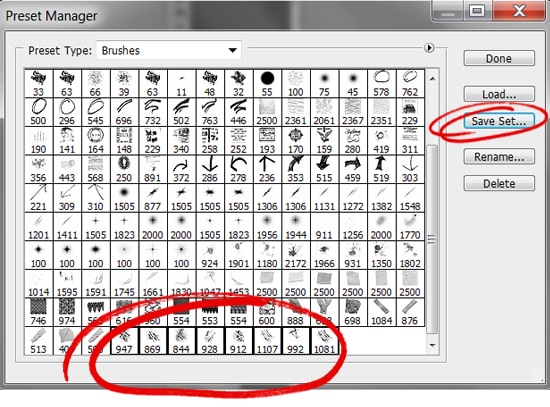
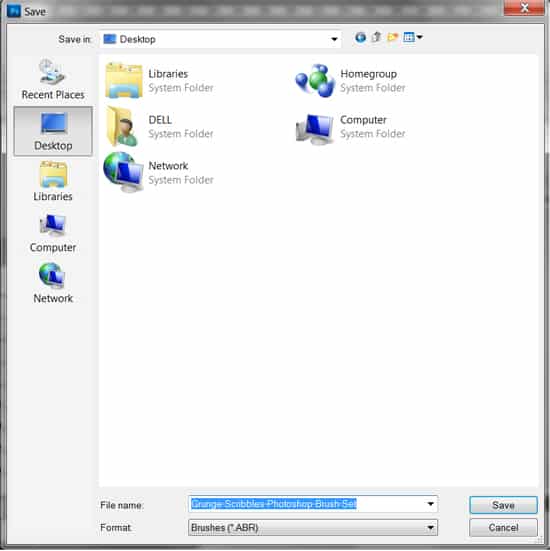
5. After you’ve create you brushes, to turn it into a set go to Edit > Preset Manager. Hold down the shift key, select the first and last brush to select them all then click Save Set & save the Brush Set.
Final Result
