Learn how to create your own Custom Shape in Adobe Photoshop with this easy step by step tutorial!
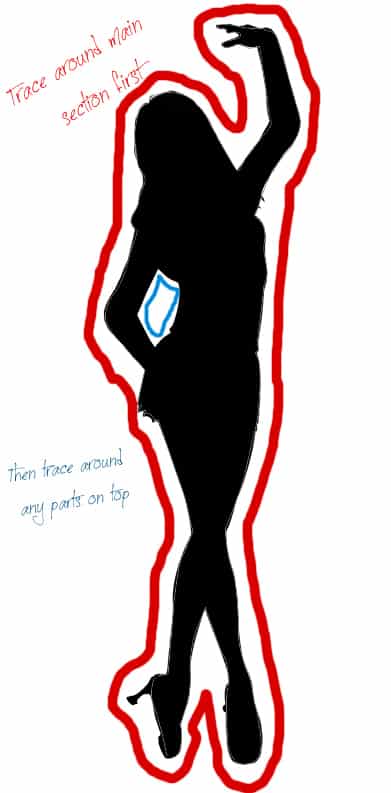
1. Select the image you want to turn into a Shape, I’ll be using a silhouette of a dancer but you can use an image of a person, animal, object, anything you want!
2. Click on the Pen Tool and select the Paths Option.
3. Now trace around the main body of the shape. Then trace around any remaining sections inside the shape.
4. Turn off the Eye Icon of the image you’ve traced and create a new layer by clicking the New Layer Icon. Make the Foreground Colour black. Go into the Paths windows and you’ll see the shape you’ve traced with the Pen Tool. Click on the Paths Layer. Next click on the ‘Fill Path with Foreground Color’ icon
5. Now go back to the Layers Window and the shape you traced will now be black. Click on the new layer with the shape and go into Edit > Define Custom Shape and create the new shape.
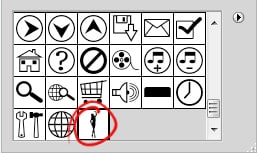
6. Select the Custom Shape Tool and go into the Shape Panel. You’ll now have your new Shape!
7. Select your new shape and draw it while holding down the shift key (to keep the shape perfect). You can double click on shape layer to go into Blending Options and start experimenting!


