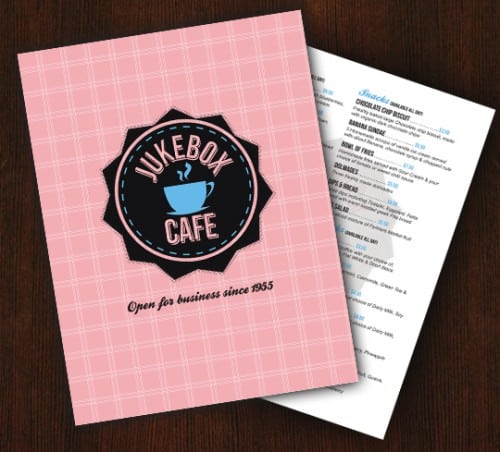
Learn how to create a print ready Cafe Menu, along with a Vector Badge/Emblem Logo in Illustrator & Photoshop!
Final Result

Illustrator
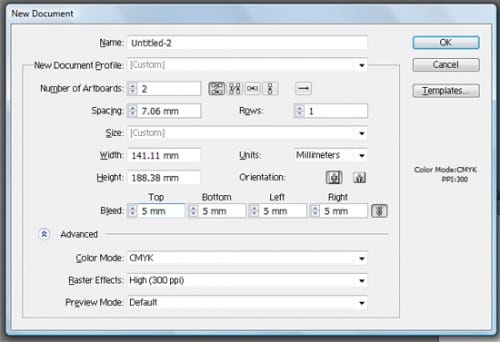
1. Open up Illustrator and create a new document. Put in the settings below. Since this is a Print Ready Cafe Menu we need to put in the correct print settings. We have put in 2 artboards for the front & back of the menu, we have set the dimensions of the menu to a size that the client is after along with a 5 mm bleed. Make sure your color mode is set to CMYK for printing & raster effects is set to 300ppi, for high quality.
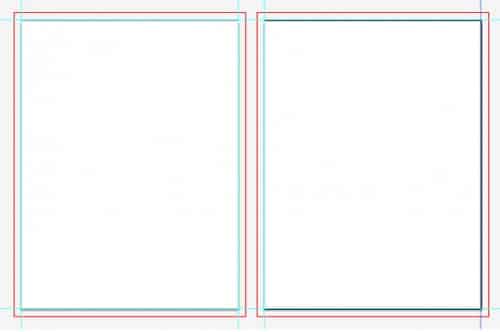
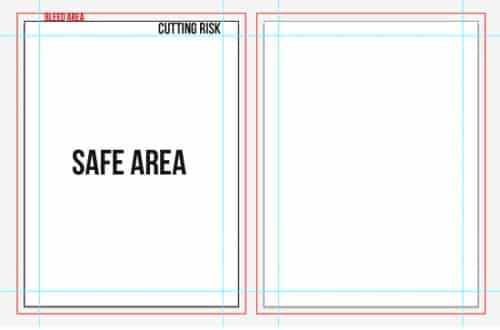
2. Now press ctrl+r to bring up the rulers round the canvas & drag out guides to the black outlines of the canvas.
3. Now hold down the shift key and click on the 2 right guide lines and the bottom guide line & hit enter to bring up the Move window. Put in 10 mm. If the guides are locked right click and uncheck the Lock Guides options.
Next select the 2 left guide lines top guide line & hit enter, put in -10mm.
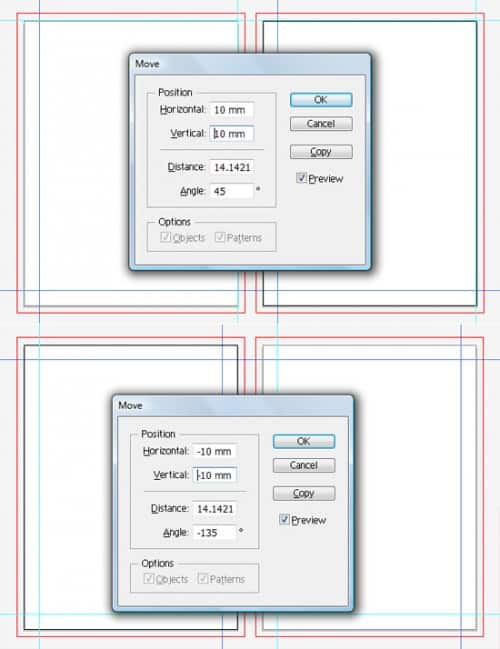
4. The red line indicates the Bleed Area &Â the blue lines we just created shows cutting risk area. All the important text & images on the design should stay within the Safe Area.
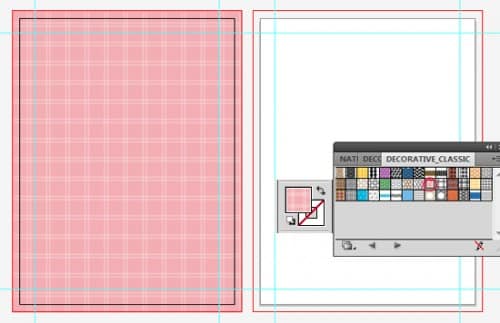
5. Get the rectangle tool and draw from the bleed lines to make a background. Have the background selected and set the stroke to none & click on the fill color box to bring it forward. Go into Windows > Swatch Libraries > Patterns > Decorative > Decorative_Classic & pick your choice of pattern. I’m using Illustrator CS4 so I’m guessing patterns may vary for a different version of Illustrator.
Lock the background layer and create a new layer for the cafe logo.
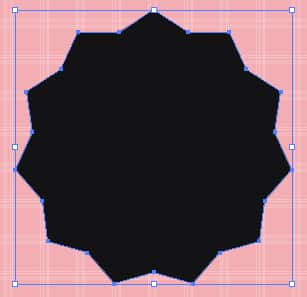
6. Next grab the star tool, hold down shift and draw a star. Before releasing the mouse use the alt key for adjusting the depth of the spikes & the arrow keys for increasing/descreasing the number of spikes.
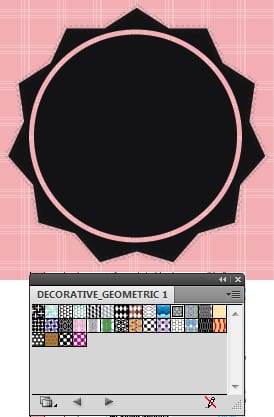
7. Go to Windows > Swatch Libraries > Patterns > Decorative_Geometric 1. Click on the star shape and set the stroke to Diamond Rhombic pattern. Get the Ellipse Tool, hold down shift and draw a shape for the centre of the star. Set the fill colour to none & the stroke to the same pattern as the backgroud.
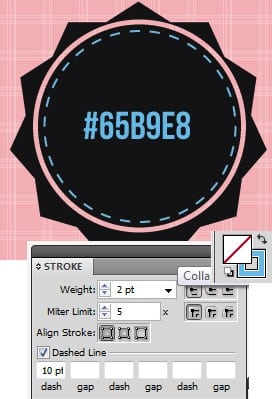
8. Click on the last circle you created, hold down the alt key & drag out circle out to duplicate. Click the duplicated shape with the selection tool to make the shape transformable, hold down the shift key & drag down on the corners only slightly to make the shape slightly smaller then the previous circle. Set the stroke colour to below & put in the stroke options in the stroke window I have below to make it a dashed line.
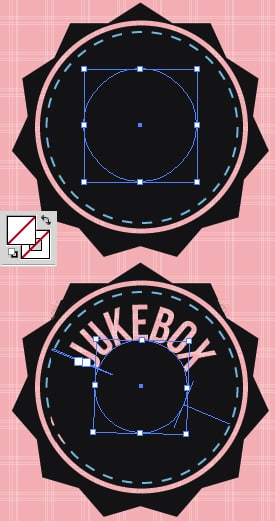
9. With the ellipse tool, hold down the shift key and draw a smaller circle and place it in the centre of the badge. Set the fill & stroke colour to none. Click down on the text icon in the tool bar to bring up the list of options & select Type on Path, using the font Bebas Neue click on the outside of the transparent circle and write the cafe name. You may need to rotate the text by rotating it with the selection tool to be in the right spot. Set the fill colour to the font the same pattern as the background.
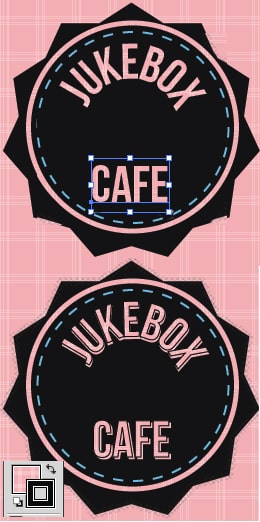
10. Using the normal Type Tool write out Cafe. Now select the Jukebox text, hold down the alt key and drag out slightly to duplicate, set the stroke to 1px black on the top text. Do this to the bottom text be create a nice 3d effect.
11. Next using the colour #66B8E7 draw a coffee cup using the part tool, I have drawn a basic cup in parts so it’s easier.
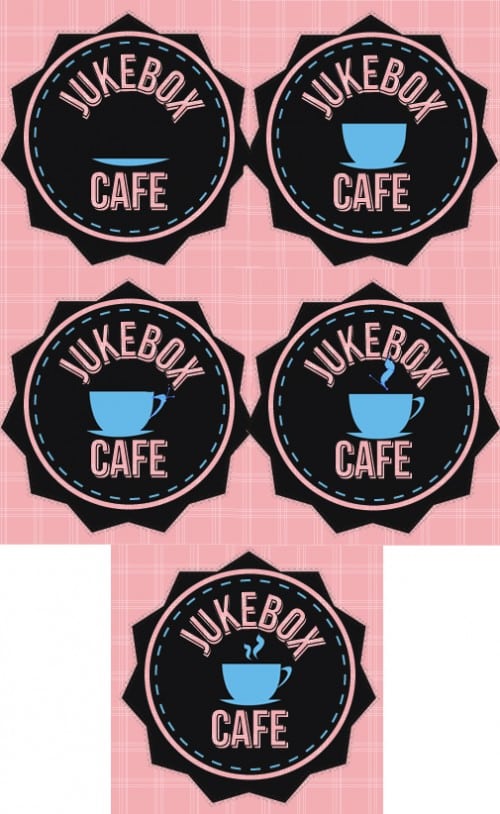
12. Using the font Ballpark Weiner write out the cafe’s slogan.
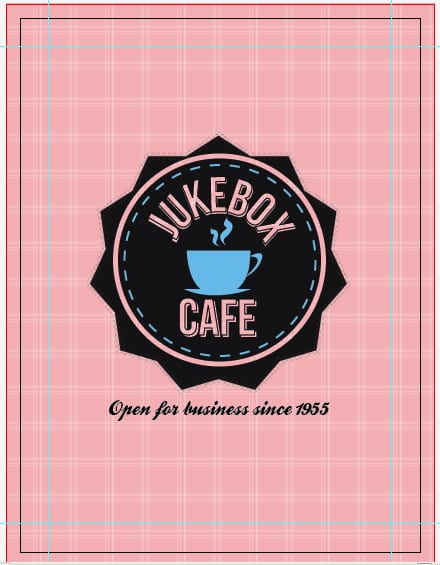
13. With the front of the menu complete, scroll across to the second canvas. Get the rectangle tool & draw the white background from the bleeds area. Lock the background layer and create a new layer for the menu contents.
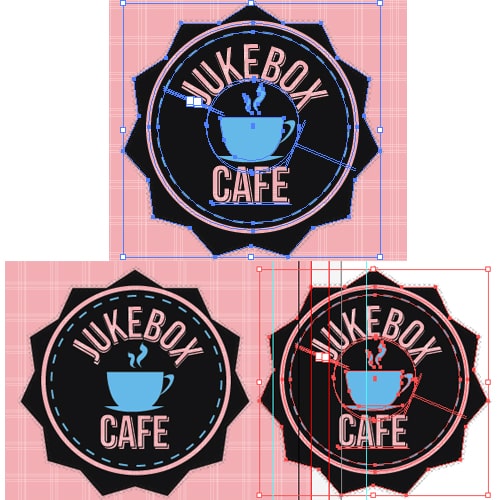
14. Go to the logo layer and select all of the logo using the selection tool, hold down the alt key and click on the selected logo duplicating it while you pull away. Place the duplicate logo in the centre of the 2nd canvas.
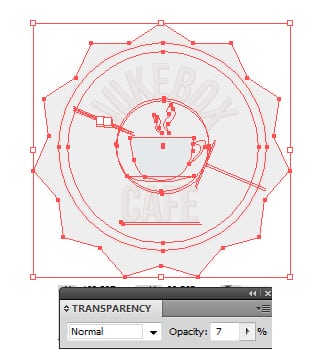
15. Go to Windows > Transperancy (shift+ctrl+f10), and set the opacity to 7%.
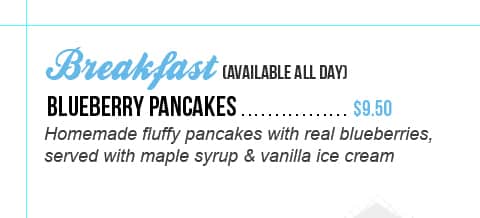
16. Using fonts Ballpark Weiner, Bebas Neue & Arial Italic write out the heading and one menu item.
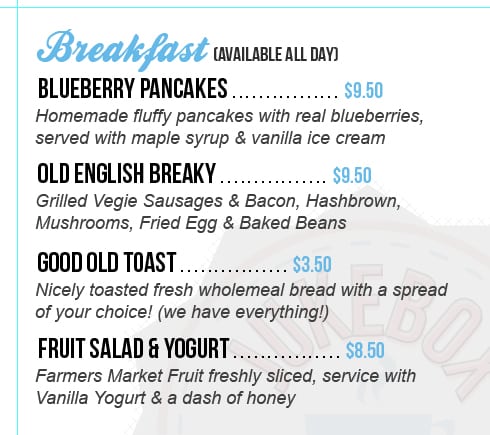
17. Duplicate the item menu 3 times & write out more meals.
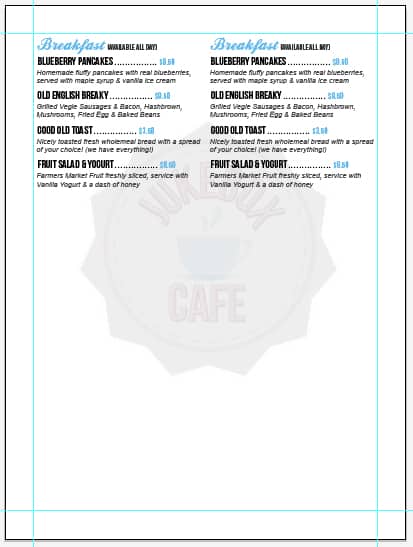
18. Now duplicate the all of the text and move it to the right side, if you find that the text is too large select all the text with the selection tool, hold down shift and shrink or enlarge the text.
 19. Now duplicate all the text again moving it down, until you reach the end of the Safe Area. We’re doing this so all the menu items look snug on the page and so it doesn’t look crowded so it’s ready before writing out all the menu.
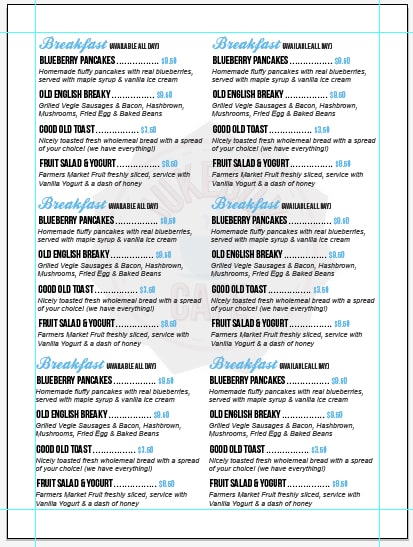
20. Now you can write out all of the menu items arranging everything to your liking.
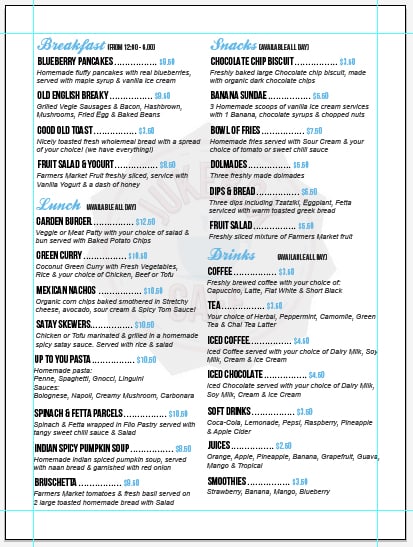
21. Save the menu. Holding down the shift key select all of the text and press ctrl+shift+o to convert all the text to outlines.
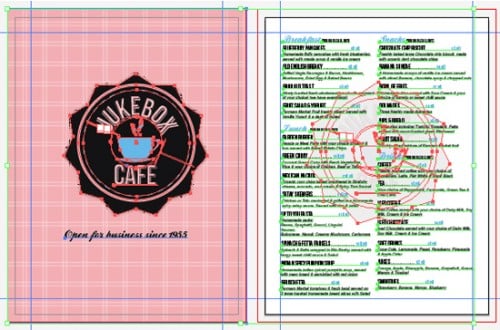
22. Now hold down the shift key and select all of the text, press ctrl+shift+O, this will convert the text to outlines.
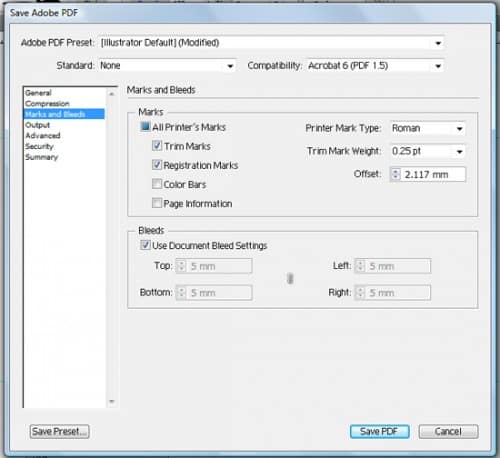
Now the Cafe Menu is ready to export for print. Go to File > Save As > And save in PDF format. When the save box appears go to Marks & Bleeds and put in the settings below:
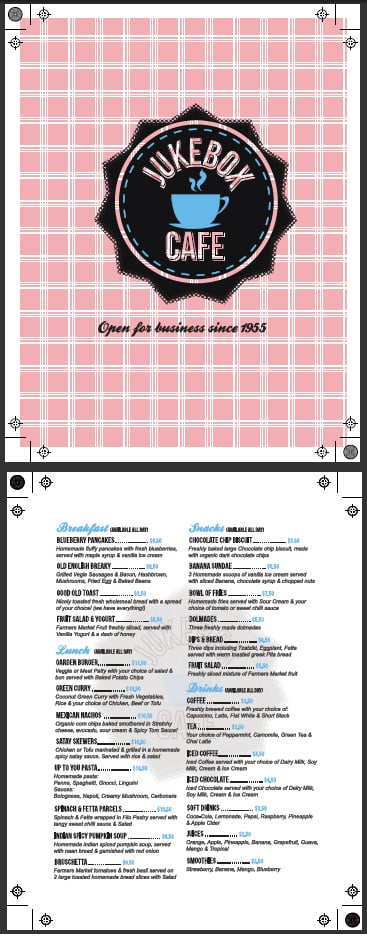
23. Open up the pdf file to check the final design, it is now ready to print with trim & registration marks!
Photoshop
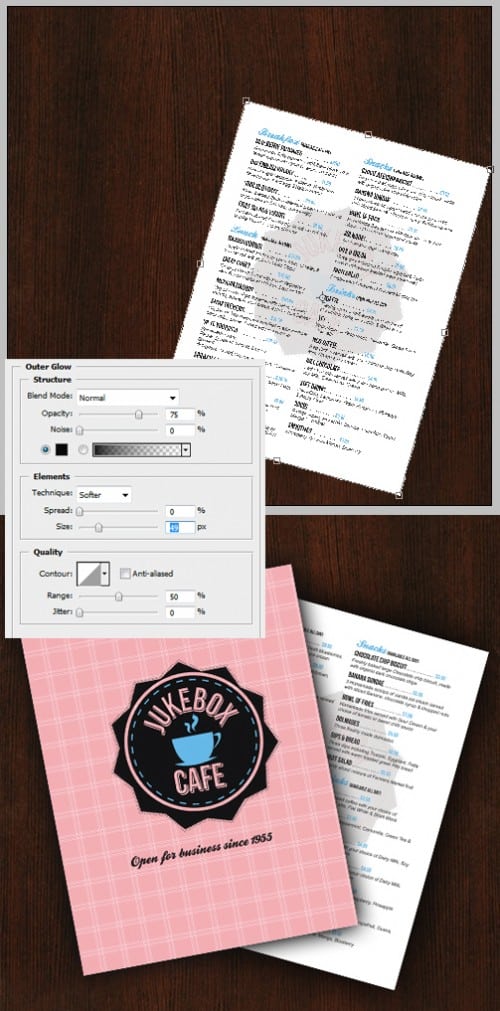
24. Open up photoshop and create a new document that’s 534x551px, copy & paste this wooden texture onto the canvas. Open up the illustrator version of the Cafe Menu, copy and paste the front & back of the menu onto the wooden canvas. Press ctrl+t, hold down the shift key, shrink the menu down & rotate it. Double click into Blending Options > Outer Glow and put in the settings below:
Final Result
