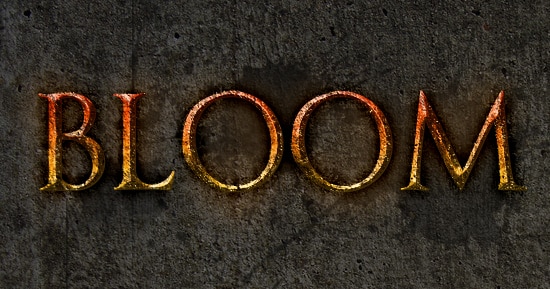
Learn how to create Grungy Medieval Text in Photoshop!
Final Result
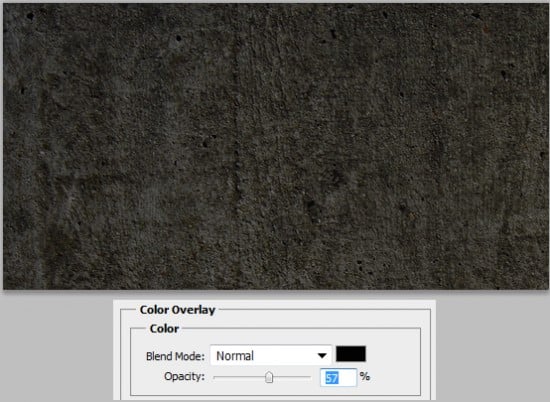
1. Create a new document that’s 550×290 pixels. Copy and paste this concrete image onto the canvas. Double click on the layer to go into Blending Options and put in a back Color Overlay.
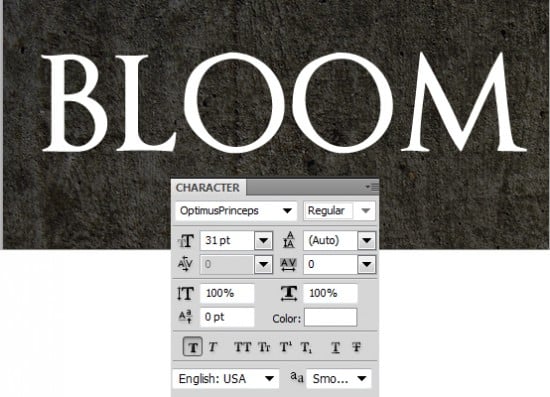
2. Next download & install this Optimus Princeps font. Write out what word/s you want.
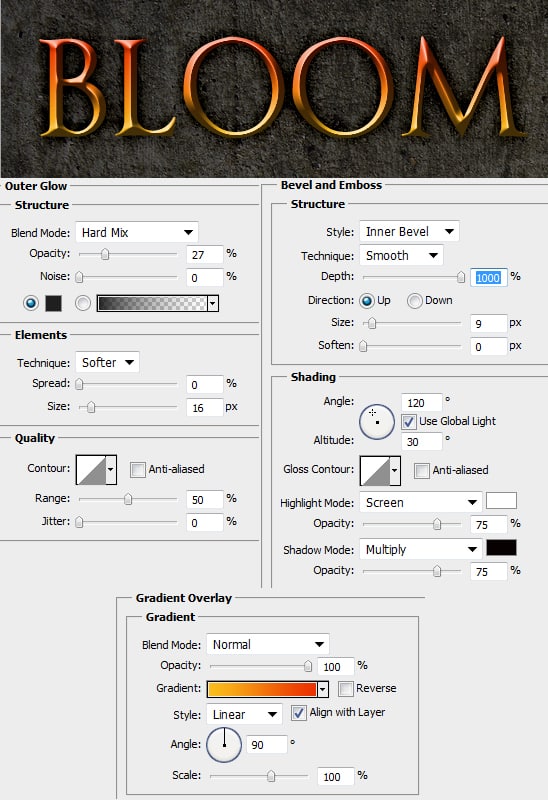
3. Next double click on the text layer to go into Blending Options and put in the following below. I haven’t added any colour codes, decide what colours you want.
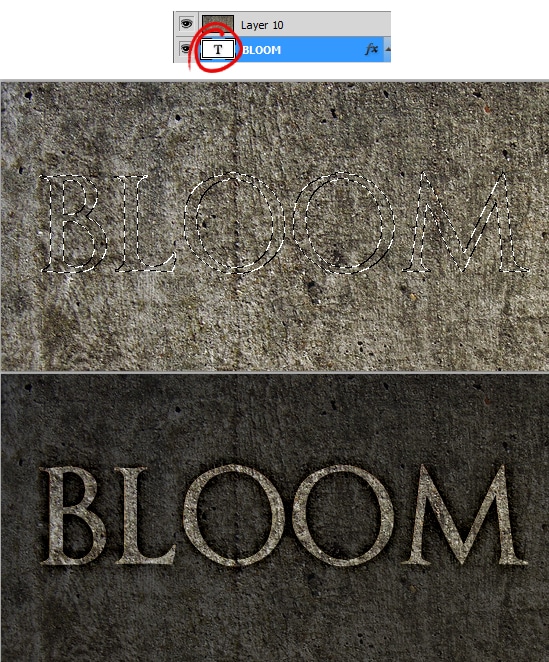
4. Copy and paste the previous Concrete Texture again onto the canvas. While holding down the CTRL key click on the text layer thumbnail (circled below), this will activate the text’s shape. Go to the concrete layer and copy/paste the activated shape as the concrete image. Remove the eye icon on the large concrete texture to remove it from view.
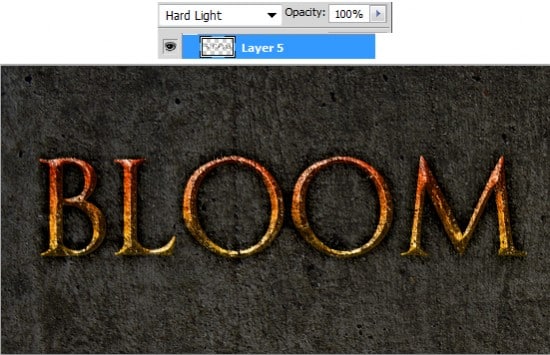
5. On the concrete text, set the Blending Mode to Hard Light.
6. Next download and install these Paint Splatter Photoshop Brushes. Using a dark grey or black colour, create a new layer and draw some splatters on the background.
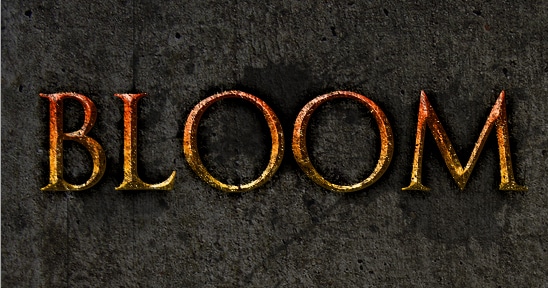
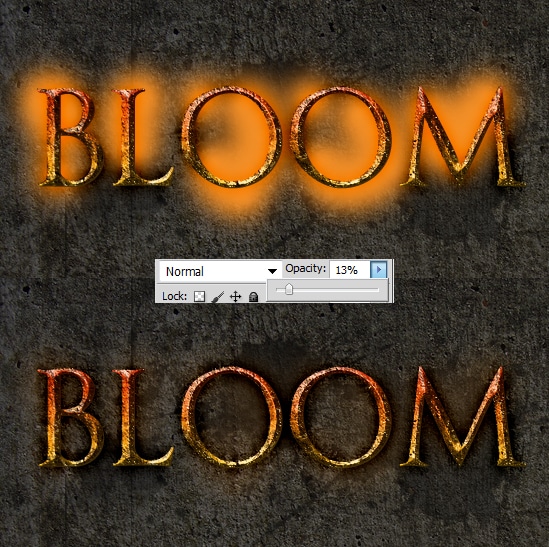
7. Create a new layer and select a medium soft edged brush. Choose a lighter colour to the colour of your font and draw on the background of the text. Set the Opacity to 13% on the layer.
