Learn how to create a retro pumpkin Halloween poster in Illustrator & photoshop!
Illustrator
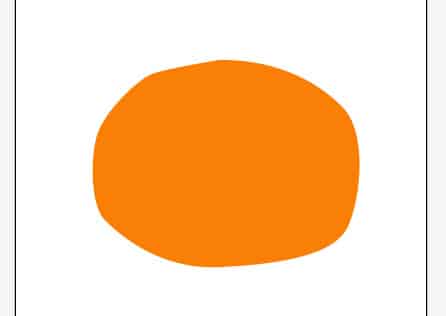
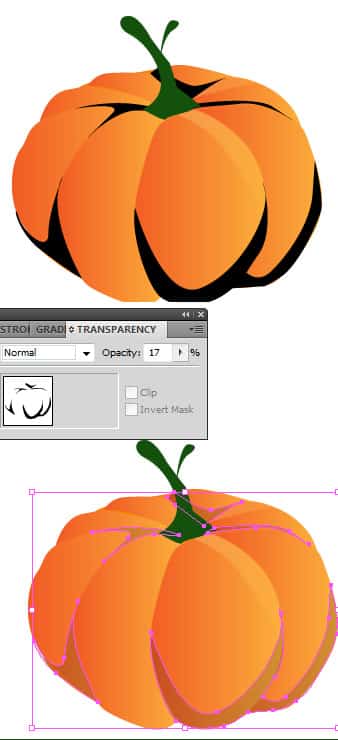
1. Using the color #F97F06 draw a rough oval like below.
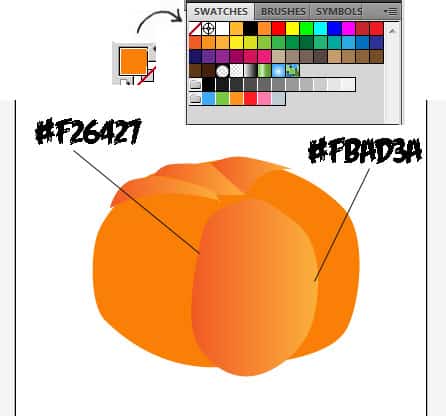
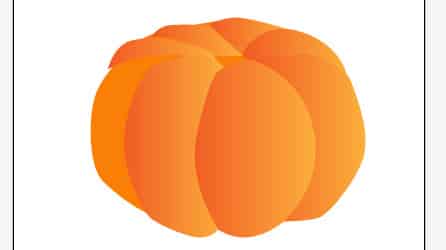
2. Grab the pen tool again and draw the pumpkin parts like below with a gradient. To get the colors below in the gradient drag the color from Fill into Swatches.
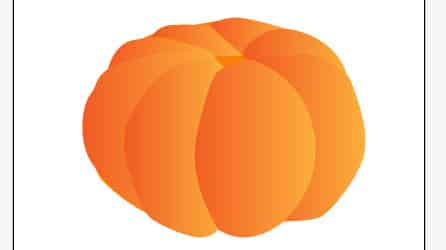
3. Draw the pumpkin stem using the color below.
4. Draw some shading on the pumpkin with the color black and make it 17% opacity (shift + ctrl + F10).
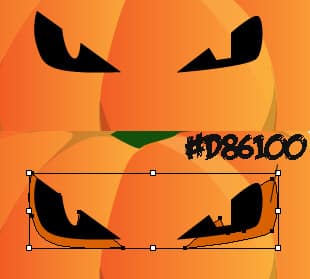
5. With the pen tool draw some evil eyes like below. Copy and paste the eyes, on the back eyes change the color to below.
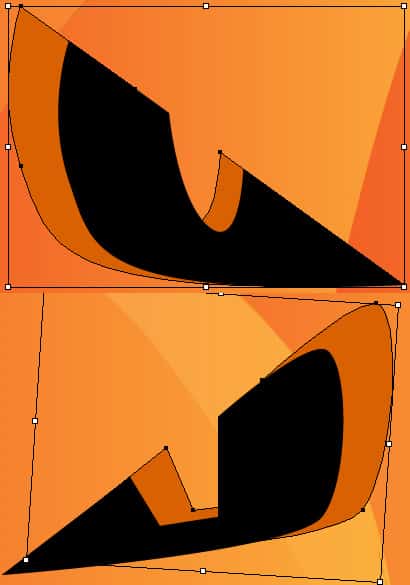
6. Click on each eye with the selection tool and enlarge them, move the layer so it looks ‘3d’ like below.
7. Do the same process to the mouth, you should have something like below:
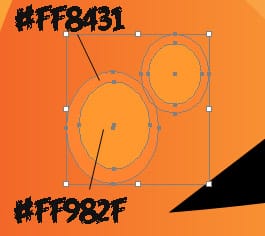
 8. With the circle tool draw some ‘warts’ using the colors below.
9. With the pen tool draw some light and dark shades on the pumpkin stem.
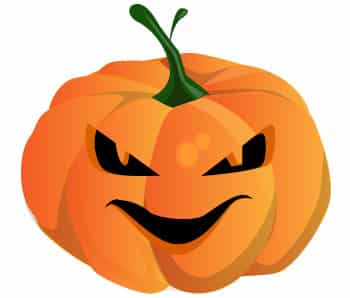
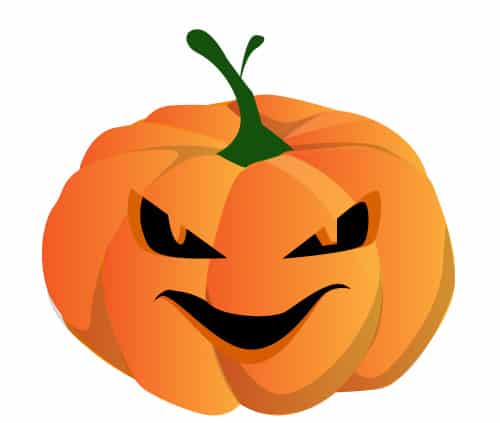
10. You should finally have something like this:
Photoshop
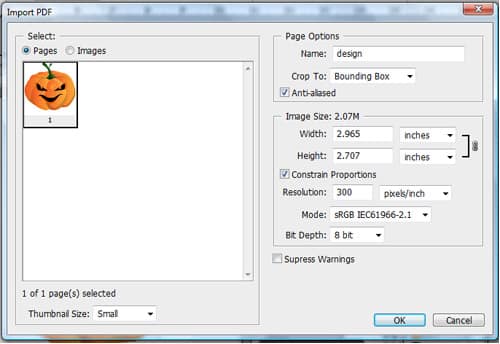
11. Open up the pumpkin file in Photoshop.
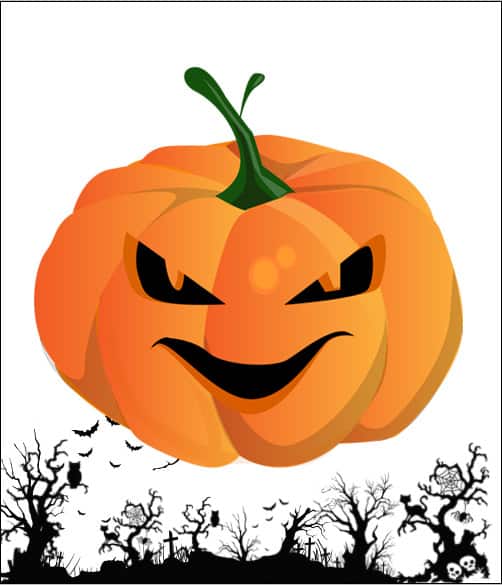
12. Create a new document that’s 500×580. Get this halloween brush set from here, using the color black draw the brushes on the bottom of the canvas like below on a new layer.
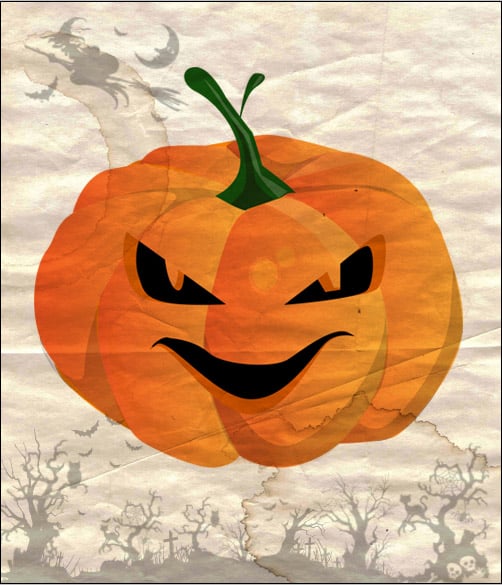
13. Get some paper texture, copy and paste it onto the canvas.
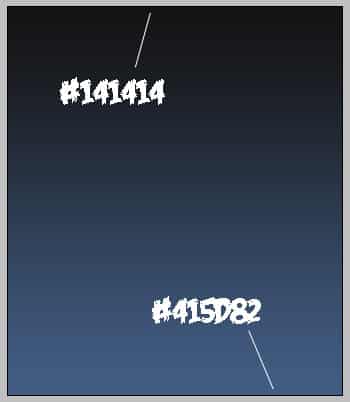
14. Create a new layer, put it underneath all the layers. Put in a gradient using the colors below.
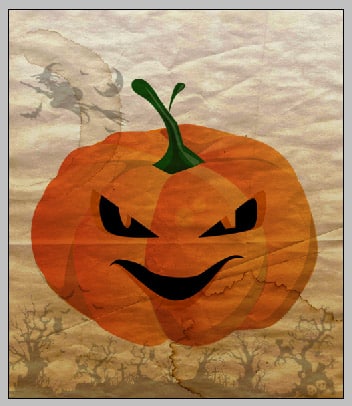
15. Set some blending modes for some layers: Pumpkin: Multiply & Paper: Difference. Set the opacity for the halloween brushes 29%.
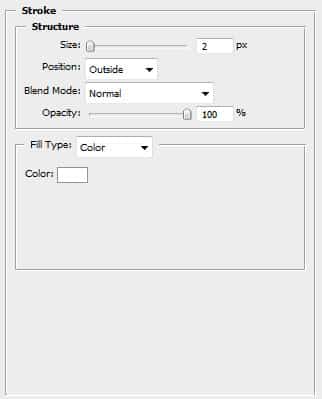
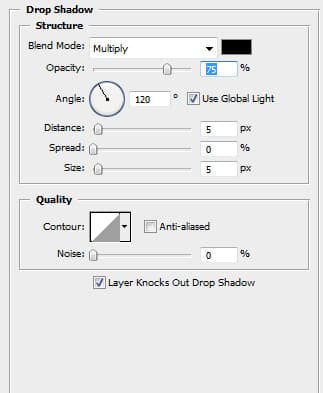
16. Lastly write ‘Halloween’ using the font from here using the color black and put in these Blending Options on the font.

