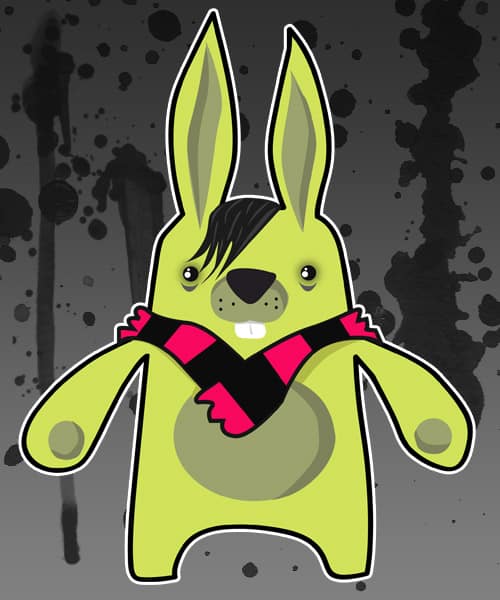
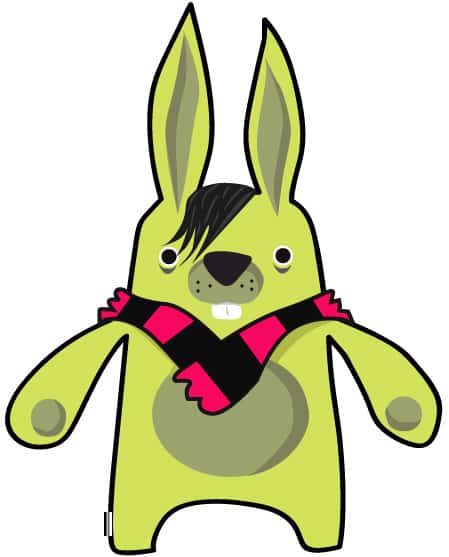
Design a Cute Emo Cartoon Bunny
Create a cute Emo Cartoon bunny and grunge poster in Illustrator and Photoshop!
Illustrator
1. First sketch out your bunny character on paper and scan it in, or use a graphics tablet. Create a new document in Illustrator that’s 500x600px. Put the sketch in and Lock the layer.
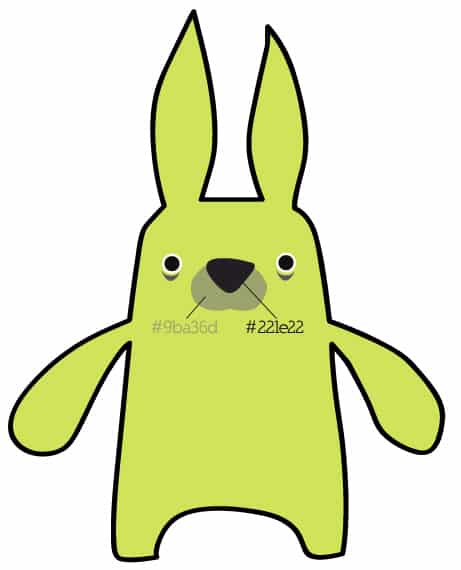
2. With the fill colour none and a 1pt black stroke trace around the body of your sketch.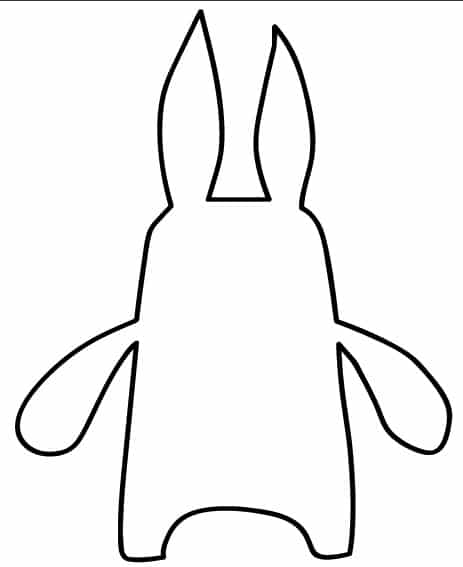 3. Make the fill colour the green colour I’ve put below. Get the Ellipse tool, hold down the shift key and draw 2 circles, one white and the other black. Select the 2 circles, hold down ctrl + alt key to duplicate the eye. Get the pen tool and draw a shape under the eyes with the colour below.
  4. Now trace around the snout and nose with the pen tool using the colours below.
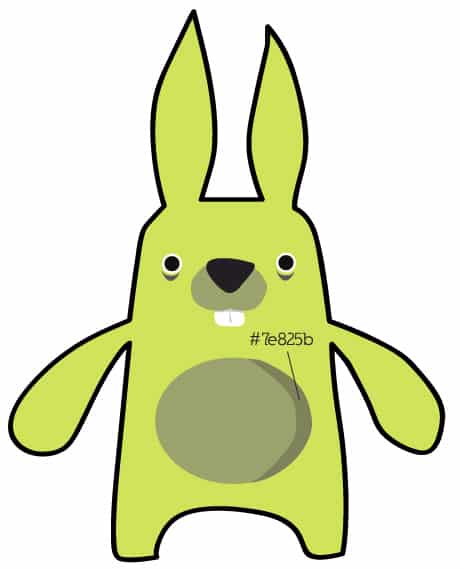
  5. Next draw the teeth with the pen tool. I’ve put a shadow on the teeth with the colour below.
  6. Using the same colour as the snout draw the belly with the ellipse tool, then get the pen tool and make a shadow.
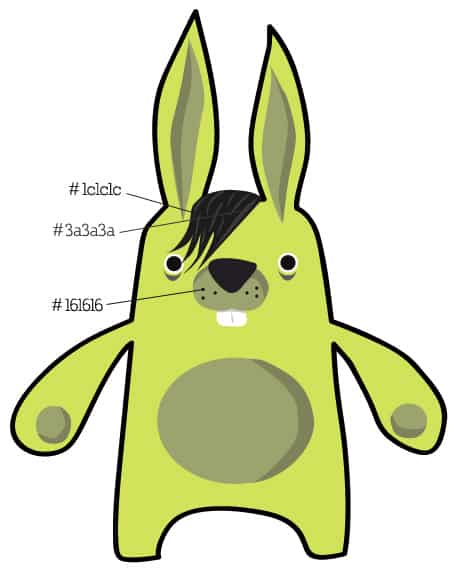
  7. Like the belly draw the ears (with the pen tool) and the 2 paws. Draw some shading on the snout, and some dots. Get the pen tool and trace around the hair, place smaller shapes on the hair to give it some texture.
  8. With a 1 pt black stroke and the fill colour below draw the scarf.
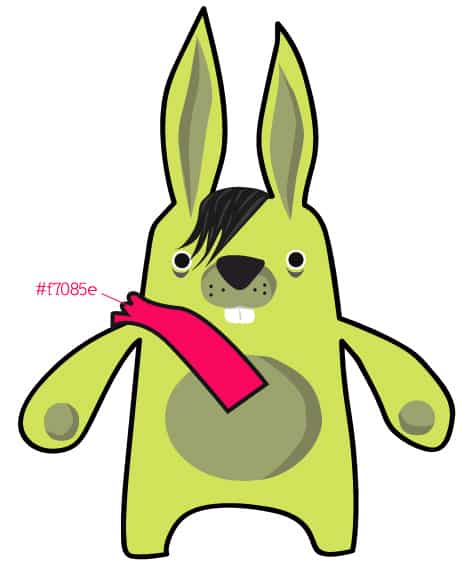
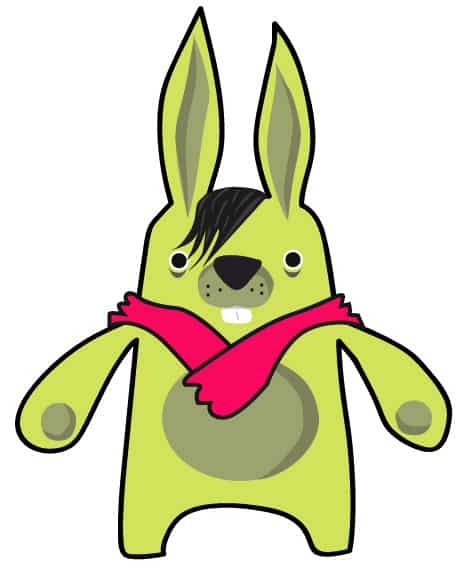 9. Grab the zoom tool and zoom up once to the scarf area, get the pen tool with a colour of black and draw striples on the scarf.
 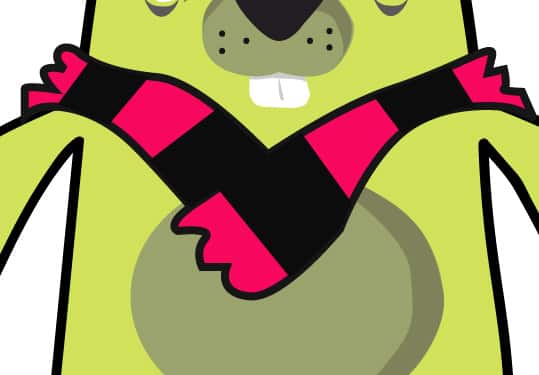 10. Get the pen tool again and draw some shading under the scarf.
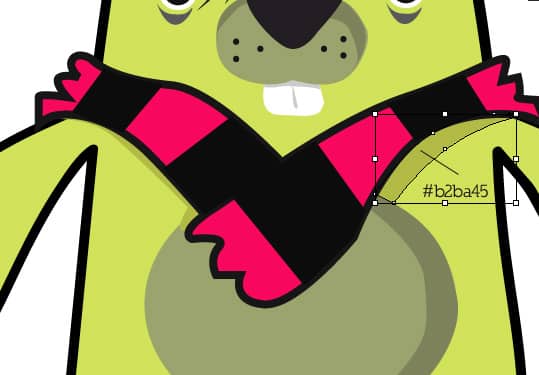
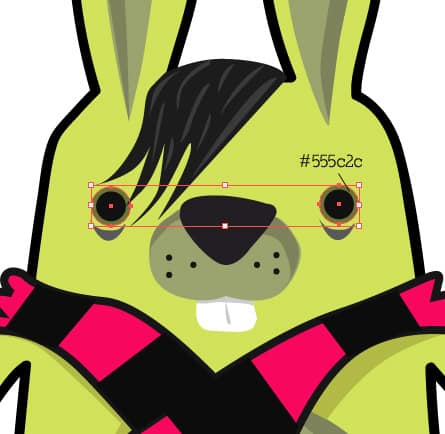
 11. Select the 2 white circles behind the eye (hold down the shift key to select both), fill the 2 circles with the colour below.
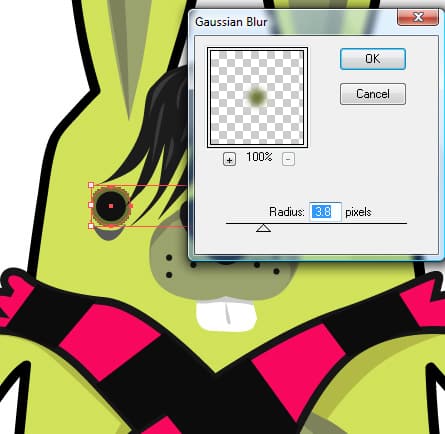
  12. With the 2 circles still selected go to Effect > Blur > Gaussian Blur and make it the settings below.
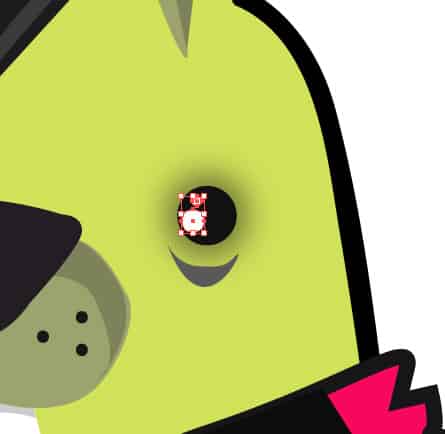
  13. Select the Zoom tool again and zoom up to the eyes, with the ellipse tool draw 2 circles for a reflection look.
  14. Select the 2 white circles, hold down ctrl + alt to duplicate then and place them over the other eye.
Photoshop
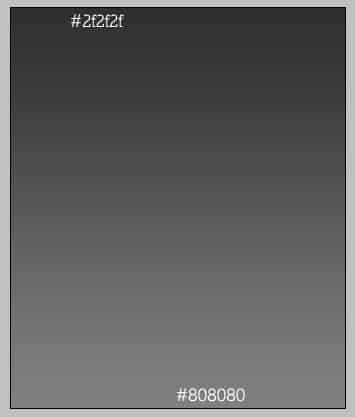
15. Save the document and close Illustrator. Open up Photoshop and create a new document with the settings below. 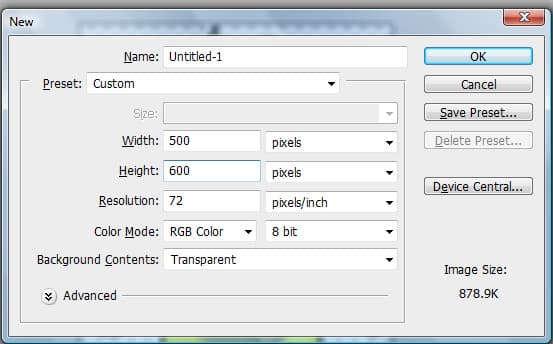 16. Create a new Layer and fill it with white. Right-Click the layer and go into Blending Options > Gradient Overlay and place a linear gradient with these colours.
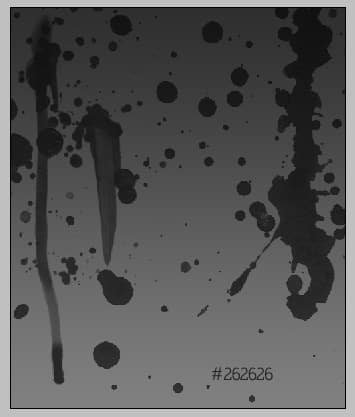
  17. Get this Photoshop Grunge Brush set from here and select the splatters and drips and place them on a new layer using the colour below.
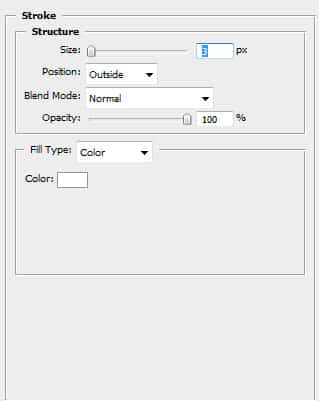
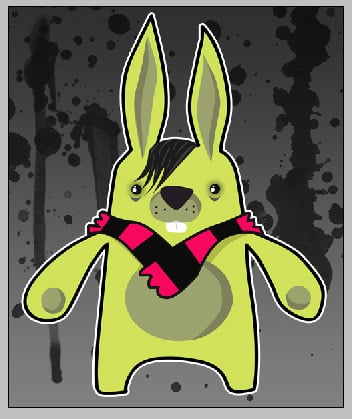
  18. Open up the bunny you created earlier, press ctrl +a then ctrl+c to copy the bunny. Go the canvas and press ctrl + V to paste. Press Ctrl+t, hold down the shift key and make the bunny smaller. Right click and go into Blending Options. create a stroke around the bunny with the settings below.