Create a Cute Twitter Bird Character in Illustrator
Learn how to create a cute cartoon Twitter bird/icon in Illustrator!
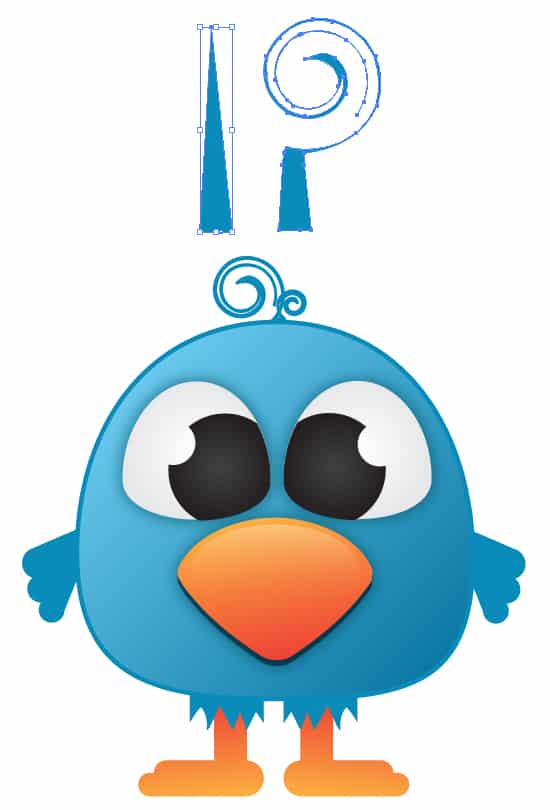
Final Result
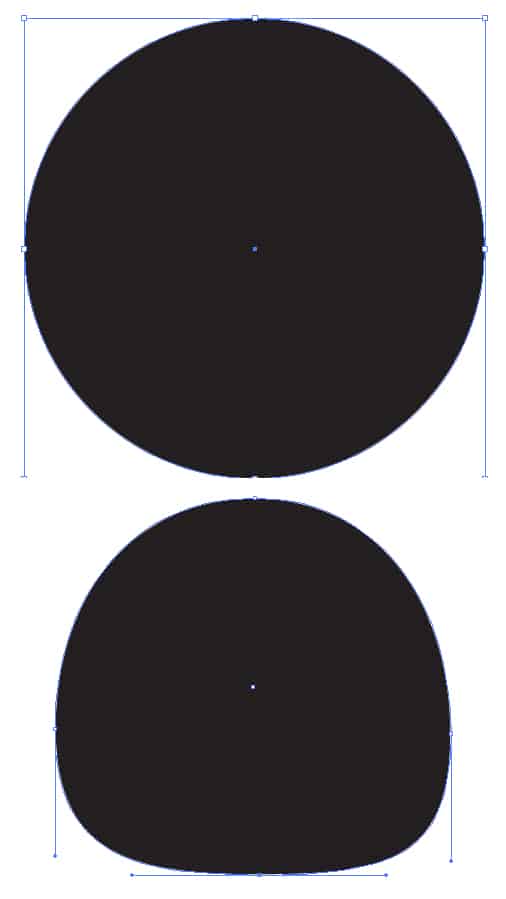
1. Create a new document that's 500×500 pixels in Illustrator. Grab the ellipse tool and draw a circle while holding down the shift key (to keep the shape perfect). Next get the Direct Selection Tool, with the circle selected, click on a anchor point (that's the dots on the edges), then edit the shape.
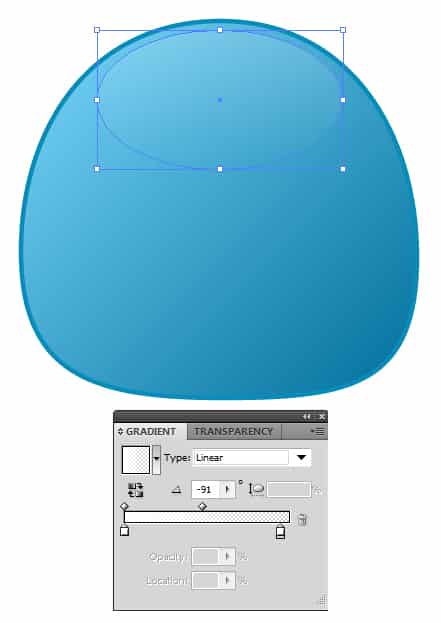
2. Now put in the colours you want the bird to be.
3. Get the ellipse tool again, and draw a oval shape on top of the head. Make the gradient white > None.
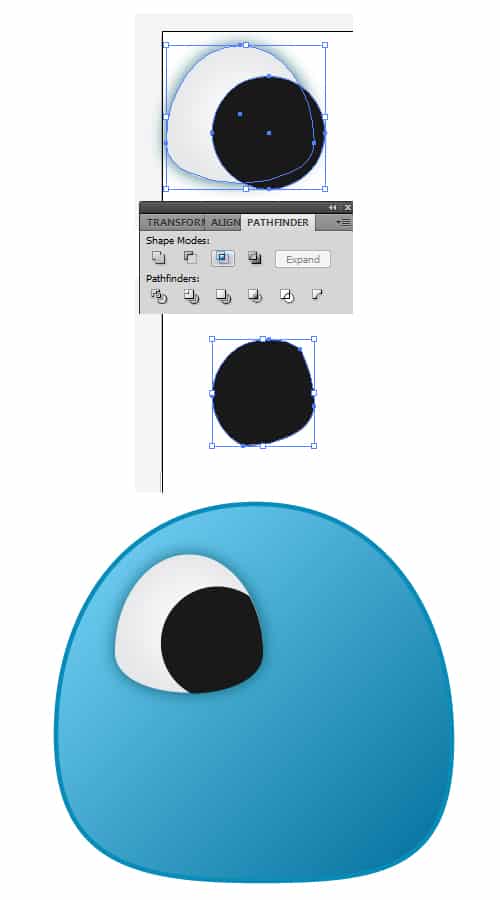
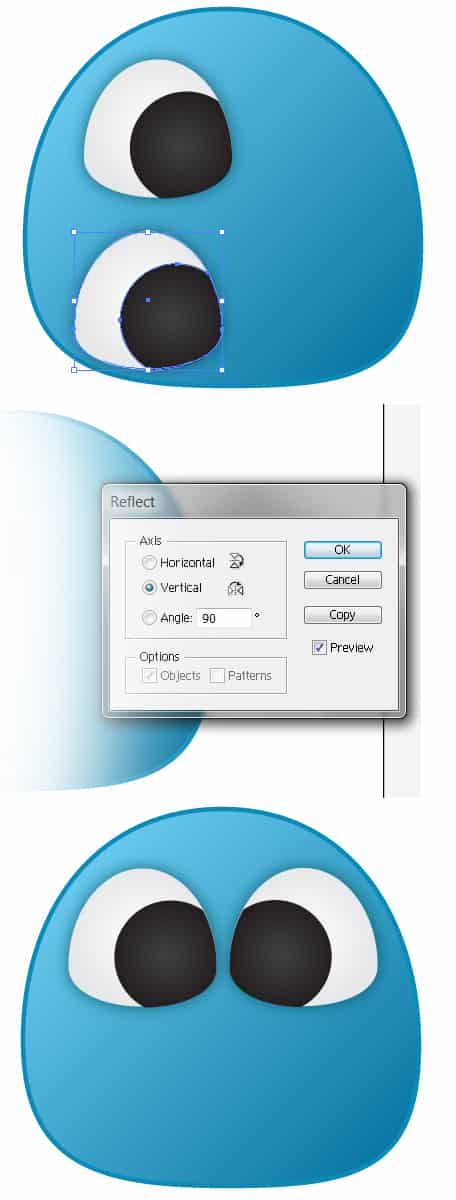
4. Draw an oval shape for the eye using the ellipse tool. Using the Delete Anchor Point Tool remove the bottom part of the oval by clicking on the anchor point. To put an outer glow on the eye go to Effect > Stylize > Outer Glow and put in the settings below.
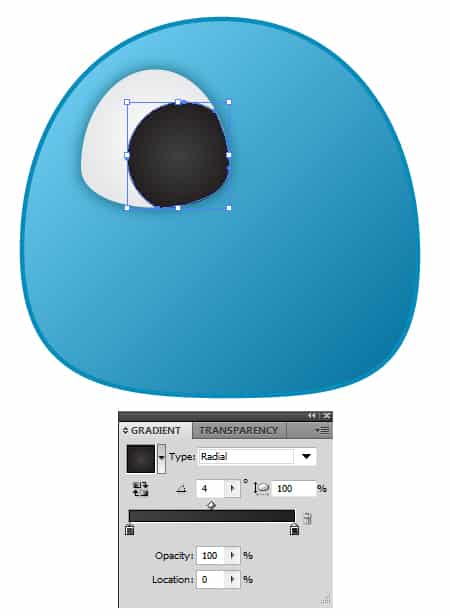
5. Put a radial gradient (light grey to white) on the eye.
6. Duplicate the eye by selecting it, and dragging out while holding down the ALT key. On the duplicated eye draw a black circle (using the Ellipse Tool), and place it over the part of the eye you want it on. Select the 2 shapes and select the Intersect Icon in the Pathfinder window. Place the remaining shape over the eye.
7. Put a Radial (black to dark grey) gradient on the black shape.
8. Next select the two eye shapes while holding down the shift key, and duplicate using the previous method. With the duplicated eye layers selected go to Object > Transform > Reflect and put in the settings below. Once done move the eye to the other side of the face.
9. Draw a small white circle and place over the eye for reflection. Duplicate the circle and put it to the other eye. Hold down the shift key and select one of the eyes black & white circle, then hit the Minus front icon in the pathfinder window. Do the same step for the following eye.
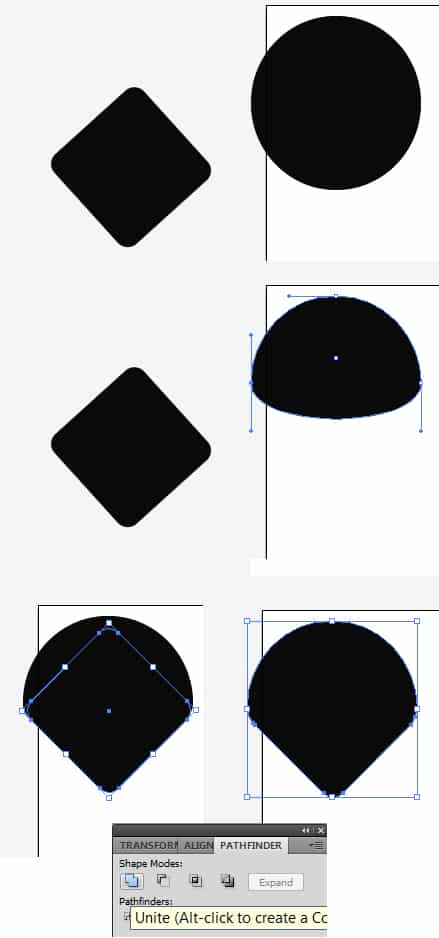
10. Next draw a circle, then a Rounded Square (Rounded Rectangle Tool) holding down the shift key, rotate the square by selecting it with the Selection Tool and rotating. Select the circle and remove the bottom part of the shape using the Delete Anchor Point Tool.
Move the rectangle over the circle to create a beak shape, you may need to adjust the size of the shapes to make it fit. To turn the two shapes into one, select them both and click on the Unite icon in the Pathfinder window.
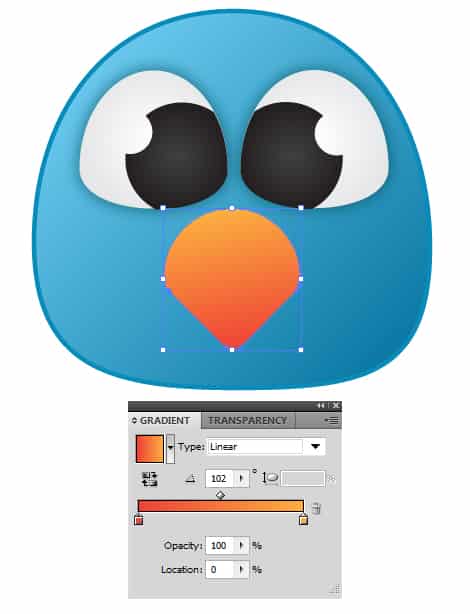
11. Now put the beak on the bird, and put in a gradient colour.
12. This step is Optional. Select the beak and go into Object > Envelope Distort and Make with Warp. Put in settings to your liking. If you do this step you can't change the colour after.
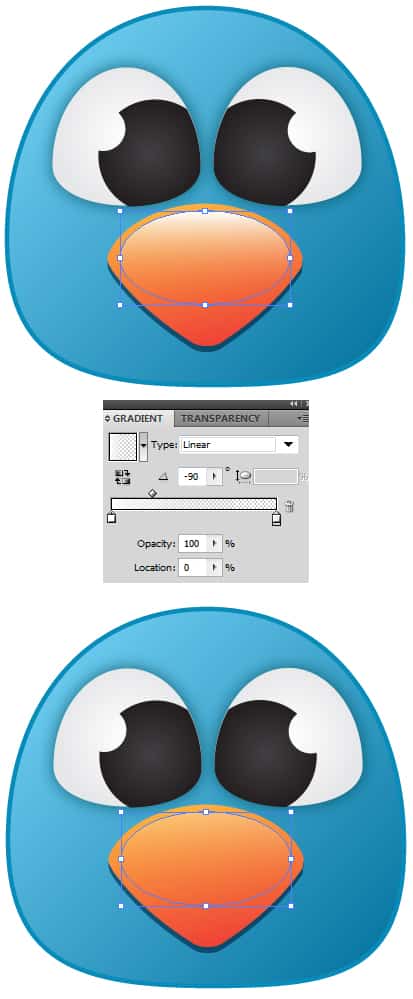
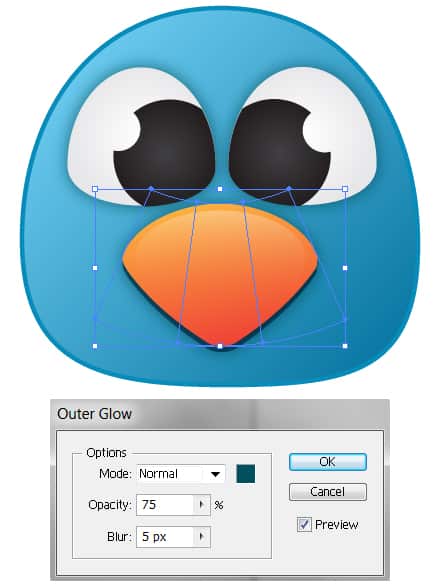
Next with the beak selected go into Effect > Stylize > Drop Shadow and put in the settings below.
13. Draw an oval shape and place it over the beak. Put a White to None Gradient on the oval and make the transparency 30% (Window > Transparency).
14. Again select the beak, go into Effect > Stylize > Outer Glow and put in the settings below.
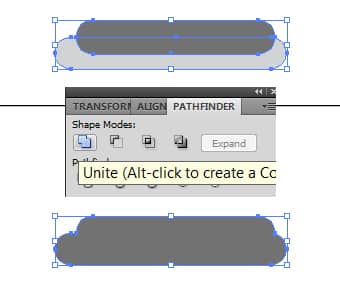
15. Using the Rounded Rectangle Tool draw 2 shapes like below for the feet. Select the two shape and click on the Unite icon in the Pathfinder window to turn into one shape.
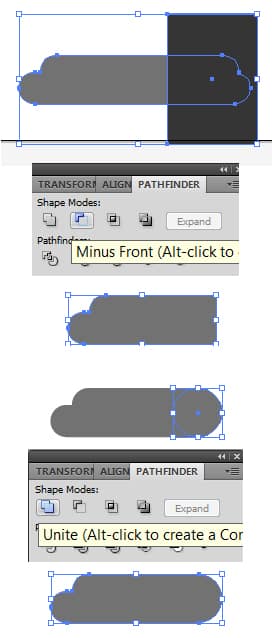
16. Next draw a rectangle shape over the end of the foot, select the two shapes and click on the Minus Front icon in the pathfinder window to remove the side of the shape. Grab the Ellipse tool and draw a circle on the side cut off, select the 2 shapes and this time click on the Unite icon to complete the foot.
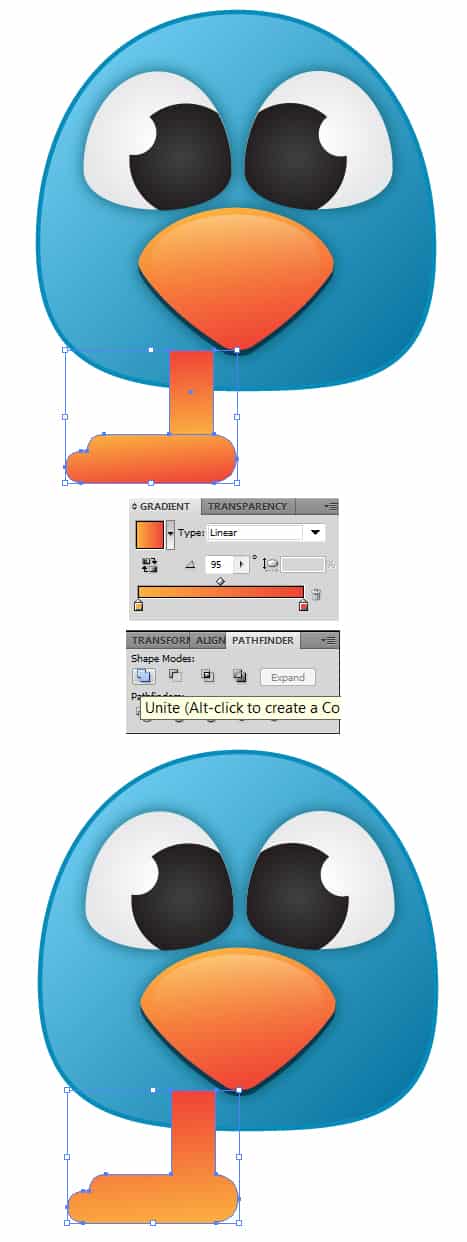
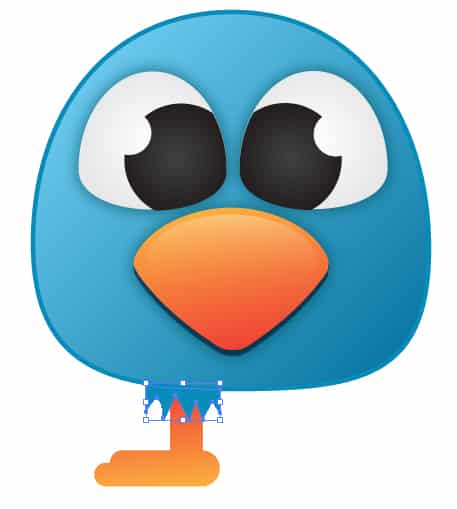
17. Now place a gradient on the foot, and draw a leg using the rectangle tool. Select the two shapes and Unite icon in the Pathfinder window to make it one shape.
18. Now right click the leg with the selection tool, and go to Arrange > Send to Back, so it's behind the body. Using the pen tool draw some 'feathers' on top of the leg. Put in the same colour as the stroke on the body.
19. Select the leg shapes, and duplicate. With the duplicated shape selected go into Object > Transform > Reflect. Place the leg on the bird.
20. For the wings, draw a square elsewhere on the canvas, remove the bottom right corner of the square using the Delete Anchor Point Tool. Draw 3 various sizes circles and place them over the shape until you can a nice looking wing. Select all of the shapes and click on the Unite icon in the Pathfinder window.
21. Make the wing the same colour as the body stroke colour and place it on the bird. Repeat step 19, but with the wing instead of the leg for the other side.
22. Using the pen tool draw a tall triangle shape, with the shape selected, make a warp on it using the Twirl Tool in the toolbar. I've made the curl smaller, and duplicated it. Place your twirl on the bird.
23. Lastly to create a drop down shape, draw a thin black oval shape under the bird. With the shape selected go into Effect > Blur > Gaussian Blur.
