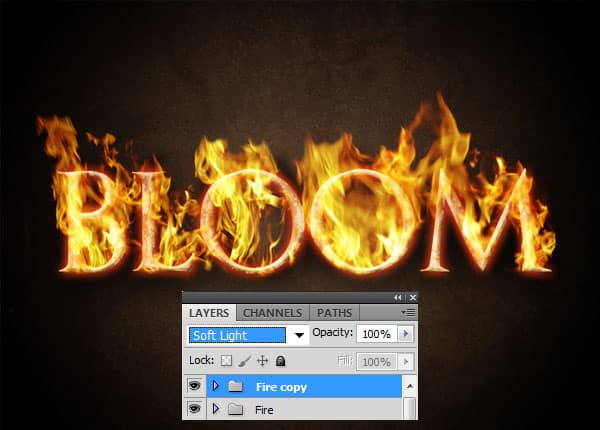
Create a Blazing Fire Text Effect in Photoshop
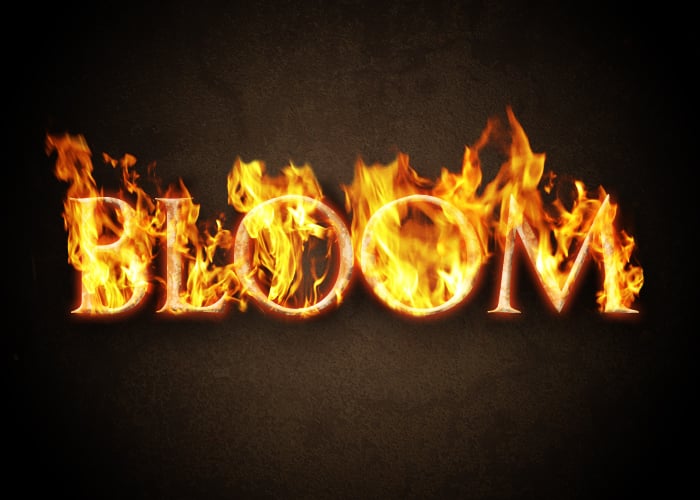
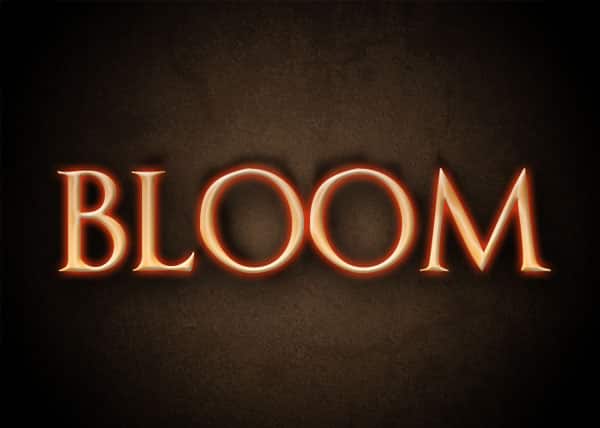
Want to set your Text on Fire? In this tutorial we’ll learn how to create a Blazing Fire Text Effect in Adobe Photoshop.
Final Result
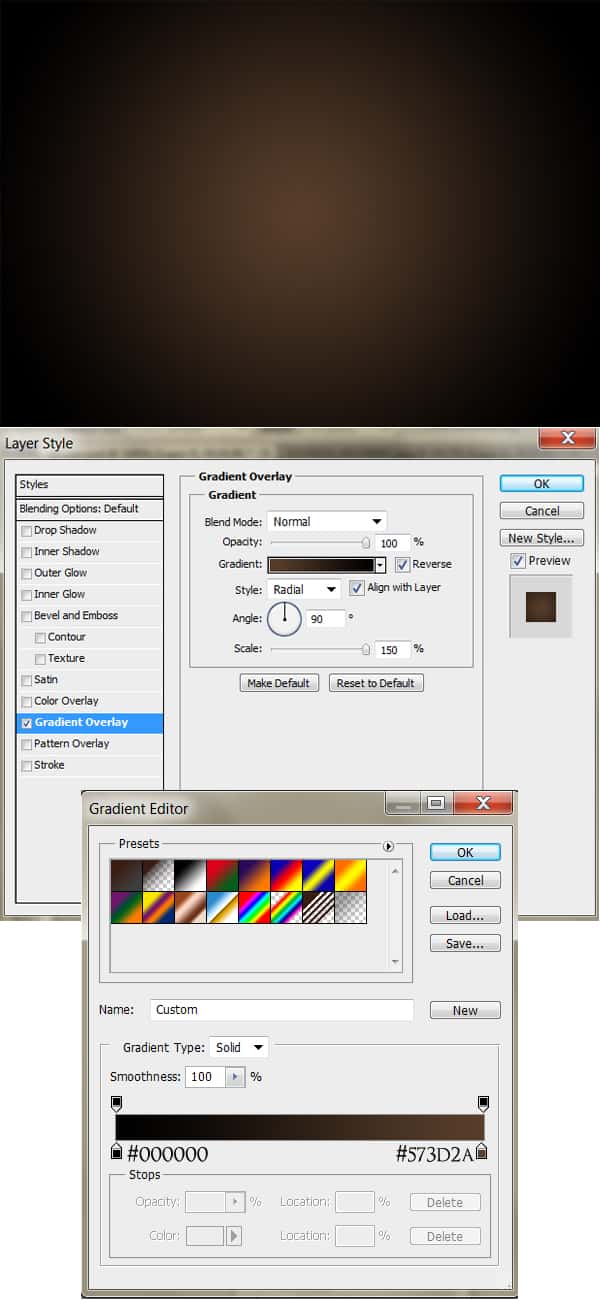
1. Create a new document that’s 700×500 pixels with a white background. Double click on the white background layer to unlock, then again to go into Blending Options. Put in the following Gradient Overlay.
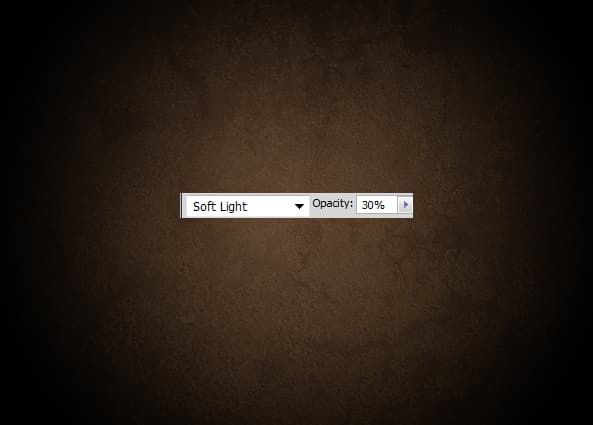
2. Copy & Paste this image onto the canvas. Shrink the image down by pressing CTRL+T and drag a corner down while holding down the Shift Key (to keep the shape straight). Set the Blending Mode to Soft Light & the opacity to 30%.
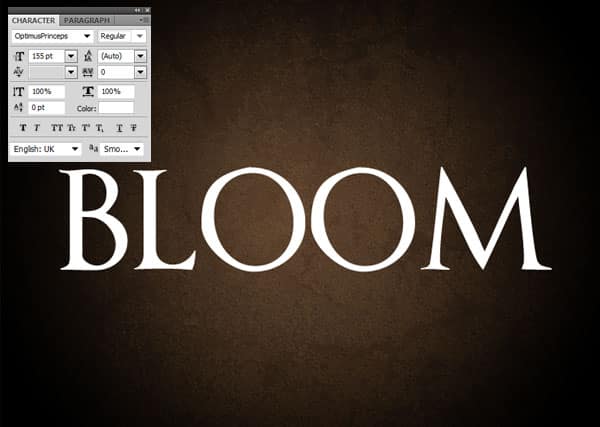
3. Using the font Optimus Princeps write out the word/s you want to set on fire!. Duplicate the text by dragging it to the new layer icon.
4. On the first text layer double click into Blending Options and put in the following:
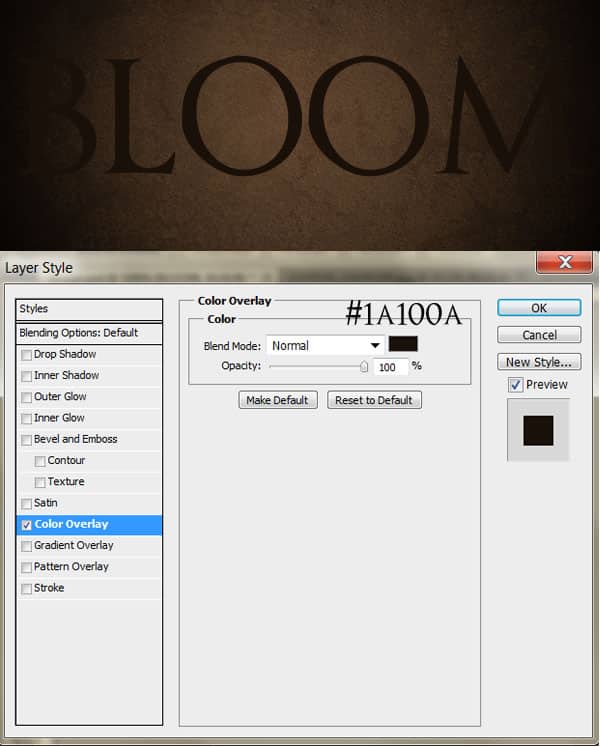
5. Click on the eye icon on the first text layer to remove it from view. On the second text layer double click into Blending Options and put in the following Color Overlay. Right click the text layer and Rasterize Type.
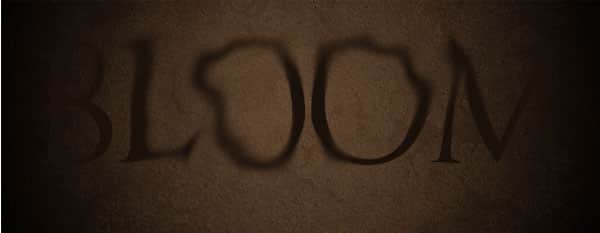
6. Next using the Smudge Tool (R) smudge the text around to make burn marks.
7. Click on the Eye icon on the first text layer.
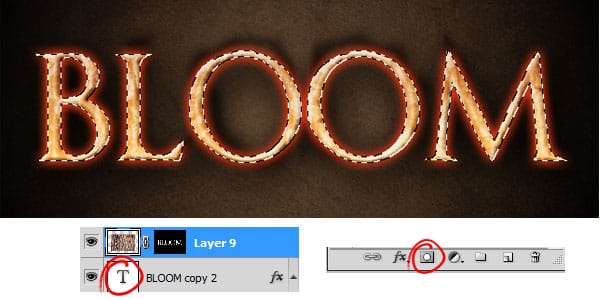
8. Copy & Paste this image onto the canvas and shrink down. While holding down the CTRL Key click on the Text Layer (circled below) to activate the shape. Go to the wood textured image and click on the Add Layer Mask (circled below also). This will crop the image down to the text shape.
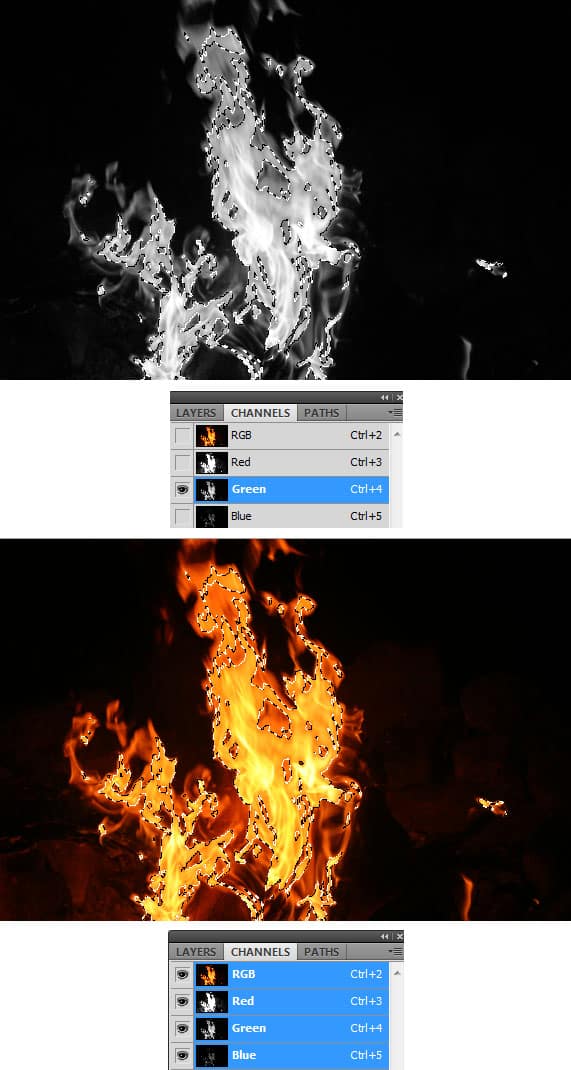
9. Next get this fire image. With the fire image in Photoshop, go into Channels and remove all the eye icons except for the Green Channel. While holding down the CTRL Key click on the Green Channel Layer to activate the highlighted area. With the area still activated click on the RGB Channel Layer eye icon to bring back the channels then the RGB layer. Press CTRL+C to Copy.
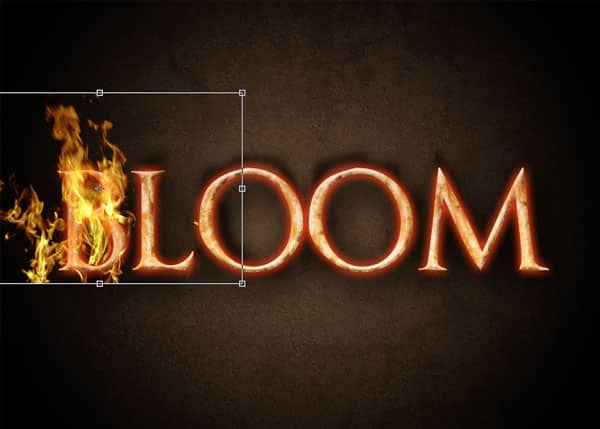
10. Go back to the fire text and press CTRL+V to paste the flames onto the canvas. Shrink down the flame image using the CTRL+T method.
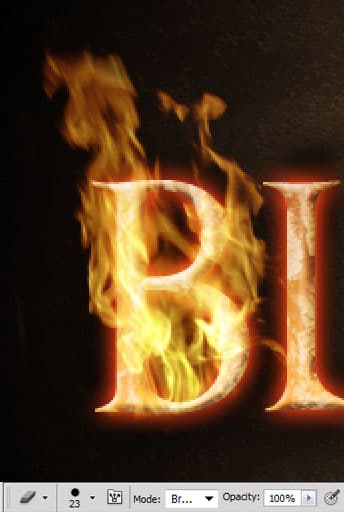
11. Using the Zoom Tool Zoom up to the first letter. Erase parts of the flames you don’t want using the Eraser Tool. To go back to full size double click on the Zoom Icon.
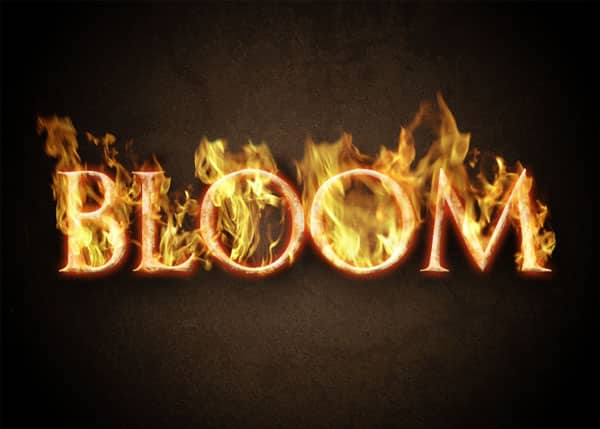
12. Repeat steps 10 & 11 with the remaining letter.
13. While holding down the CTRL Key, select all of the fire images and drag them to the Folder icon to place them in a folder. Duplicate the folder and dragging it to the new layer icon. On the Duplicated folder set the Blending Mode to Soft Light. This will make the fire more intense!
