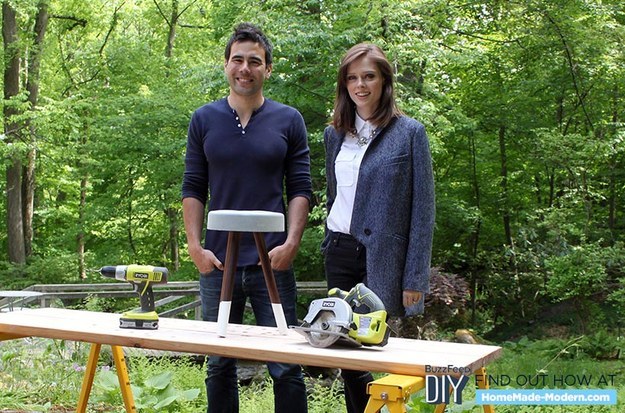
Build a Modern DIY Bucket Stool
Learning how to build your own home furniture can be a great skill to have! Today Supermodel and tastemaker Coco Rocha whill teach you how to build a super cool modern and sophisticated bucket stool that will be sure to impress!
Using basic materials like wooden dowelling, quikrete (basically concrete), wires and some latex paint and oils to finish it off – you’ll learn step by step how to create this gorgeous stool!
Here’s what you’ll need:
Materials
–48†Wooden Dowel (1 1/4†diameter)
–Quikrete 5000
–12 Gauge Wire
–Oil Finish
–Hi Gloss Latex Paint
Tools
-Circular Saw (or hand saw)
-Drill
-5-Gallon Bucket
-Sharpie
-Sandpaper
1. Cut the Dowel
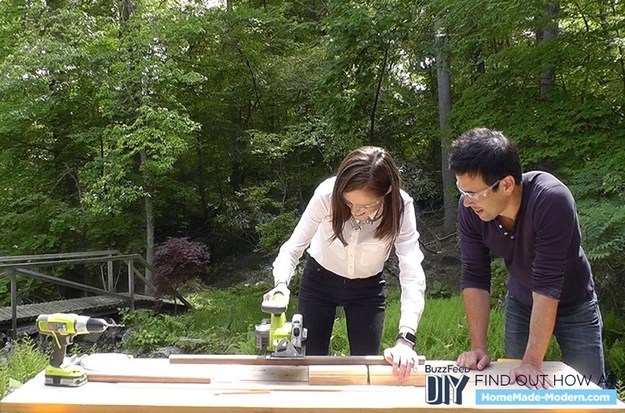
Using a circular saw, cut the 48†long dowel into three equal 16†long pieces. A handsaw would also work if you don’t mind the extra time it involves.
2. Drill Holes in the Ends of the Dowels
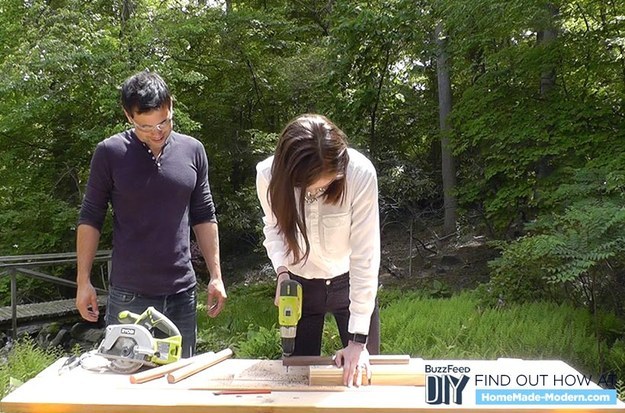
Drill a hole in one end of each dowel. The holes should be about 1†from the end of the dowel.
3. Wire the Dowels Together

Run wire through the drilled holes and connect the 3 dowels. The wire will keep the legs from coming out of the concrete.
4. Mark 3 Inches from the Bottom of the Bucket
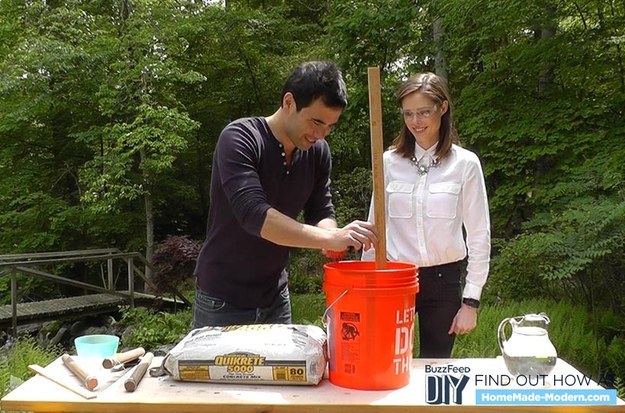
Use a Sharpie to mark a line 3 inches up from the bottom of the bucket. This line will show how full to fill the bucket with concrete. You can make the stool as thin as 2 1/4 inches but 3 inches is a safe thickness that will resist cracking even if you add too much water.
5. Mark the Location for the Legs
Use a Sharpie to make three equally spaced marks around the rim of the bucket. These marks will serve as guides for positioning the legs.
6. Fill the Bucket with Concrete Mix
Fill the bucket up to the 3†line that’s marked on the inside of the bucket.
7. Add Water + Mix It Up
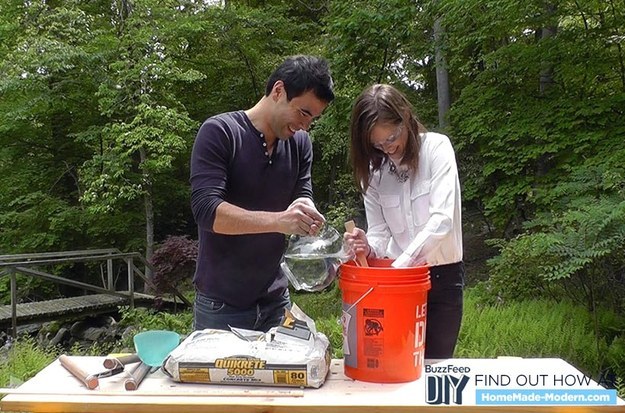
Start with just a couple cups of water before adding more until the concrete is the consistency of lumpy oatmeal. Too much water will weaken the concrete and too little will make it difficult to thoroughly mix. Mixing concrete is not as easy as mixing a cake. The sand and gravel in concrete mix is heavy. Tilting the bucket on its edge can help.
8. Vibrate Out the Bubbles
Shake and tap the bucket to vibrate air bubbles to the top of the wet concrete.
9. Set the Legs into the Wet Concrete
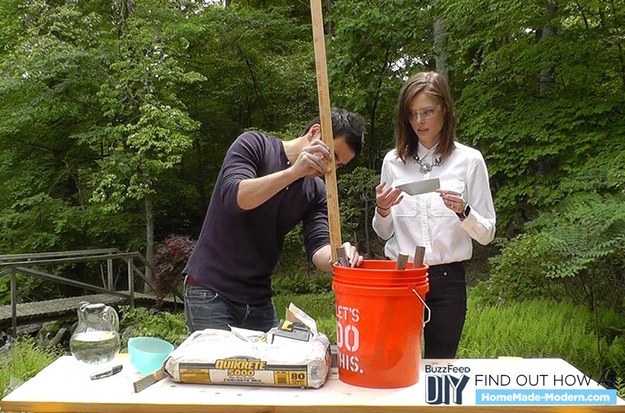
Place the legs into the wet concrete and position them so that they line up with the three equally placed marks around the rim the bucket. Then, use duct tape to hold the legs in place and a ruler to make sure the legs were extended an equal distance above the rim of the bucket.
10. Let the Concrete Cure for 48 Hours
Once the legs are placed, let the concrete sit, undisturbed, for 48 hours.
11. Remove the Stool
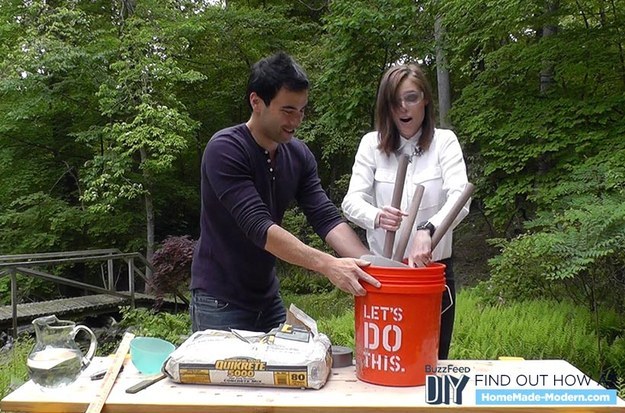
Flex the rim of the bucket to separate the walls from the concrete. Once the concrete loosens, pull the stool out of the bucket.
12. Shape the Concrete
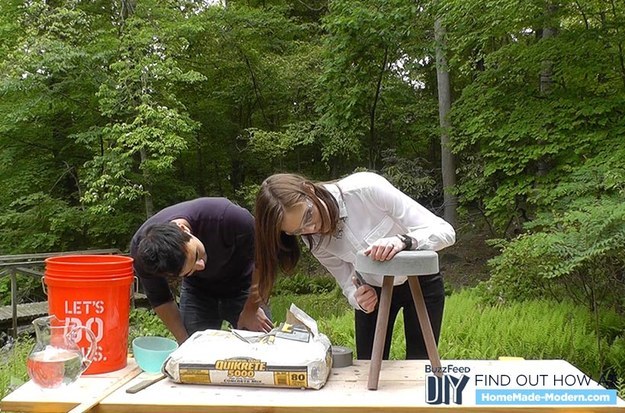
After 48 hours, the concrete is not fully hardened and can be shaped by sanding or scraping it with a knife.
13. Sand the Legs
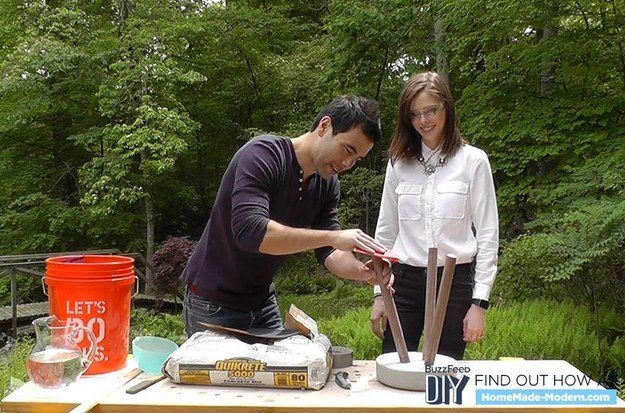
Use 220 grit and 400 grit sandpaper to smooth down the legs.
14. Oil the Legs
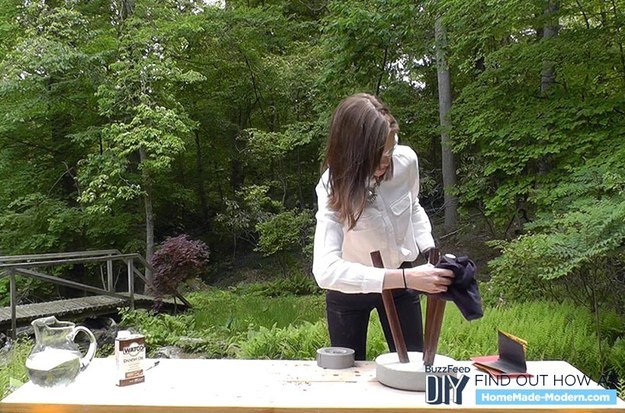
Use a clean rag to finish the legs with a coat of Danish oil.
15. Dip Dye the Legs
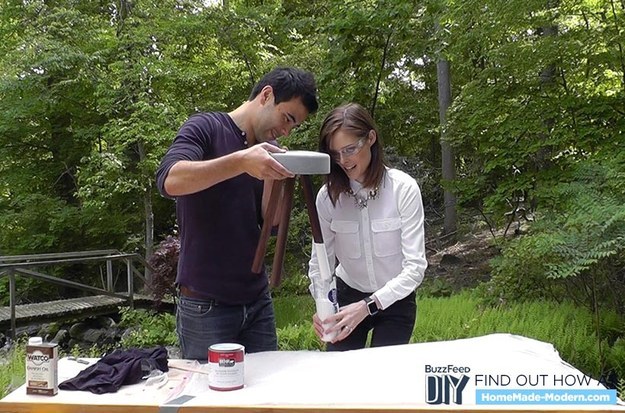
Once the Danish oil dries, dip the legs in hi-gloss latex house paint. For easy clean up, use a water bottle with a cut-off top filled with paint to dip the legs.
Here’s the video with full instructions.
Or, head over to HandmadeModern to see the full tutorial.
via buzzfeed
