Corner Ribbon Banner Design & Code Tutorial
Learn how to Design and Code a Top Corner Ribbon Banner in Photoshop and Dreamweaver!
Photoshop
1. Create a new document in Photoshop that’s 190×190 and make the background transparent. Get the pen tool and draw a shape like below. Right-click the layer, go to Blending Options > Gradient Overlay and make it the colors of your choice. 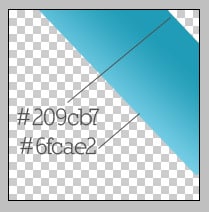 2. Get the pen tool again and draw another shape with a light grey gradient and a drop down shadow going to the left.
 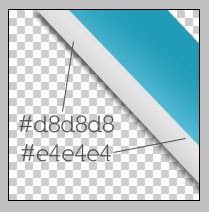 3. Select the Rectanglur Marquee Tool, set the Feather to 4px (this will make the edges of the shape fadeout)and draw the shape below on a new layer.
 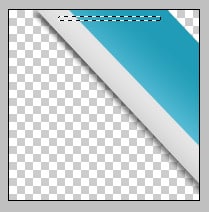 4. Fill in the shape with white and set the opacity for the layer to 30%.
 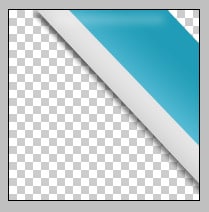 5. Now write in your banner text, to make the text diagonal, click on the text layer >press ctrl+t and rotate. Save the image in PNG format so it’s transparent.

Code
6. Create a new folder named images and put the banner image in the folder.Paste in the code below in your css file.
#topright {
position: absolute;
right: 0px;
top: 0px;
height: 200px;
width: 190px;
background: url(images/topbanner.png) no-repeat;
}
This is the css code for the banner. I’ve made the position absolute so it sticks on the top of the page. I’ll be placing the banner on the top righ hand corner, so I’ve made the right 0px and top 0px so it’s on the edge of the website. Put in the height and width of the banner, I’ve made the width smaller because there’s some empty space on the left of the banner. Lastly put in the background-image which is the banner you’ve just created. 7. Next for the html code, put it right underneath the <body> tag so it’s not in any other div tag.
<a  href="http://www.bloomwebdesign.net/hire-me" target="_blank">
<div id="topright"></div></a>
I want my banner to be a link so I’ve place the <a href> code around the div id tag. 


