Create a Cute Cartoon Penguin & Poster
In this tutorial I’ll teach you how to create a cute cartoon penguin and a sky background poster in Illustrator & Photoshop!
Final Result
Illustrator
1. Sketch out your penguin character, I’m using a graphics tablet to roughly sketch it out. Copy and paste your sketch onto a 500×700 canvas in Illustrator and lock the layer. 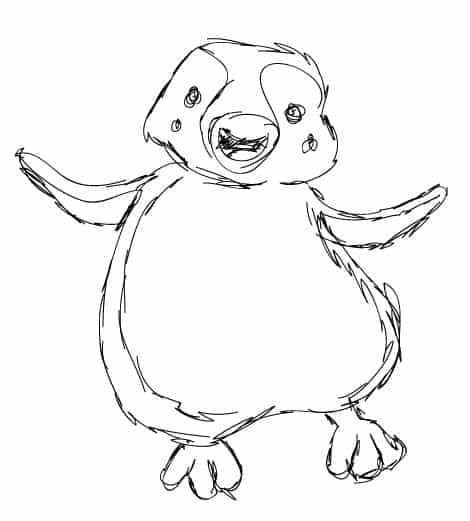 2. Get the pen tool and trace around the body using the gradient colour below, with no stroke.
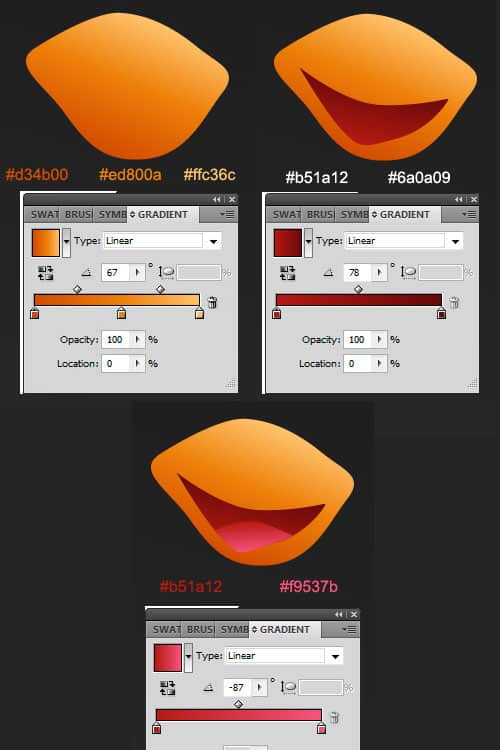
 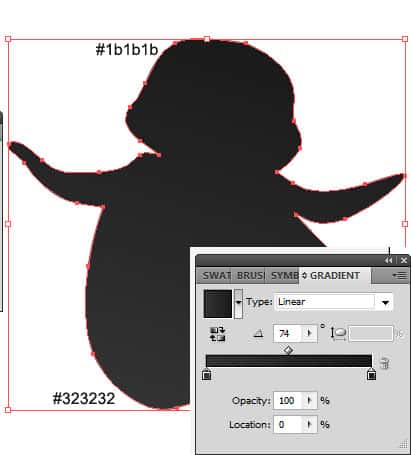 3. Create a new layer and remove the body layer from view, using the pen tool trace around the beak and the mouth features using the gradient colours below.
  4. With the pen tool trace around the white area of the face, then create a small circle for the eye, duplicate the circle by holding down alt, clicking on the eye and dragging it away. Using the gradient colours below.
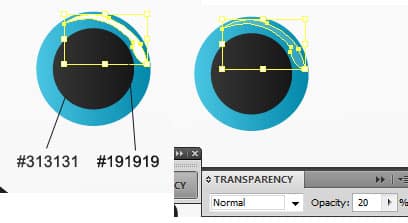
 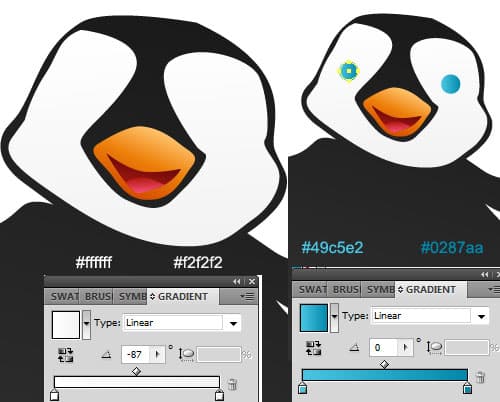 5. With the zoom tool zoom up to the eye. Get the pen tool and draw a eye reflection using the colour white. Go to Window > Transparency to bring up the window, make the opacity 20%.
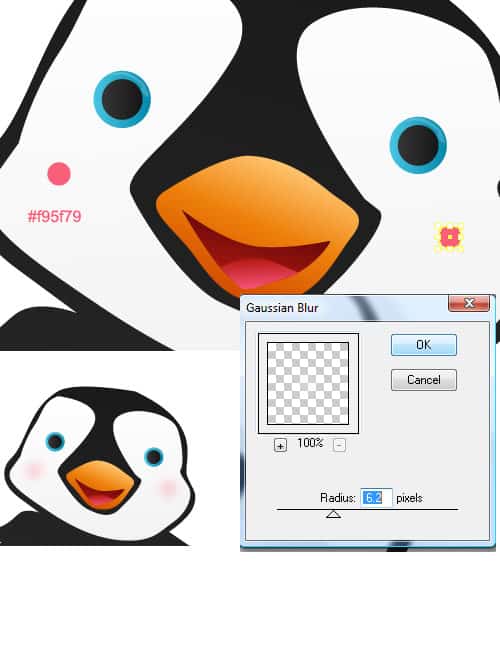
  6. Get the circle tool, hold down shift and draw 2 circles using the colour below. With the 2 circles selected, go to Effects > Blur > Gaussian Blur and put in 6.2.
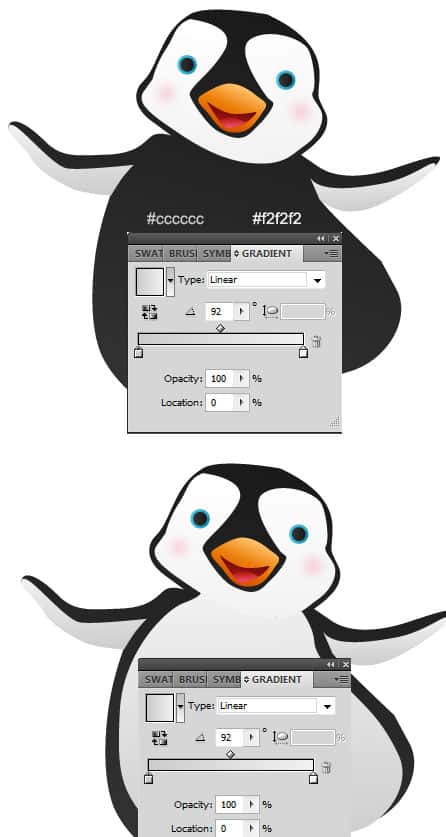
  7. Using the gradient colours below trace the white parts of the wing and stomach with the pen tool.
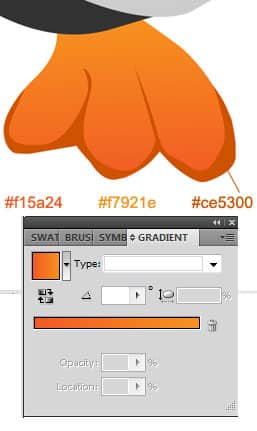
  8. Using the pen tool trace around the feet using the first to gradient colours below. Then using the third colour draw around the shadow areas of the feet. Save the document and close illustrator.
Photoshop
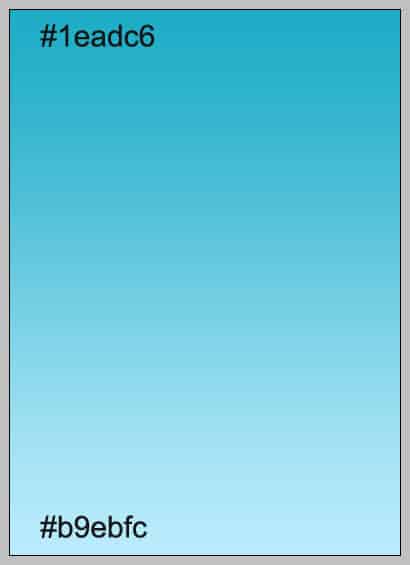
9. Open up Photoshop and create a new canvas that’s 500×700 pixels. 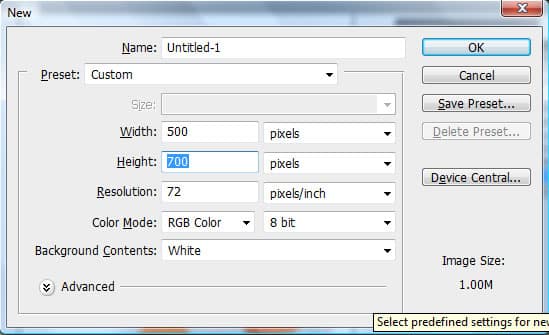 10. Double click the background layer to unlock it, right click the layer and go into blending options. Put in a Gradient Overlay using the colours below.
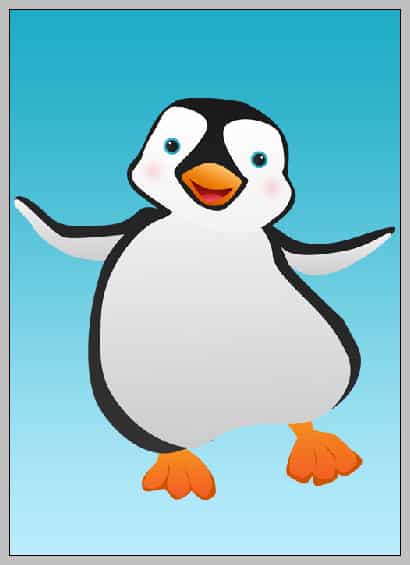
  11. Open up the Penguin file, copy and paste it onto the document. Press ctrl+t, hold shift and drag one of the top corners down to make the size smaller so it fits well.
  12. Go to Window > Brushes (or F5) to bring up the brushes box. Press on the new layer icon to create a new brush and name it clouds. Put in the settings below for the new brush type.
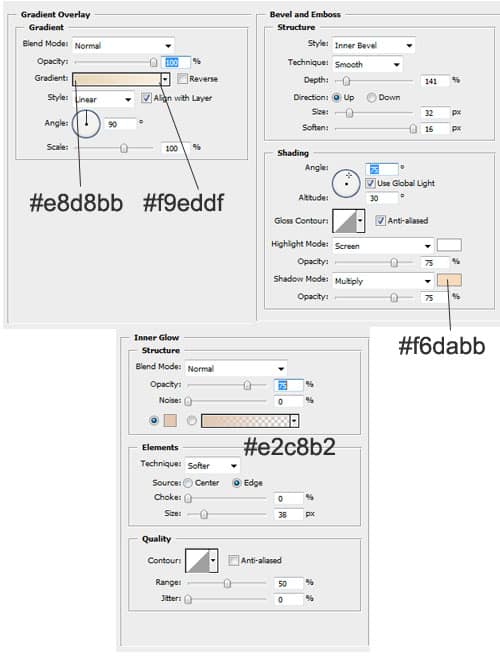
  13. Now create a new layer on the canvas, right-click and go into blending options. Put in these settings:
  14. Now click on the new brush you create earlier and create the clouds on the new layer. The brush will make various sizes circles every time you click to help make a better cloud.


