Create a Fun Scrapbook in Illustrator
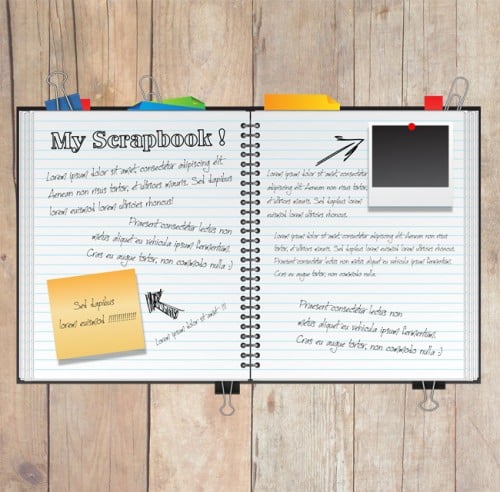
Learn how to create a fun & playful scrapbook in Illustrator & displaying it on a background in Photoshop!
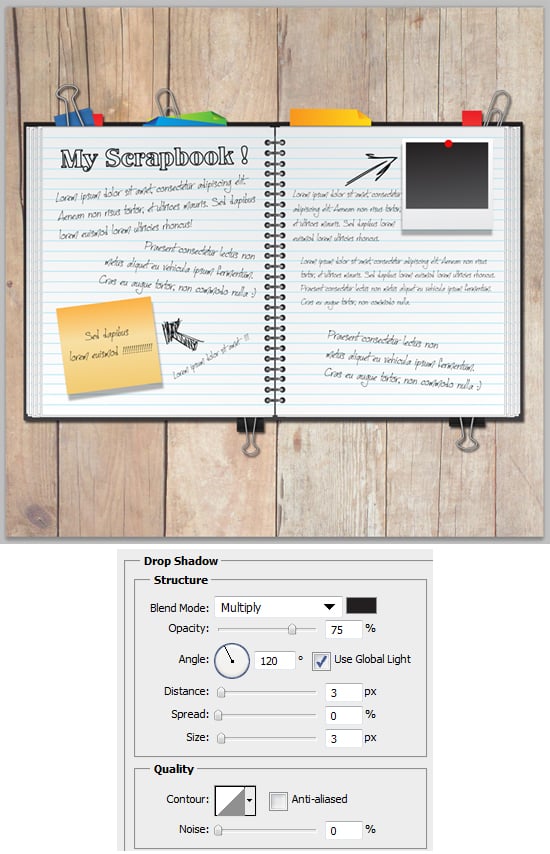
Final Result
Illustrator
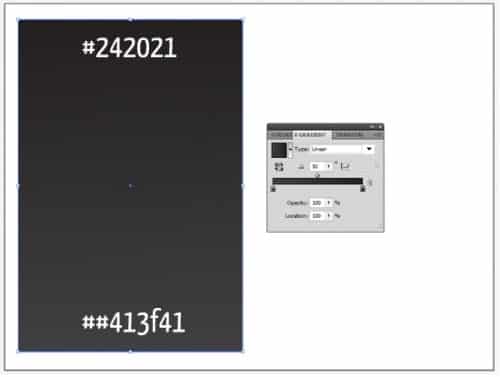
1. Create a new background that’s 600×450. Using the rectangle tool draw a shape like below with the fill gradient below and a stroke of none.
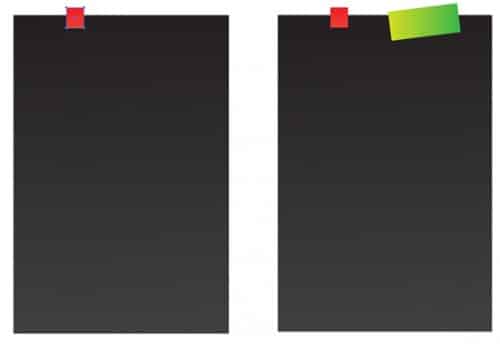
2. Using any colours you wants create some more shapes using the rectangle tool, you can rotate that shapes be selecting them with the selection tool and rotating.
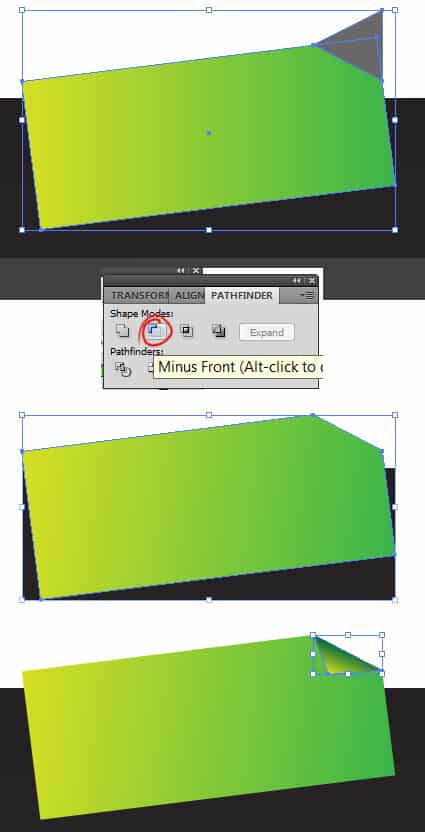
3. To get an edge on a tab folded, using a dark colour draw over a corner of the shape using the pen tool, then hold down the shift or ctrl key and select both of the shapes. Go into Pathfinder click on the Minus Front icon. Next using the pen tool draw a folded edge & make the fill the same gradient as the shape.
4. You can duplicate the shapes making selecting them, holding down the alt key and dragging out the shape. You can rotate it by selecting the shape with the Selection Tool and changing it.
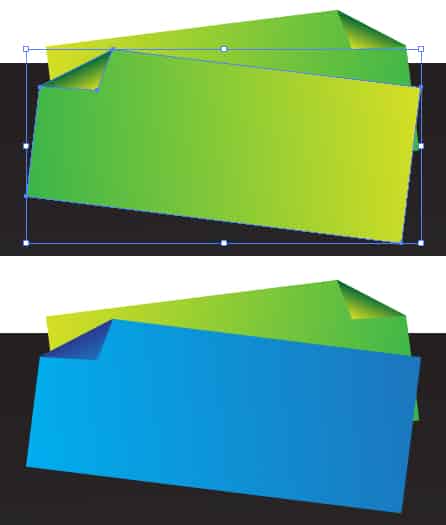
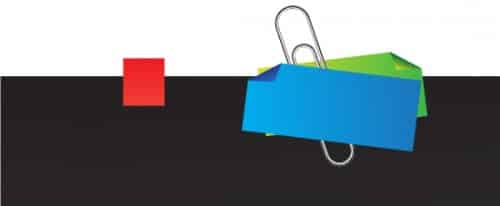
5. Next download this Vector Binder & Paper Clip set & open the illustrator document. Copy and paste anything that takes your fancy onto the scrapbook.
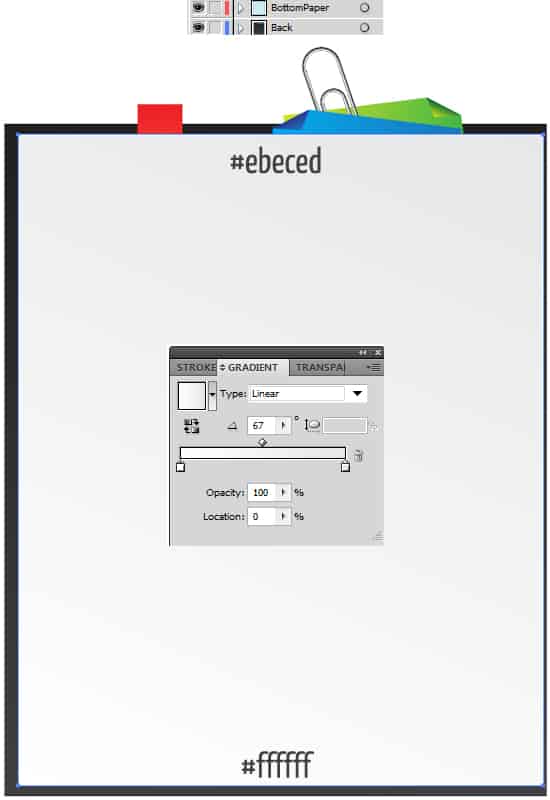
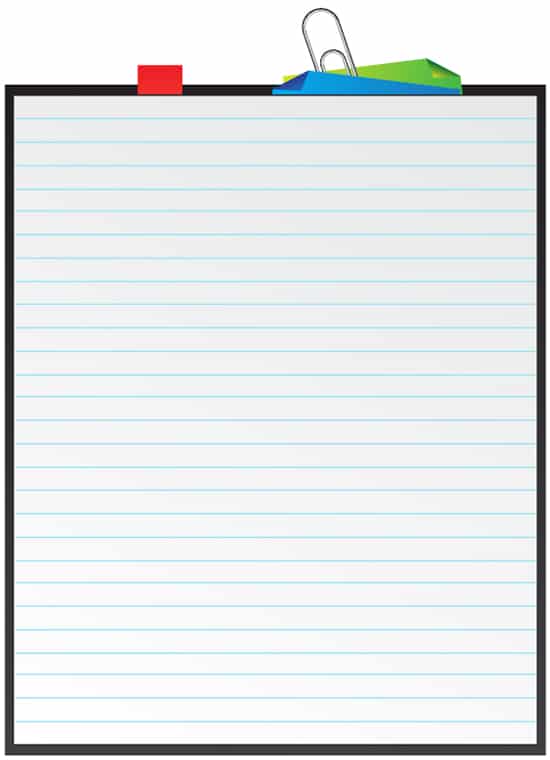
6. To make it easier create a new layer for the pages, create a page using the rectangle tool with gradient colours below & a small dark grey stroke.
7. next using the Line tool hold down the shift key (to keep the line straight) and draw a blue line across the page, duplicate this line using the previous method.
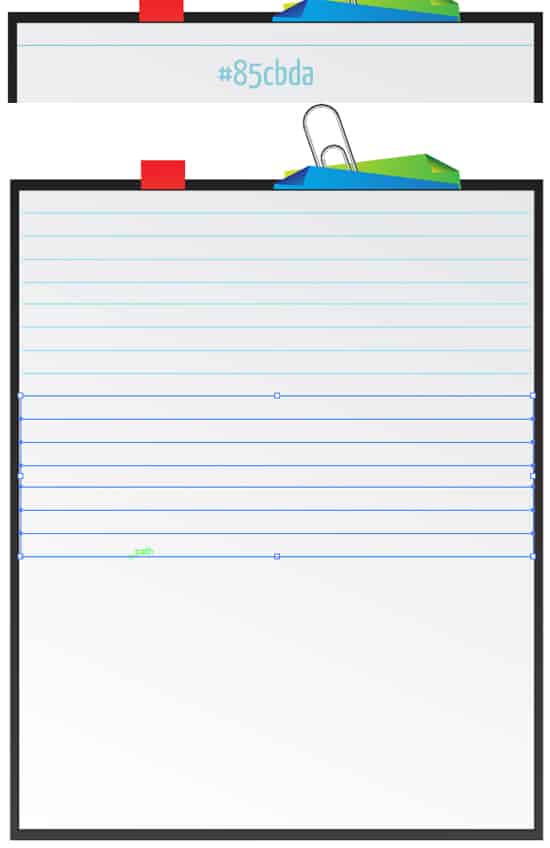
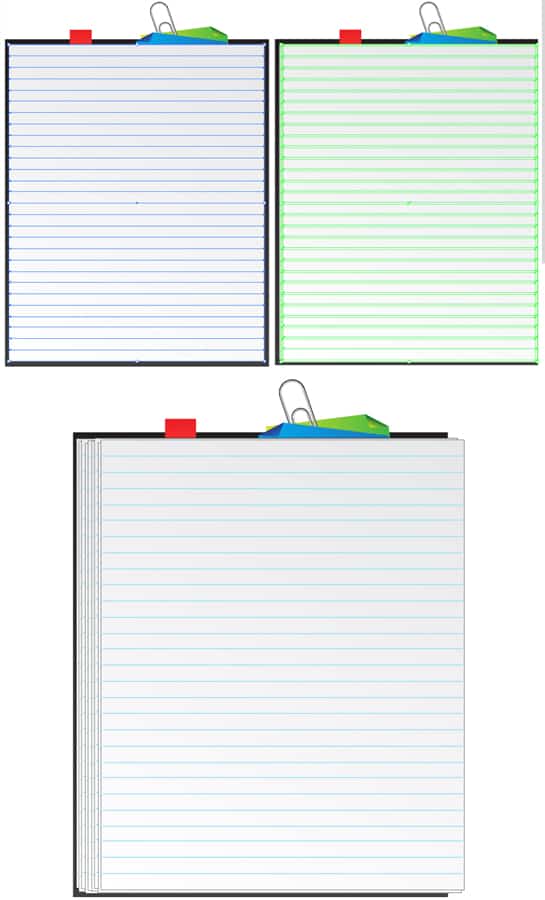
8. Now lock the bottom layer and select all the lines and page you just created, duplicate the page many times moving each page slightly right.
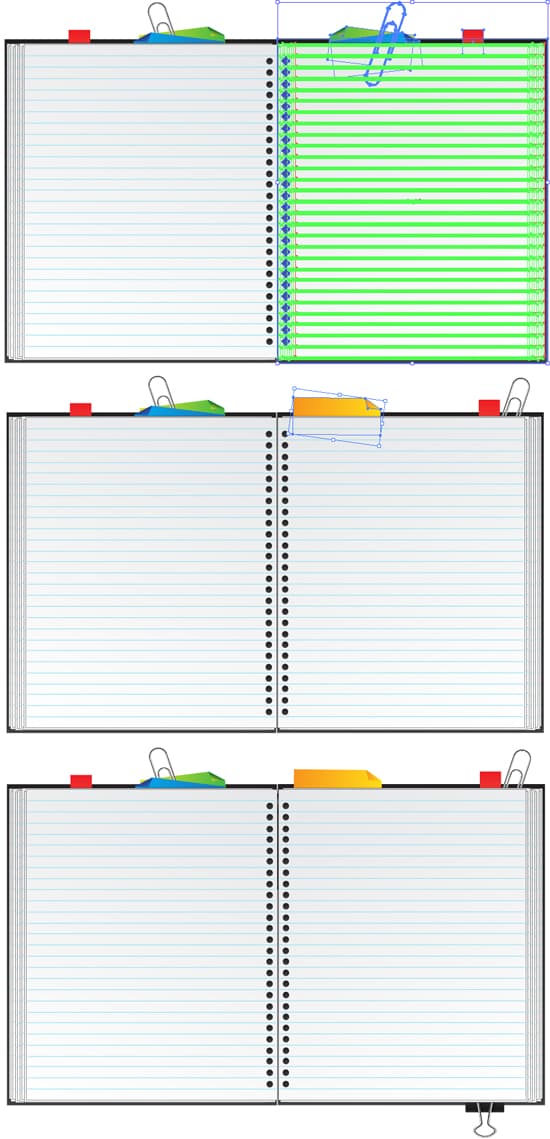
9. Using the Zoom Tool (magnifying glass) zoom up to the right edge of the top page, get a ellipse tool and draw a circle like below while holding down the shift key (to keep the shape perfect). Make the circle a fill colour of gradient and a stroke of none. Duplicate the circle and place them down the page.

10. Unlock the bottom layer and select everything, duplicate the left side of the book and flip it over to the other side like below. Go to the bottom layer and change around some of the tabs & colours, I’ve added in a binder.
 ,
,
11. Using the rounded rectangle tool draw the metal ring to connect both pages, put a the gradient colours below.
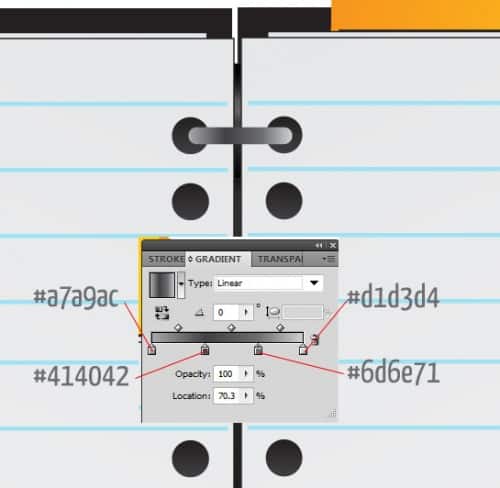
12. Duplicate the shape until it’s down the book.
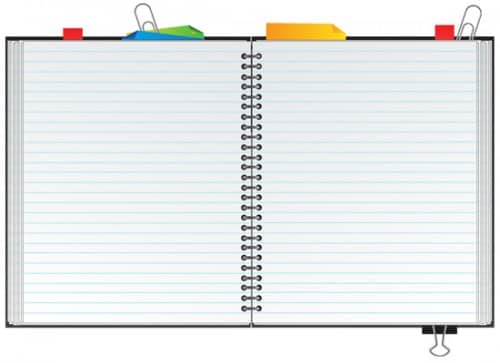
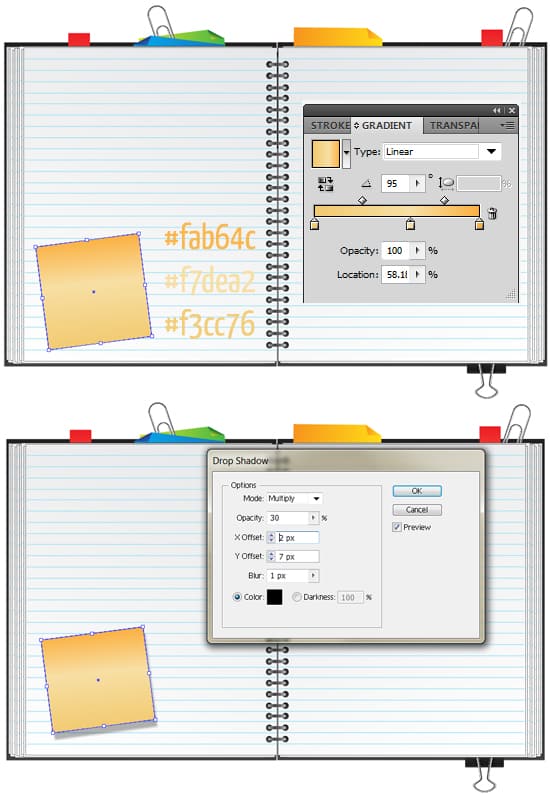
13. To create a sticky note draw a square shape using the rectangle tool and rotate it, put in the gradient colours below. WIth the shape selected go into Effect > Stylize > Drop Shadow and put in the settings I have below.
14. Do the same step again for the polaroid photo.
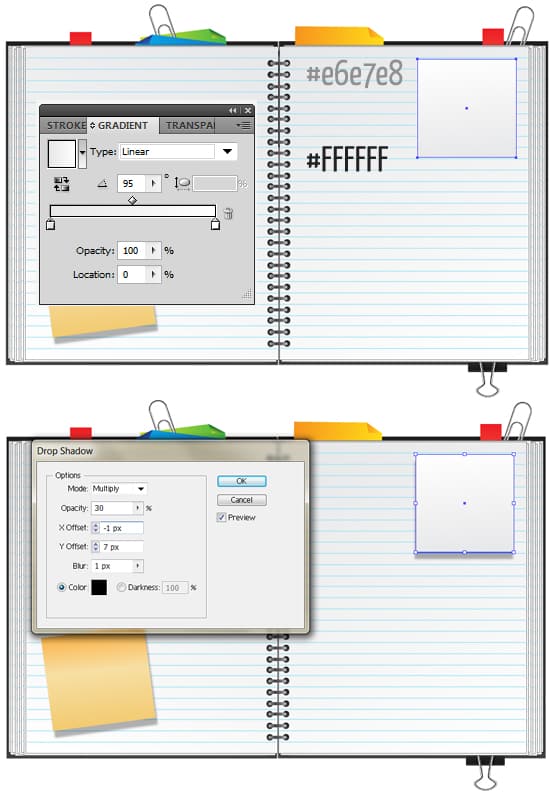
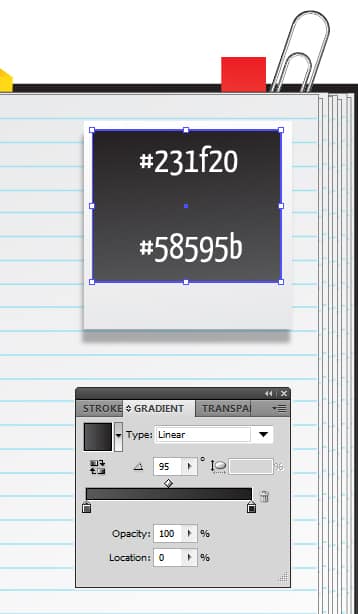
15. Draw a shape like below with the rectangle tool and make the gradient colours below for the photo:
16. I’ve used the font Myriad Pro to write out a heading with a black stroke, next I’ve copied and pasted some Vector hand Drawn arrows from here and placed them in the book.
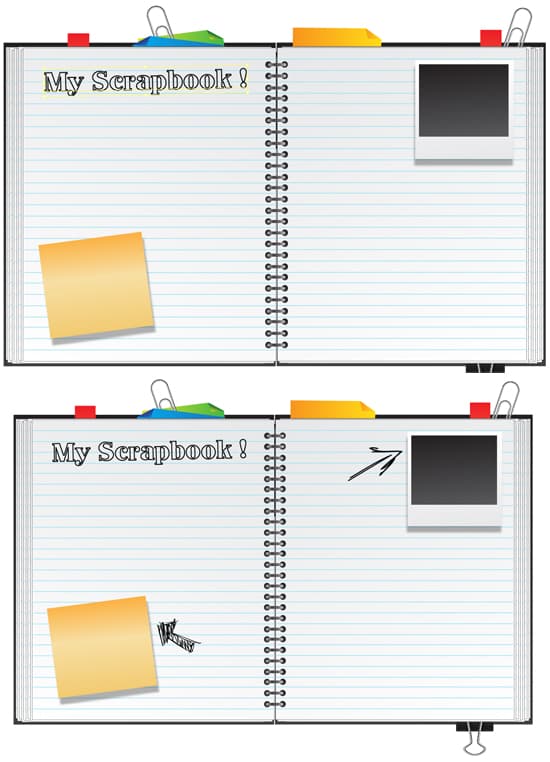
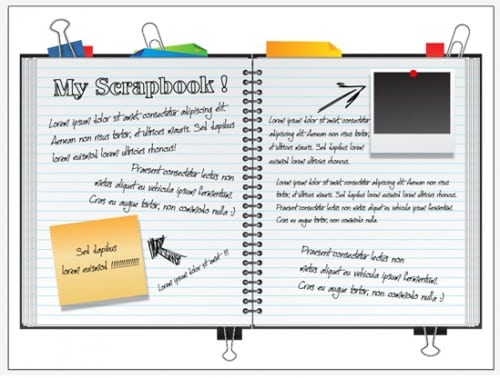
17. Using the font Jellyka CuttyCupcakes I’ve written out some dummy text. Save the document (if you haven’t yet!).
Photoshop
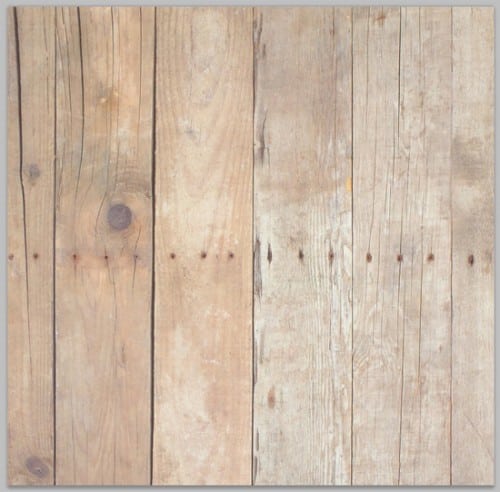
1. Create a new document with the size of your choice and copy/paste this wooden background onto the canvas.
2. Open up the scrapbook file, press ctrl+a to select all and copy/paste it onto the woden background, press ctrl+t to make the shape transformable. Drag a corner down while holding down the shift key to shrink the image.
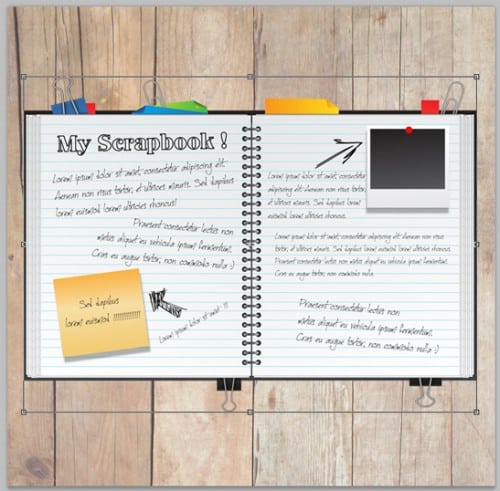
3. Lastly double click on the scrapbook layer to bring up Blending Options and put in an outer glow.
Final Result


