Create a Peaceful Nature Photo Manipulation in Photoshop
In this tutorial we’ll learn how to make a Peaceful Nature Photo Manipulation in Photoshop using images, brushes and various helpful techniques.
Final Result

Resources
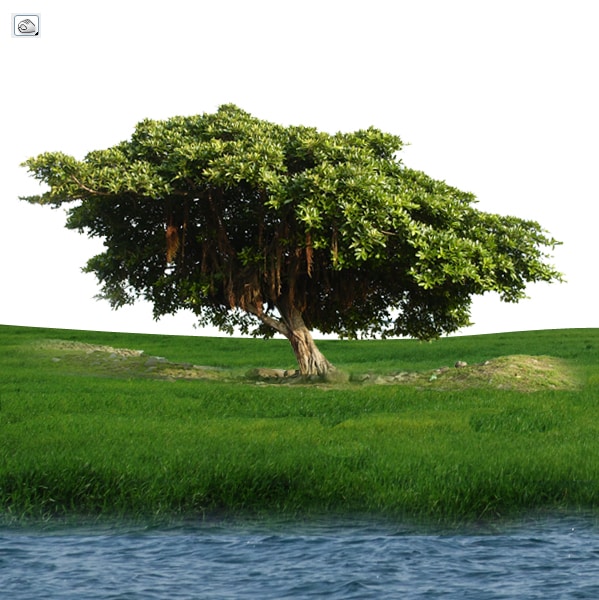
1. Create a new document that’s 600×600 pixels. Copy & Paste the field image onto the canvas and shrink down by pressing CTRL+T and drag a corner down while holding down the SHIFT Key (to keep the shape perfect). Using the pen tool draw how to want the fields shape to be. After you’ve created the shape click on the Vector Mask Thumbnail Layer while holding down the CTRL key to highlight the shape. Go to the fields shape and click on the Add Mask Layer Icon so it crops down to the highlighted shape. Remove the pen layer.

 2. Copy & Paste the tree image onto the canvas and shrink down using the previous method. Using the Magic Wand tool select and erase the sky and concrete ground so only the tree & rocks remain.
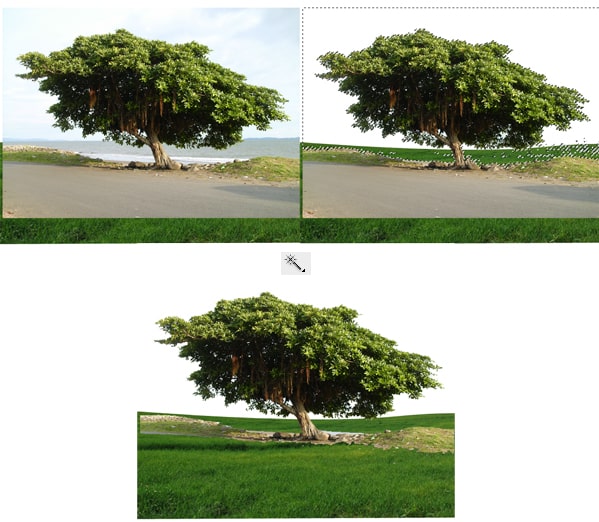
 3. Click on the Add Layer Mask icon on the tree layer. Using a 50% Soft Edged Brush (black to hide, white to unhide), hide the bottom part of the rocks and tree so it blends into the field.

 4. To remove the unwanted shading on the field, select the Clone Tool, holding down the ALT Key click on the grass you want to clone. Create a new layer and draw on the cloned grass using the Clone Tool, you’ll need to repeat this process until all the shading is gone.
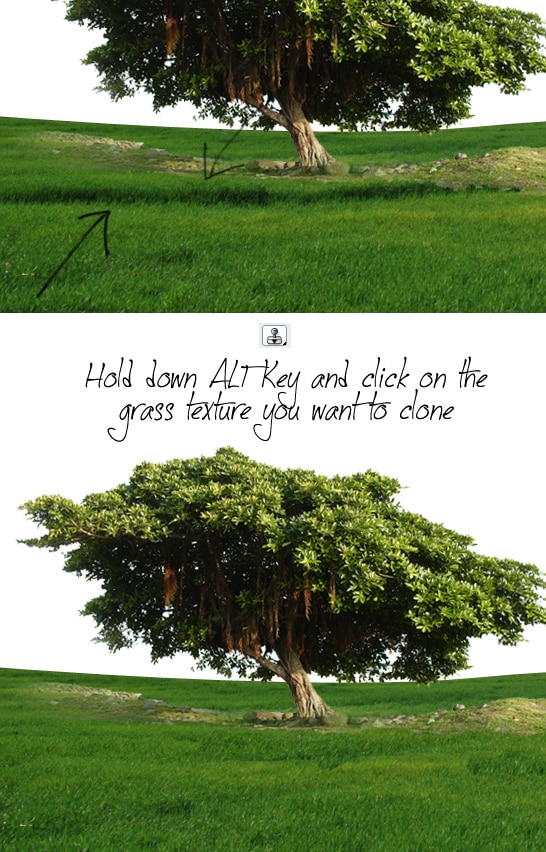
 5. Next go to the tree layer, using the Dodge Tool brush on the top of the tree to lighten, using the Burn Tool brush on the bottom of the tree to darken.

 6. Next Copy & Paste the sea image onto the canvas and shrink down. Crop the image down so only the bottom is seen. Using the Burn Tool brush on some darker tones.
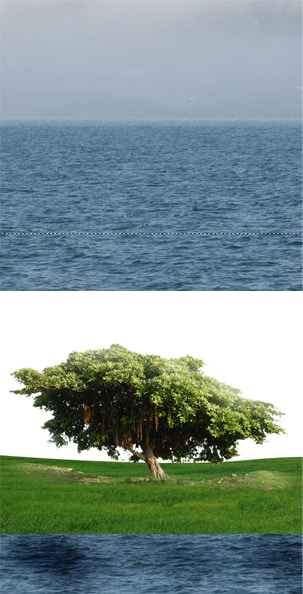
 7. Duplicate the field layer and layer it so it overlaps the water. Add a Mask Layer to the field and hide the top & bottom parts of the grass using a soft edged brush.
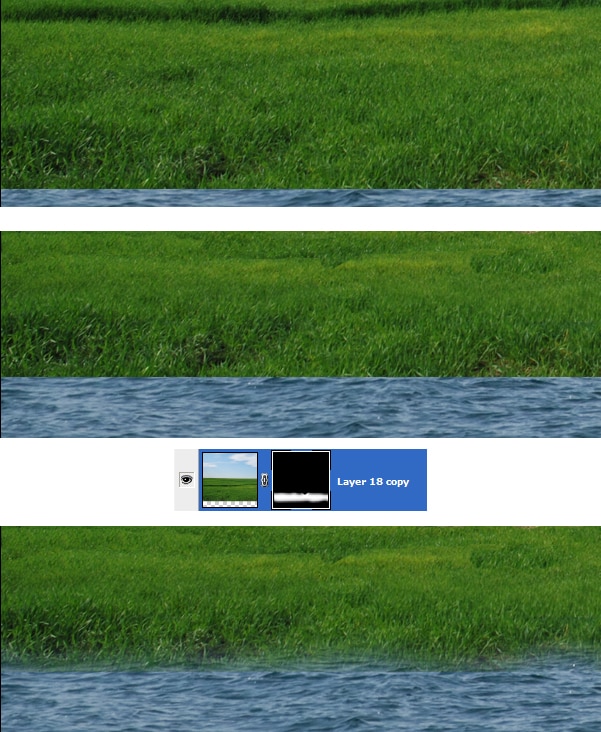
 8. Next go to the field layer and brush on some darker tones using the Burn Tool so it looks more realistic.
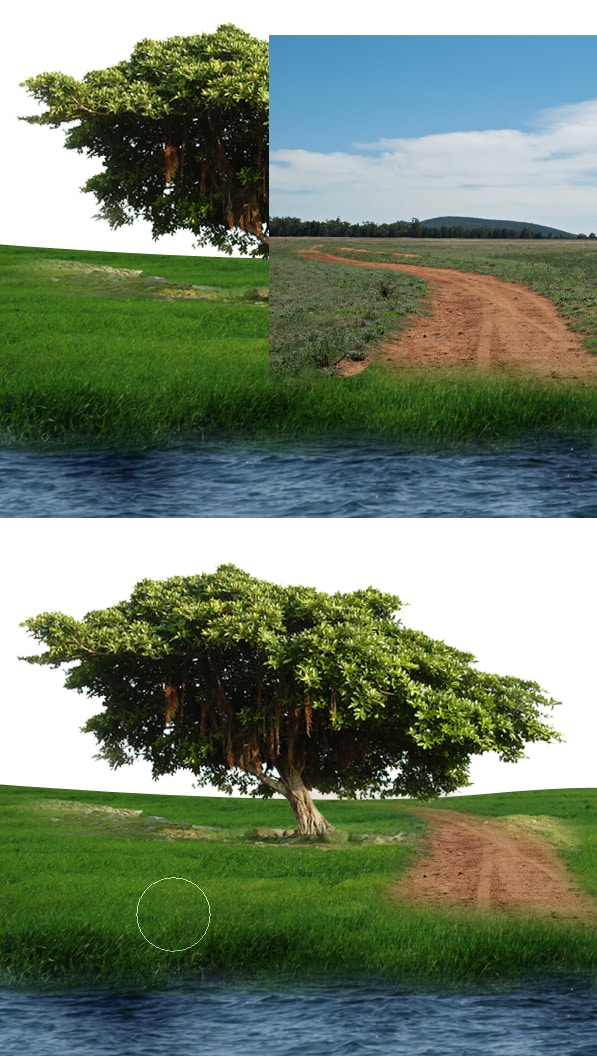
 9. Copy & Paste the Dirt Road image and shrink it down, place it on the right side of the tree. Add a Mask Layer to the dirt road and hide parts of the image until only the dirt road is visible.
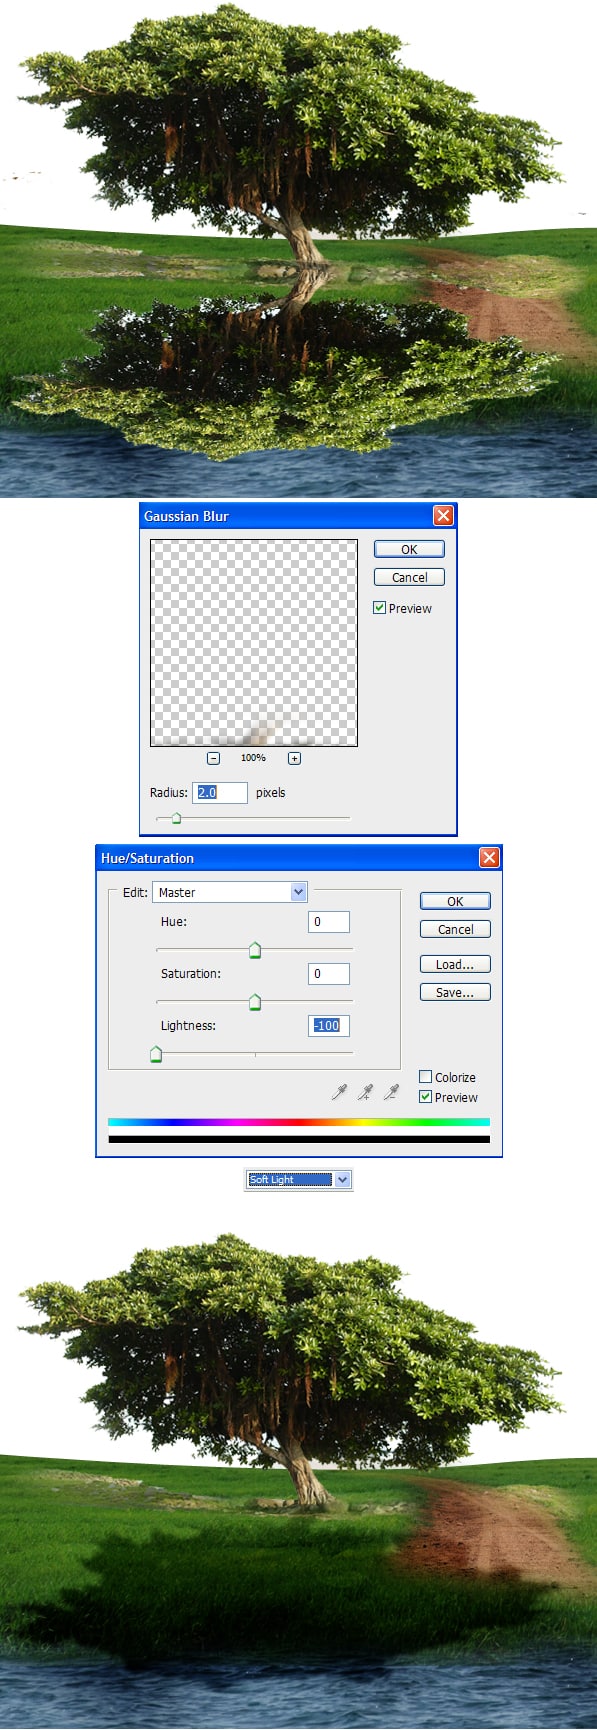
 10. Duplicate the tree layer, on the new tree layer go to Edit > Transform > Flip Vertical and place it on the bottom of the tree. Erase the rocks so only the tree is shown. Next go to Filter > Blur > Gaussian Blur and put in 2.0. Next go to Image >Adjustments > Hue/Saturation and put in the settings below. Lastly set the Blending Mode to Soft Light to finish off the tree shadow.
 11. Copy & Paste the sky image onto the canvas and shrink down, go to Image > Adjustments > Brightness/Contrast and put in the settings below.
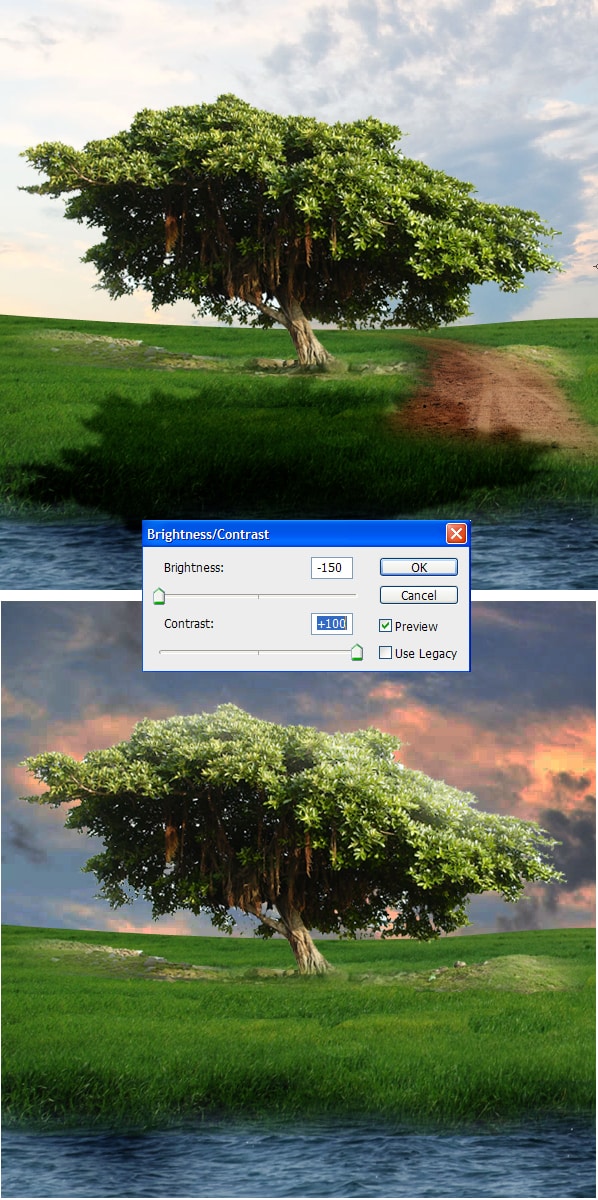
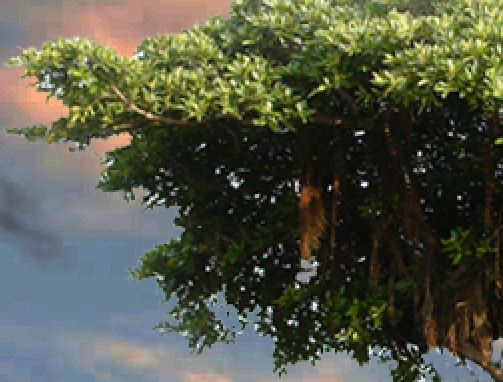
 12. Using the Zoom Tool zoom up to the tree, go to the Mask Layer on the Tree, and erase any parts you don’t want.
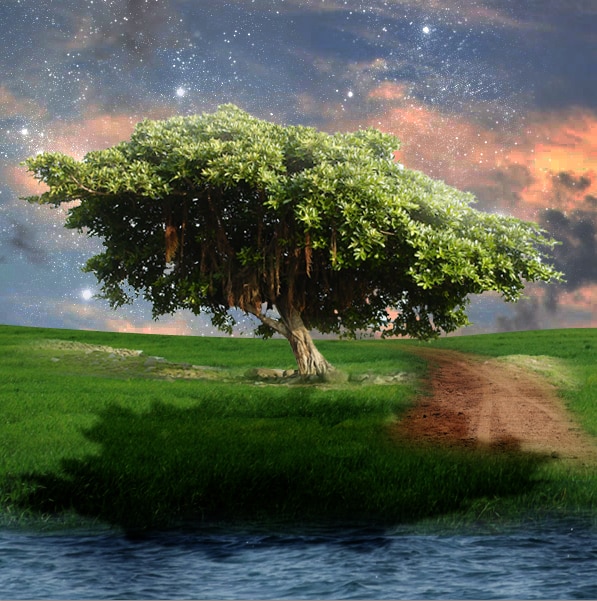
 13. Create a new layer and draw on the stars using the Star Brushes in the colour white.
 14. Lastly on the sky layer, go to Filter > Render > Lens Flare and put in a Flare just above the tree.
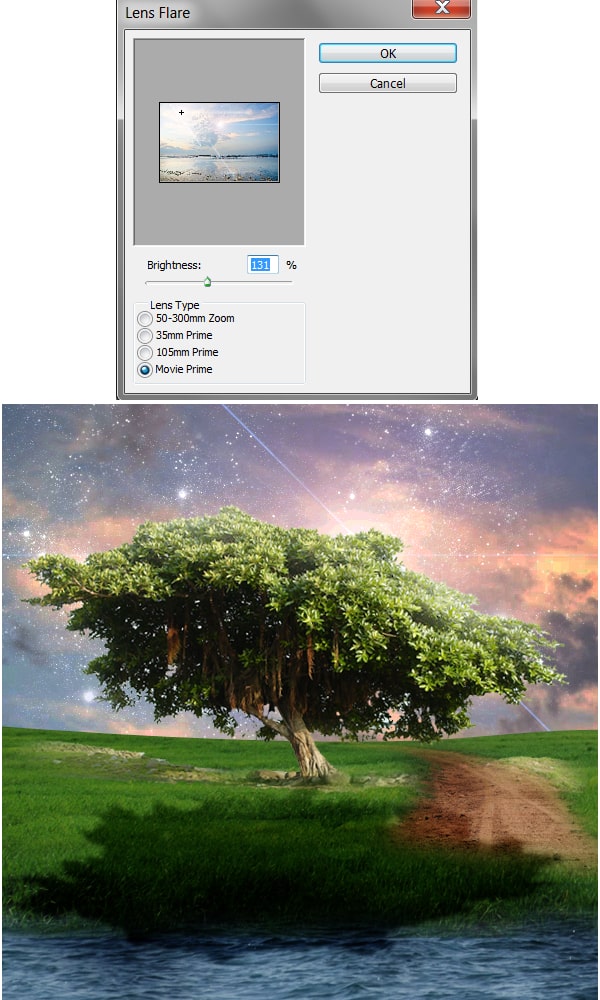
Final Result


