Create a Retro Folded Text Effect in Illustrator (+ Source Files)
In this tutorial we’ll learn how to create a Retro Folded Text Effect using Adobe Illustrator and adding some final options in Adobe Photoshop to create a nice presentation which can be used for your portfolio. This text effect is simple and attractive and holds a vintage 50’s look with the type of font used.
Resources:
Final Result
1. In Adobe Illustrator, create a new documents that’s 600×600 pixels. Using the font Muncie, write out your word using any colour.
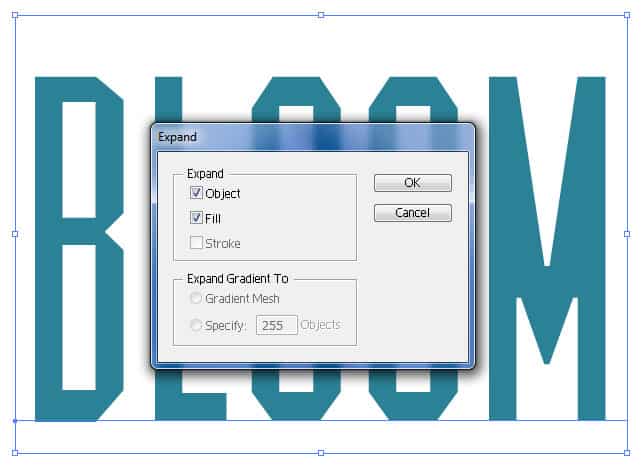
2. To make each letter selectable, select the text using the Selection Tool and go to Object > Expand Appearance and put in the options below.
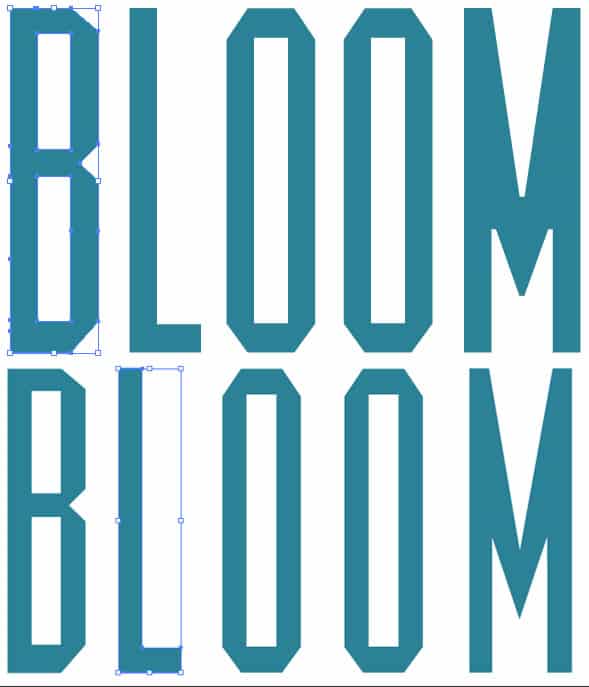
3. Next select the text again and into Object > Ungroup (you’ll need to do this 5 or so times depending on how many letters you have). This will make each letter selectable.
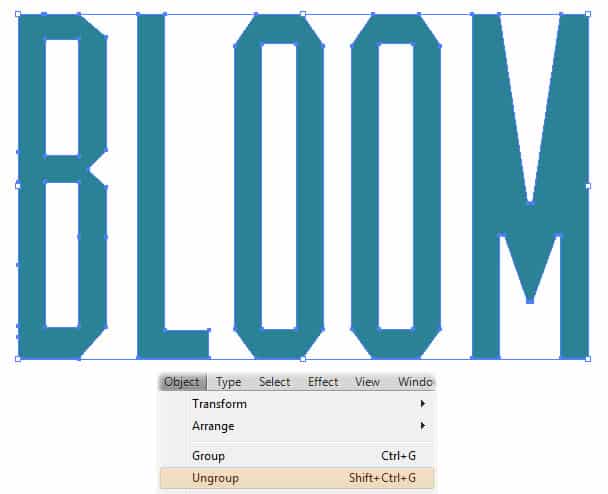
4. Now select each letter and space them out more. An easy way to do this is by selecting each letter with the Selection Tool, hold down the Shift Key or CTRL Key and hit on the Left or Right arrow key.
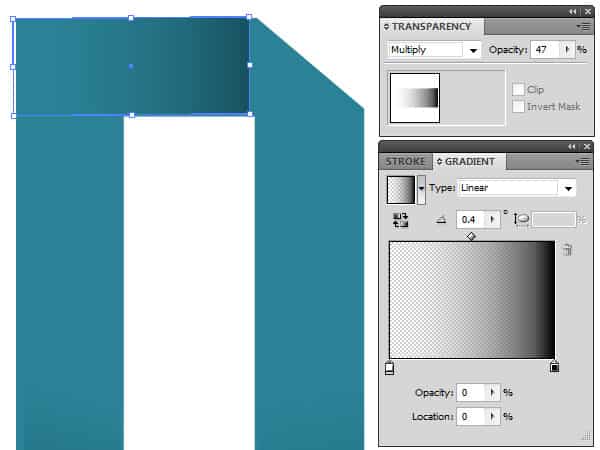
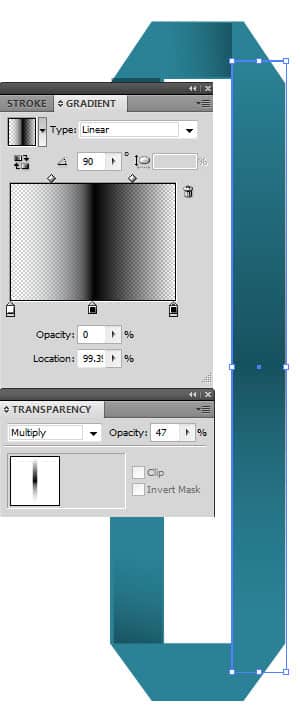
5. Next to start the folded shading, using the Pen Tool draw out a shape for where you want the shading to be. Place the settings below in the Transparency & Gradient windows. The angle of the Gradient will be difference with most some folded shaded areas. Complete the folded areas on each sections of the letters.
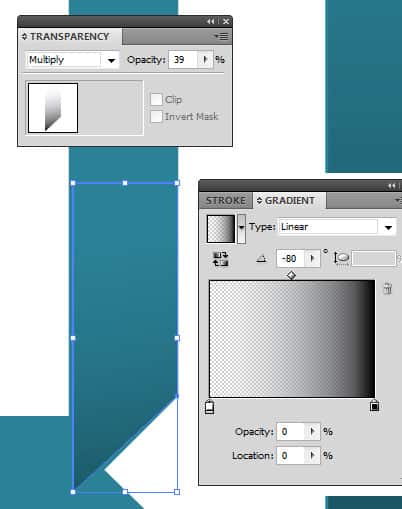
6. On letters that don’t have many turns, draw in a shape with the Pen Tool and put in the Gradient below.
7. Complete the folded areas and shading with each of your letters.
Photoshop Options you can do
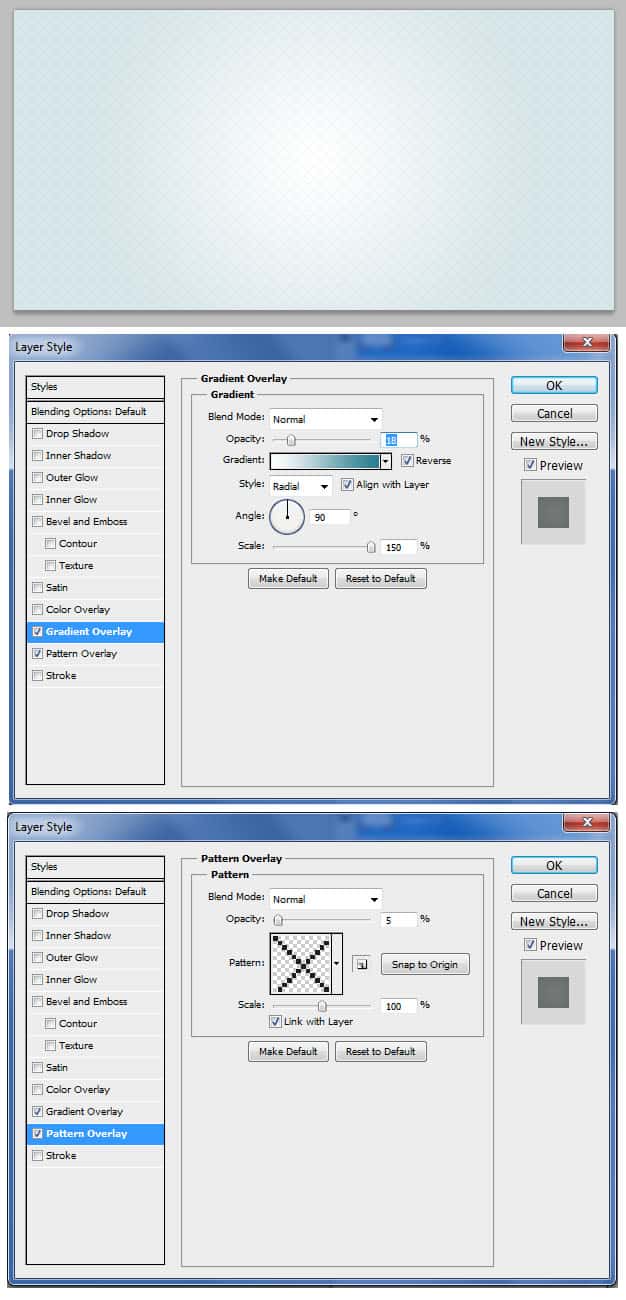
1. Create a new document that’s 600×300 pixels with a background. Double click on the background layer to unlock it, then again to go into Blending Options and put in the options below. Make the Gradient Overlay a white and make the colour the same as your text to keep to the colour scheme.
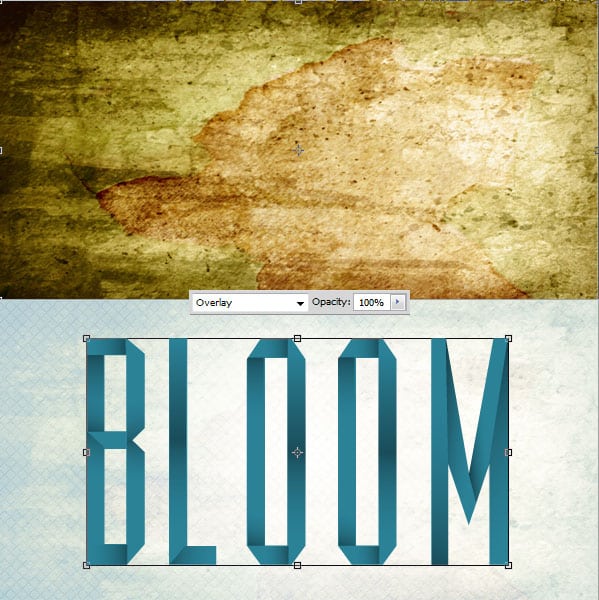
2. Copy and Paste the grunge texture onto the canvas, press CTRL+T and resize the texture down to the size of the canvas. Set the Blending Mode of the texture to Overlay to add a nice texture to the background.
Go into Adobe Illustrator and select all of the text effect with the Selection Tool. Copy ad Paste it onto the Photoshop canvas.


