Create a Retro Ribbon – Illustrator & Photoshop Tutorial
Learn how to create a Retro Wavy Ribbon from scratch using Illustrator & Photoshop!
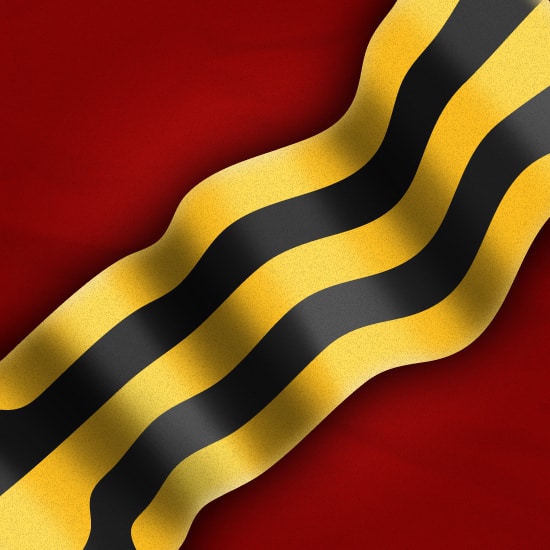
Final Result
Illustrator
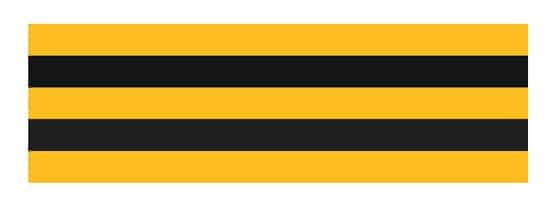
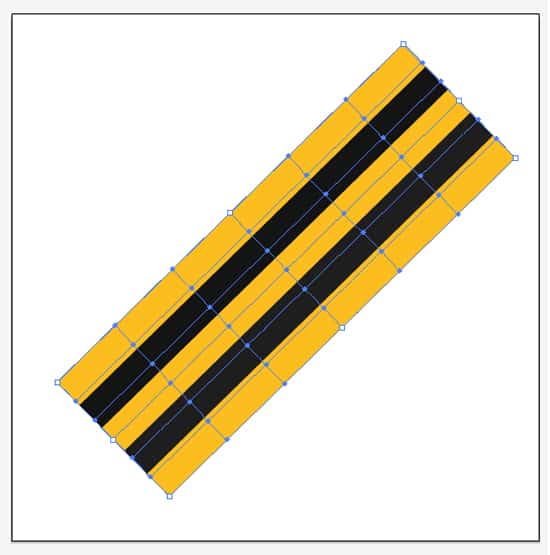
1. Create a new document in Illustrator, using the Rectangle Tool draw a thin rectangle using the colour your choice. Duplicate the rectangle by selecting it & pull it out while holding down the ALT key, change the second rectangle to a different colour.. Do this until you have 5 coloured rows like below.
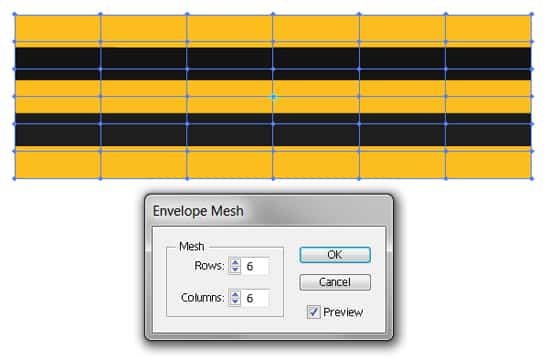
2. Select all of the rectangles, then go to Object > Envelope Distort and Make with Mesh.
3. At this stage you can rotate the shape any way you like, I’ve decided I want it going down diagonally.
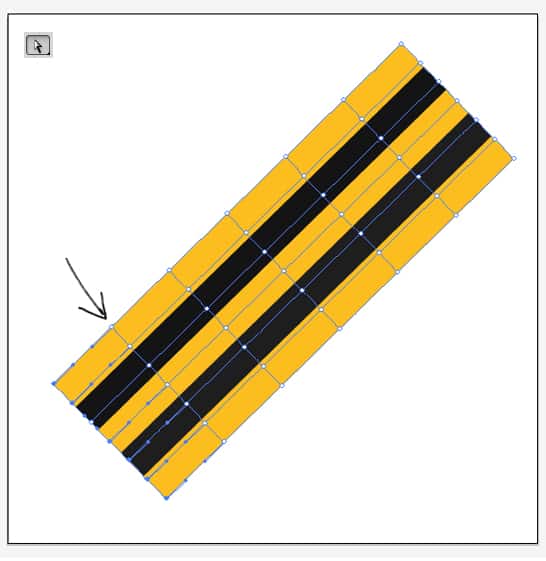
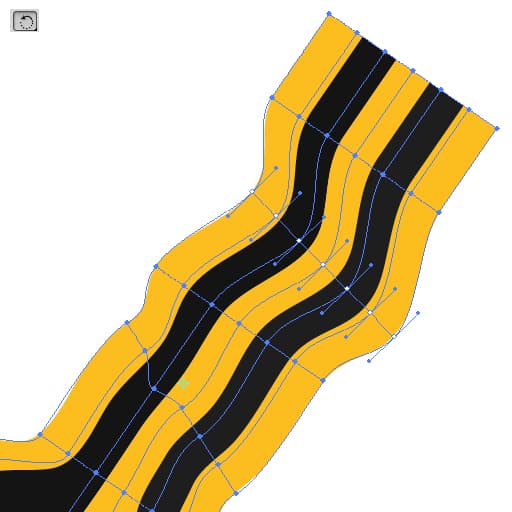
4. Using the Direct Select Tool, select a Mesh Row of Anchor Point while holding down the shift key (to select multiple).
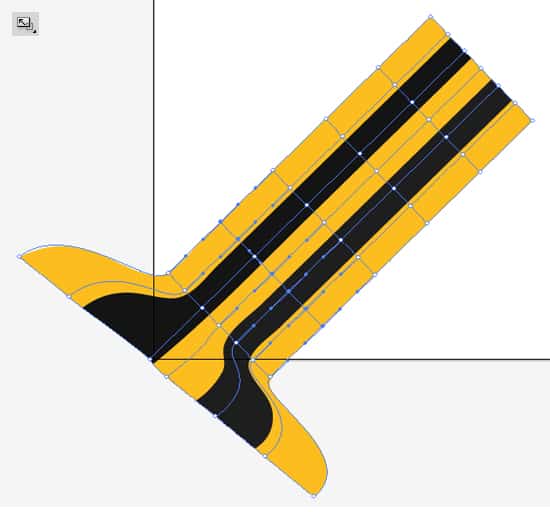
5. With the anchor points selected, select the Scale Tool, click on an Anchor Point & Enlarge the chosen Mesh while holding down the shift key.
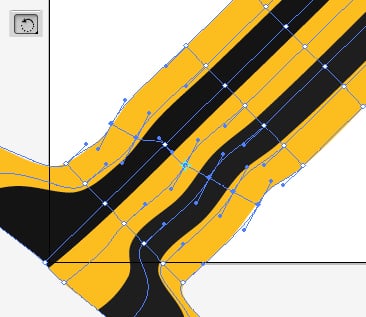
6. Repeat step 4 and select the 3rd Mesh Row Anchor Points. This time we want to create ripples in the Ribbon, select the Rotate Tool, click on an anchor point and move to create the ripples effect.
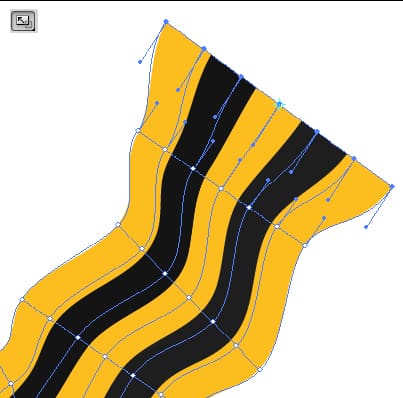
7.Repeat the processes to the other Mesh Rows, I’ve using the Rotate method for the 3rd Mesh Row & the Scale Tool for the Last Mesh Row.
8. You should end up with a nice wavy ribbon.
Photoshop
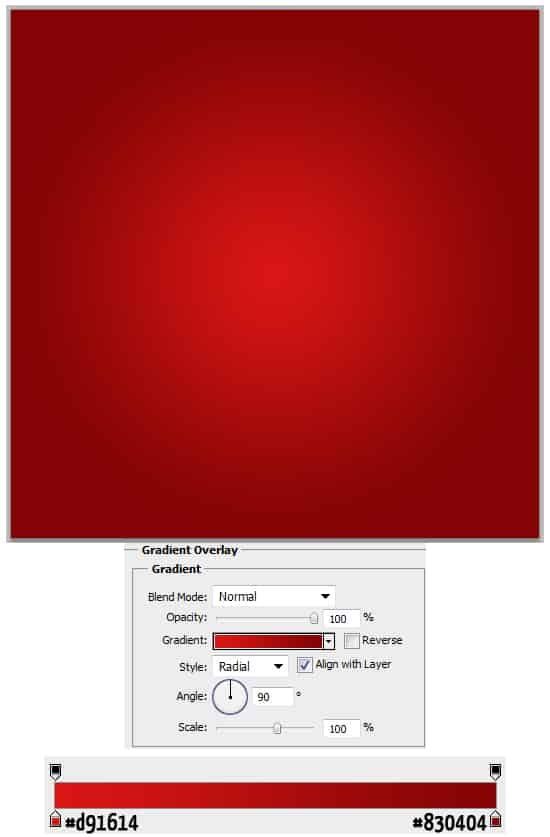
9. Create a new document in Photoshop that’s 550×550 pixels. Double click on the background layer to unlock, then again to go into Blending Options. Put in the Gradient Overlay below:
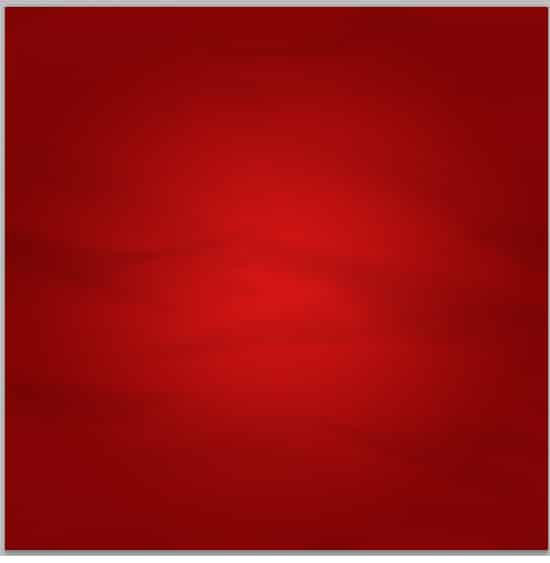
10. Next download & install these Paper Texture Photoshop Brushes, create a new layer and put down a paper texture using a light grey.
11. Next copy & paste the wavy ribbon onto the canvas.
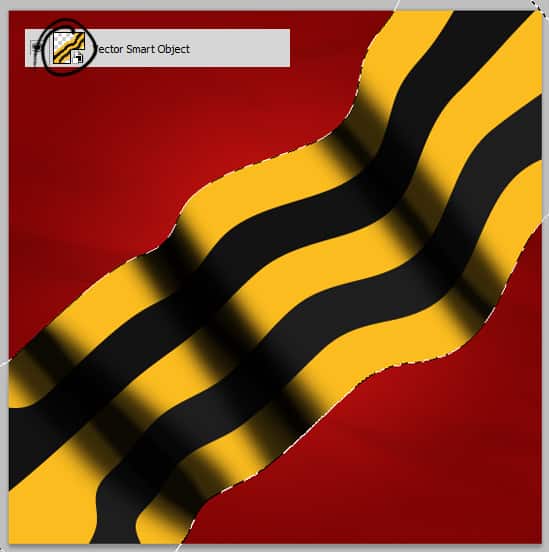
12. While holding down the CTRL key click on the ribbon’s Layer Thumbnail (circled below) to select the layer, we while leave this shape selected until we’ve finished the shadowing and toning. Create a new layer and using a soft edged brush, brush on the shadows on the ribbon.
13. Go to Filter > Blur > Gaussian Blur and put in 9.5 so the shadows spread out more.
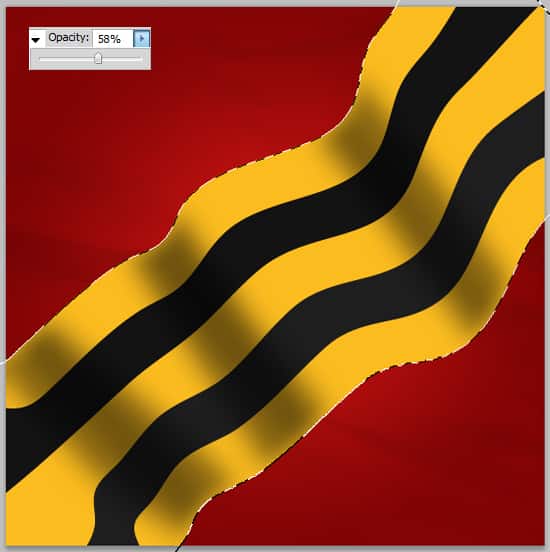
14. Set the opacity on the shadow layer to 58%.
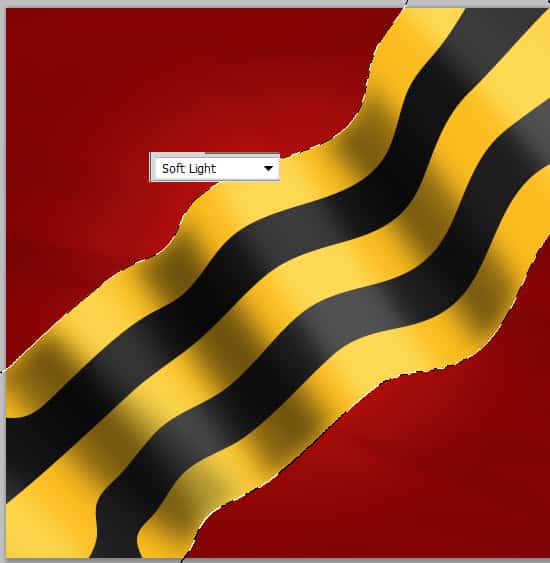
15. Create a new layer & set the Blending Mode to Soft Light. Using a white colour soft edged brush, draw on the highlights on the ribbon.
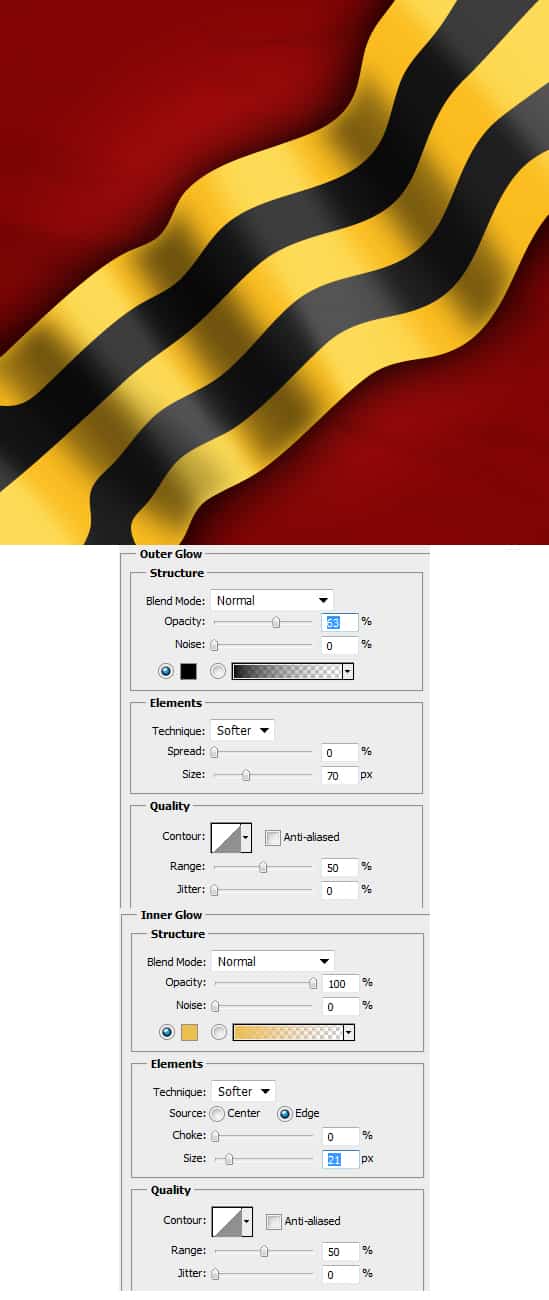
16. Click on the Rectangular Marquee Tool, and click elsewhere on the canvas to remove the ribbon shape. Double click on the Ribbon to go into Blending Options and put in the options below:
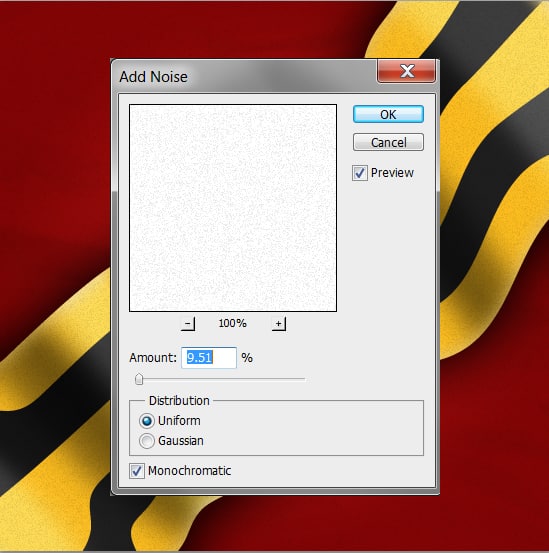
17. Next create a new layer & place it over all the other layers. Fill the colour white & set the Blending Mode to Multiply so it’s invisible. Next go to Filter > Noise > Add Noise and put in 9.51, this will give the design a nice retro grainy effect.
