Create a Stylish Portfolio Slideshow in Photoshop & Flash
Learn how to design and setup a Slideshow conveying your work in Photoshop and Flash!
Final Result
Photoshop
1. Create a new document with the size of your choice, I’m using 929x292px. Create a new layer and fill it with the colour of your choice. Next get the rectangle tool and draw a white rectangle and add the blending options below. 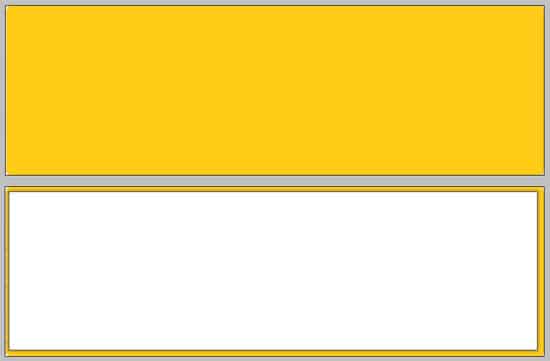
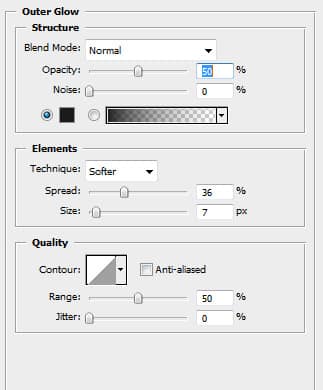
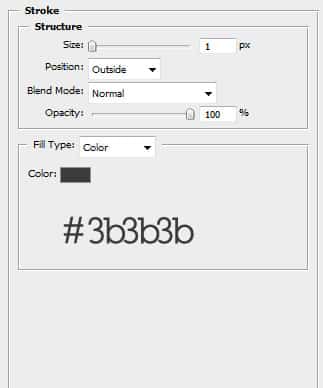 2. Create another rectangle and make it smaller then the previous shape. Fill it with the colour #313131. Then duplicate the layers to make 2 more sets, put them in a folder of their own so it’s easier to edit if needed. While on the folder press ctrl+t to rotate each image like below.
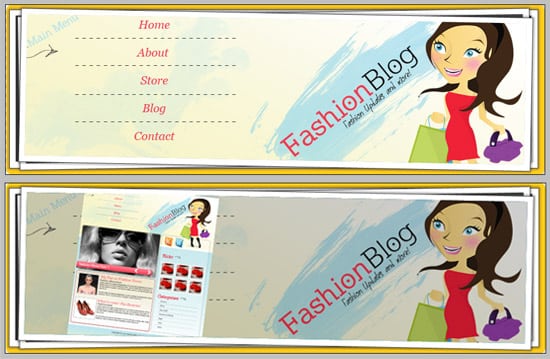
  3. Now get one of your work, go to the very top rectangle shape, while holding down the ctrl key click on the square shape on the rectangle layer to highlight the shape, next go to your image and copy and paste the image so it fits with the shape. I’ve done a light colour overlay with the first image, and copy and pasted the work again and placed it smaller on the slideshow design. You can present your work anyway you like on your slideshow.
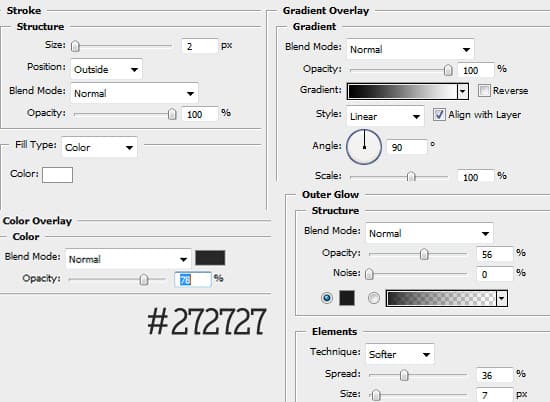
  4. After you have gotten your work onto the slideshow, create a new folder and call it arrows. get the circle tool, hold down the shift key to make a perfectly round shape. Go into blending options and put in the following settings:

 5. Go custom shape tool and pick the arrow shape. draw a white arrow on each of the buttons.
  6. Now get the design ready for Flash. Remove the eye icons on all the layer except for the background layer. Save the layer in a new folder called images in PNG format.
  7. Remove visibility from all layers except from the buttons. Get the size of the button and create a new canvas, drag the button layers onto the canvas and save in PNG format so the background in invisible.
  8. Next remove visibility to every layer except for your work, save each of them in png format again.
Flash
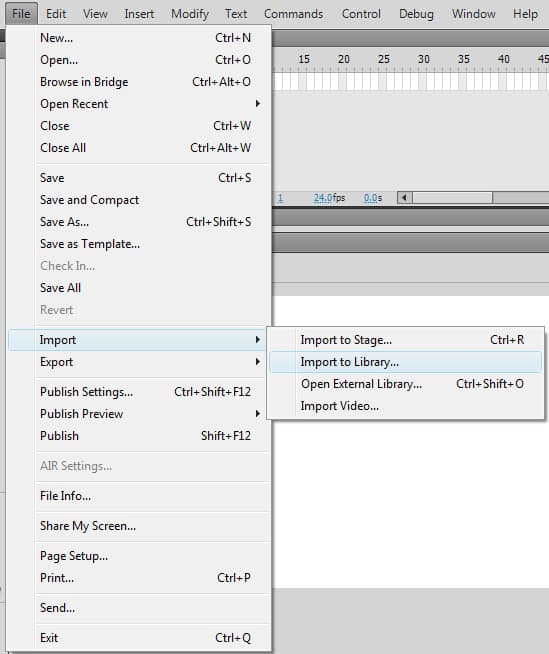
9. Next go into flash, create a new document that’s the size of your work.  10. Go to File > import > import to Library and import the images you just saved. If your Library isn’t showing in Flash, go to Window > Library (or press ctrl+L).
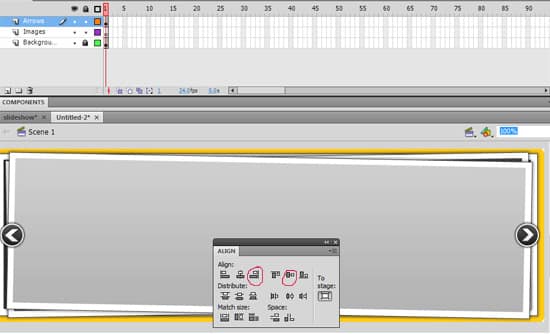
  11. Rename the layer that’s there background, drag the background image onto the layer. Go to Window > Align (or ctrl+K) to open the align box. Click on the 2 icons I have circled to centre the image. Now lock the layer.
  12. Create 2 more layers and call them images and arrows. Go to the arrow layer and drag the button images onto the layer. For image of them select the align icons I have circled. For the left icon click the left align icon instead of the right.
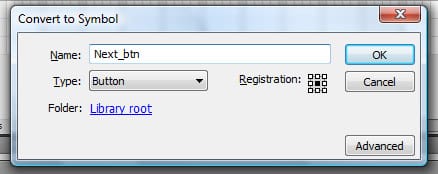
  13. Click on each button and right-click and press convert to symbol of press F8. Covert them to a button like below.
  14. Go to the images layer and drag the first of your work onto the canvas, press the 2 align icons I’ve circled below to center the work.
  15. Now go to each box on the timeline, right click and press insert keyframe and put in the next work. Do this with both the button layer and images layer. On the background layer just click on the last box you have, right-click and press insert keyframe. Depending on how many images you have to show the number of boxes with vary. On each keyframe put in your work and centre it.
 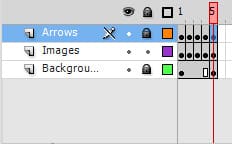 16. Now for some small amount of code! Go to each button frame, select each button and click F9. Insert the code I have below. The frame number is inserted in the code for which the button with be linked to.
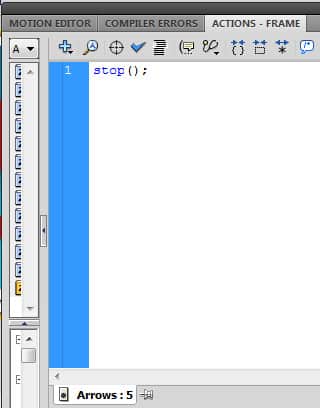
 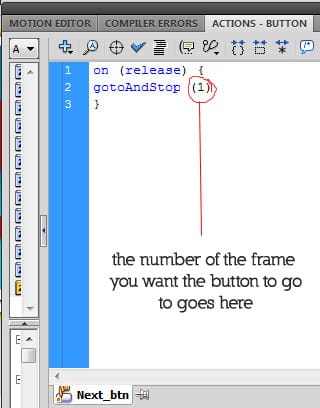 17. Lastly go to the first frame arrow frame, click anywhere on the grey background and press F9 to bring up the action script again. Put in the code below. This will make every image stop when it is shown in the slideshow.