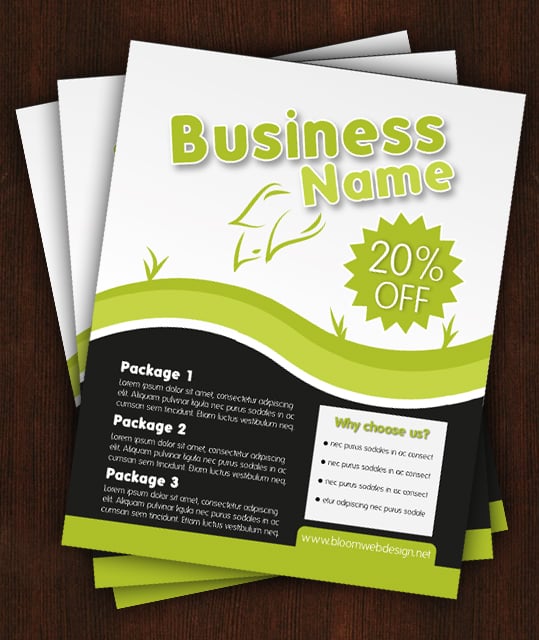
Create a Stylish Business Print Ready Flyer
Learn how to create a cool print ready flyer in Illustrator and make a finished display of the Flyer in Photoshop.
Final Result

Illustrator
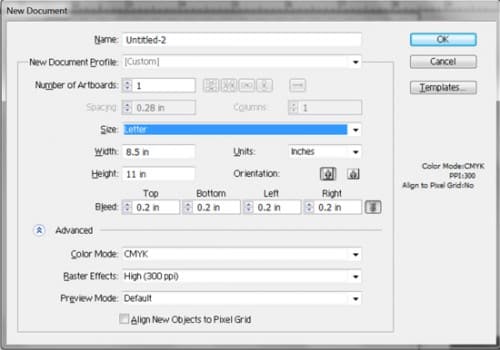
1. Open up Illustrator & create a new document with the settings below. The is in CMYK colour for printing and the raster effects is 300 for high quality.
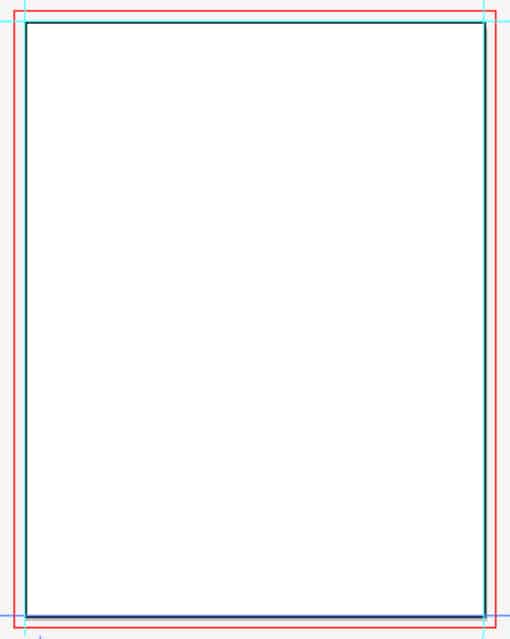
2. Now press ctrl+r to bring up the ruler around the canvas & drag out 4 lines and put them on the black outline of the canvas like below.
3. Hold down the shift key and key on the left & top lines and press enter to bring up the move widow. Put in the numbers below. Next do the same steps to the bottom and right line & put in the other numbers below:
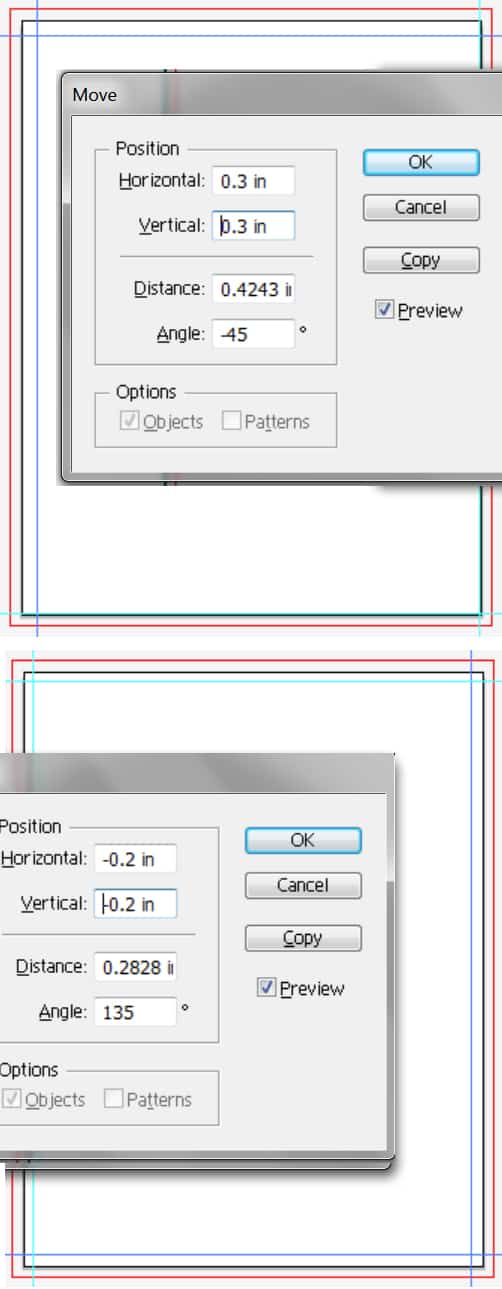
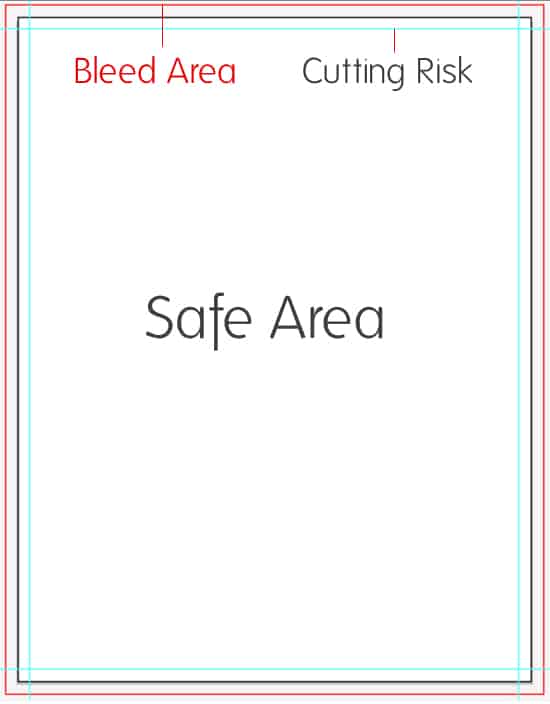
4. These are lines to help understand where to place you’re flyer design. The red line indicates the Bleed Area, the blue lines we just created is the cutting risk area, we will be doing the flyer design in the safe area.
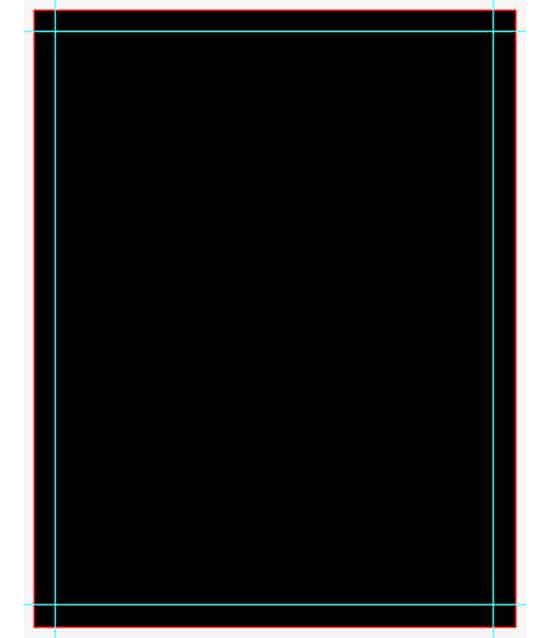
5. Next get the rectangle tool and draw a black background from the bleed lines.
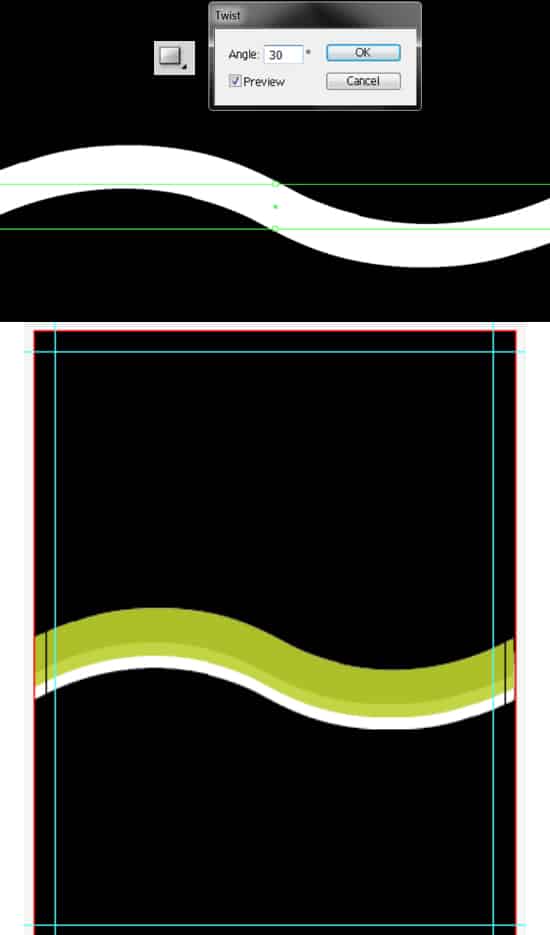
6. Using the rectangle tool again draw a rectangle across the canvas, with the shape highlighted go to Effect > Distort & Transform > Twist and put in 30. Duplicate the shape by holding down the alt key and press down on the rectangle and pull away. You can change the colours to what you want.
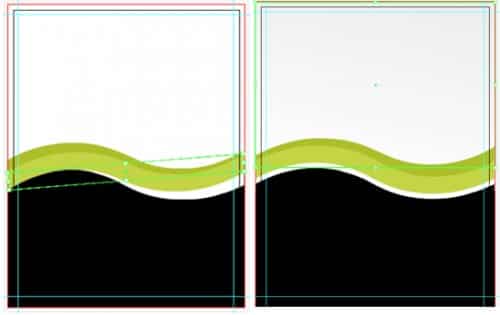
7. Next draw a white background with the rectangle tool, then right click each of the wavy lines & go to Arrange > Bring to Front so the white background is behind. I’ve put a light grey to white gradient on the background. If you want you can rotate the lines more to make it less strict.
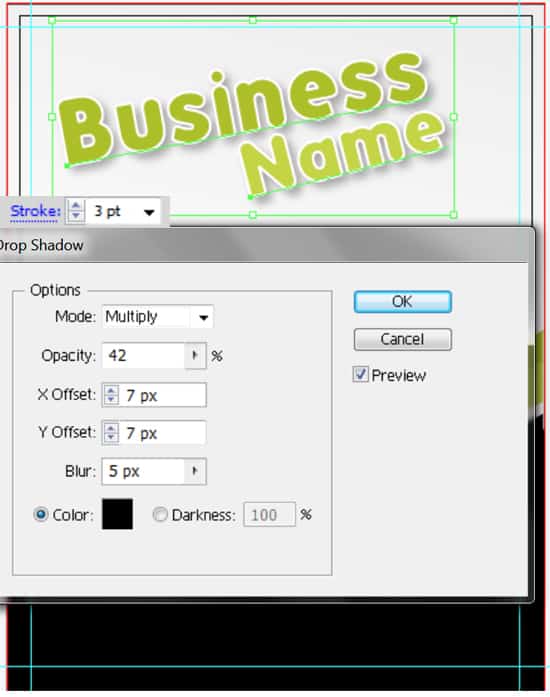
8. Using the font Folks write out the business name, I’ve got a a 3pt white stroke around the text. Rotate the font my click it with the selection tool and rotating at the edges. Next with the text selected go to Effect > Stylize > Drop Shadow and put in the settings below:
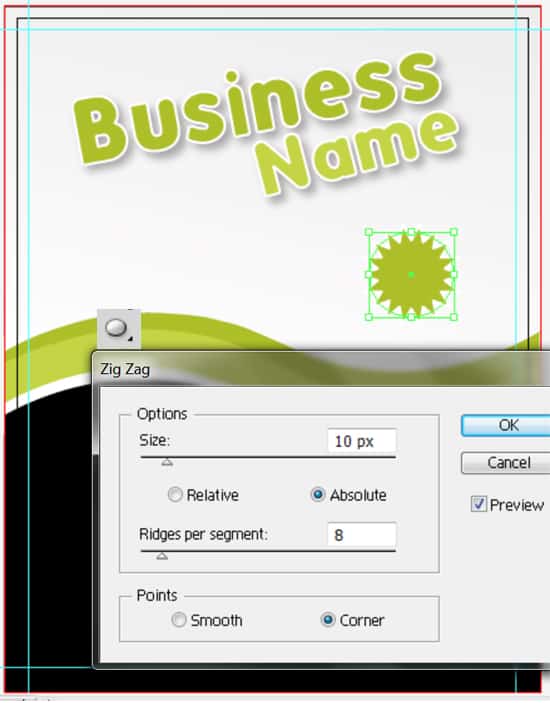
9. Next using the ellipse tool hold down shift and draw a perfect circle, I’ve got a stroke around the shape. With the circle selected go to Effects > Distort & Transform > ZigZag and put in the settings below. This will turn it into a star.
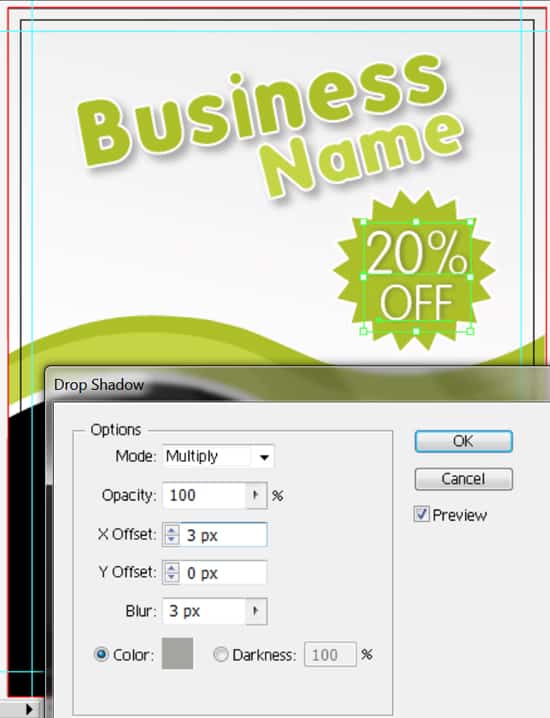
10. I decided to by the star bigger, so I selected it, held down the shift key and pull on an edge. Using the Folks-Light write out a discount. With the discount text selected go to Effects > Stylize > Drop Shadow and put in the settings below:
11. Next I’ve written out the business packages.
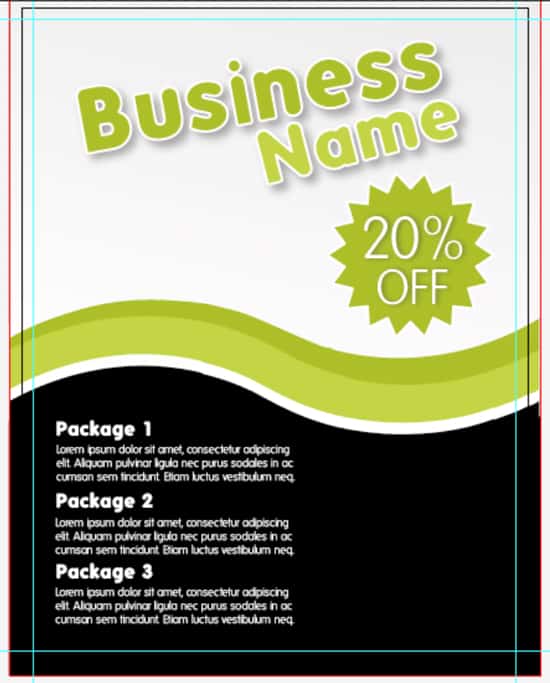
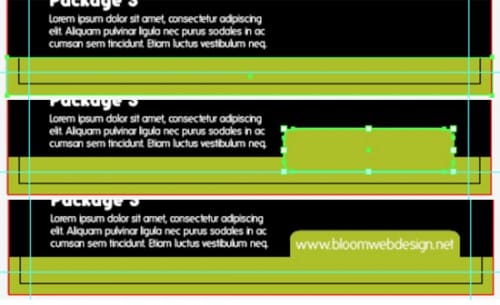
12. Next get the rectangle tool and draw a coloured strip on the bottom of the flyer. Then with the rounded rectangle tool draw a shape on the right side. Write out the business website.
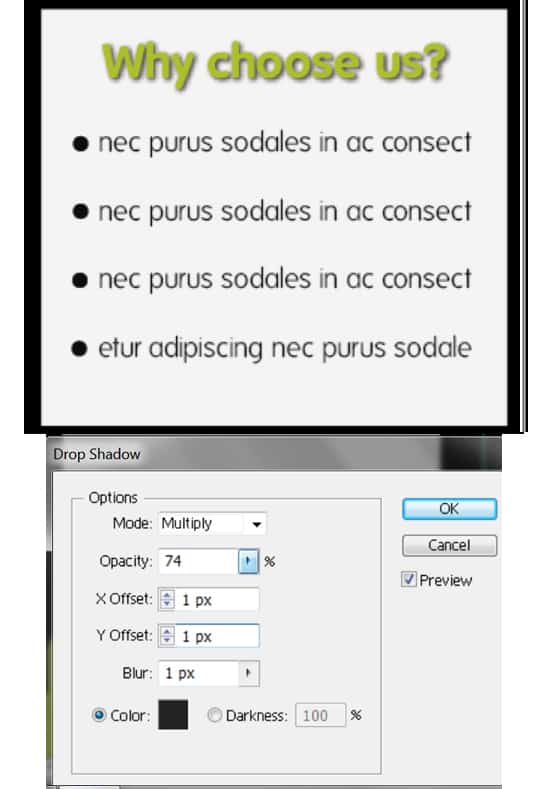
13. On the right space draw a white box with the rectangle tool, write out a heading & a list of your choice. I’ve put a drop shadow on the heading settings are below) and drawn a small black circle and duplicated it for the list shape.
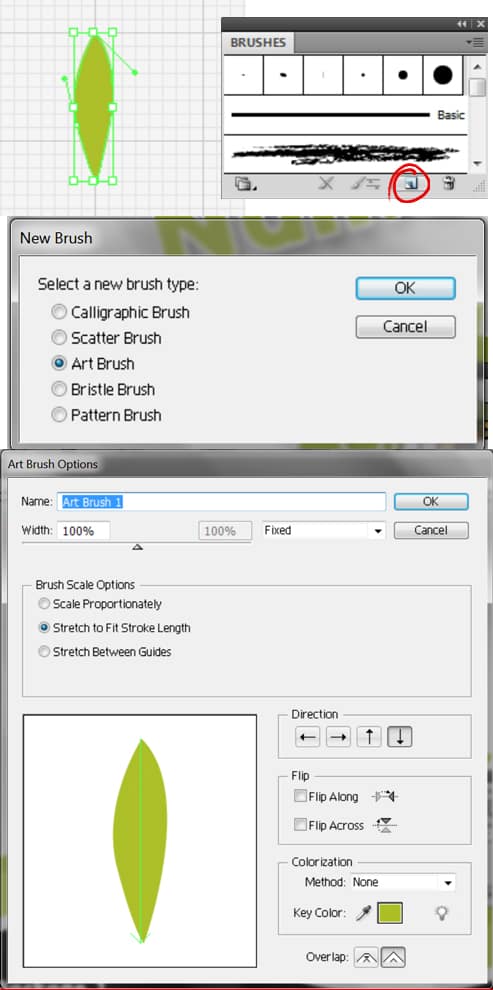
14. Now press ctrl+’ to bring up the grid. Elsewhere on the cavas draw a shape like below with the pen tool, using the grid as a guide. It’s important you draw the shape with the colour you intend to use. Next on the Brushes window click on the New Brush icon (which I’ve circled below) and following the steps below.
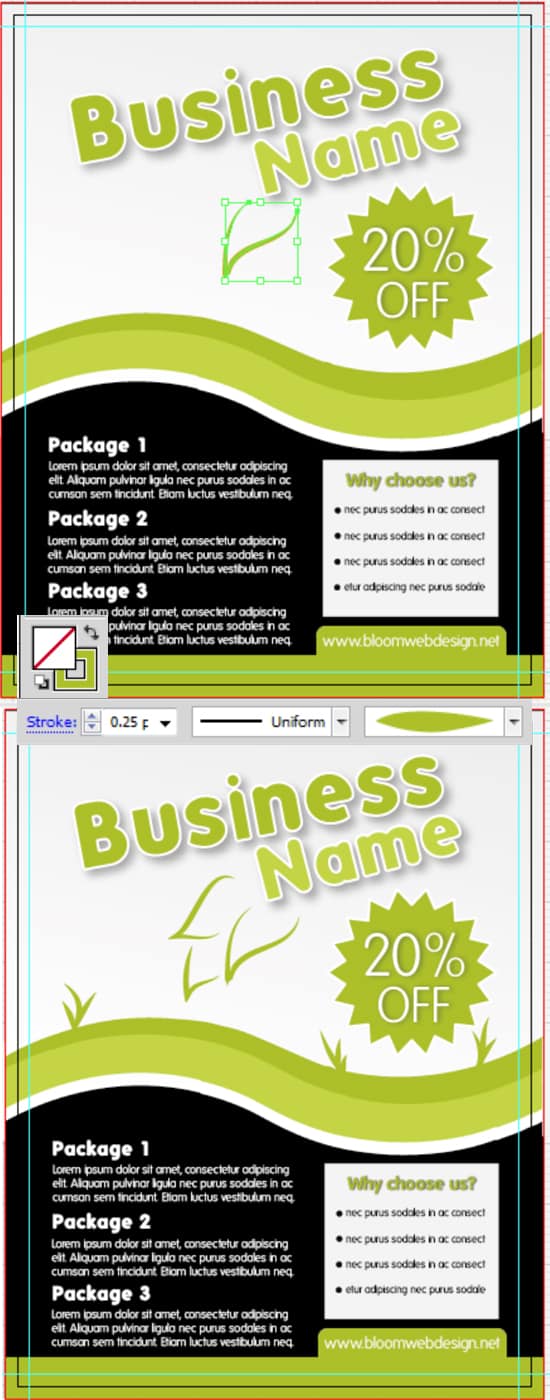
15. Using the brush tool draw a curvy line, after you’ve drawn the line select it and click on the new brush you just made in the brush window. You can change the size of the brush my selecting what you’ve drawn and changing the size.
16. Now hold down the shift key and select all of the text, press ctrl+shift+O, this will convert the text to outlines.
Save the document. Then go to File > Save As > Save in PDF Format. A box should then appear, go to Marks & Bleeds and put in the settings below.
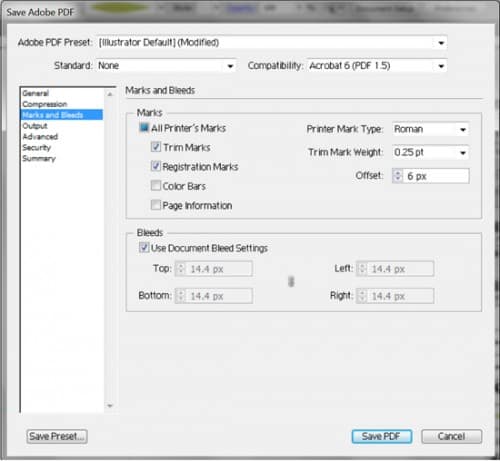
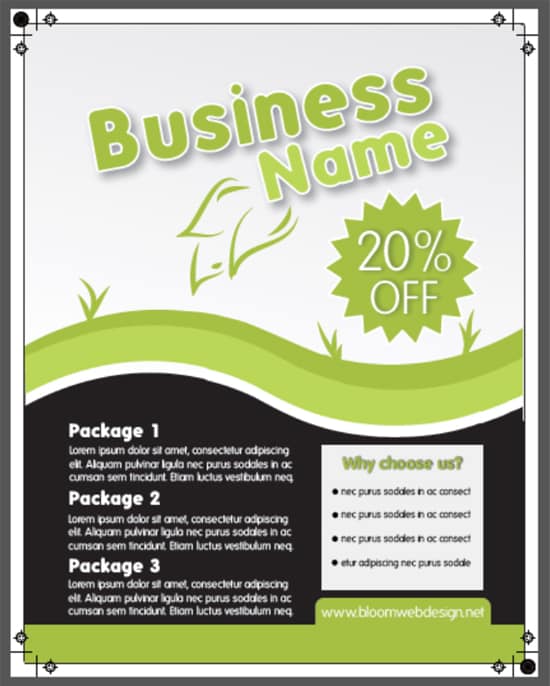
17. Doing this will bring up these guide lines for the printers. Your Flyer is now ready to be printed!
Photoshop
If you would like to showcase the flyer with a nice design to show clients or in your portfolio follow these steps:
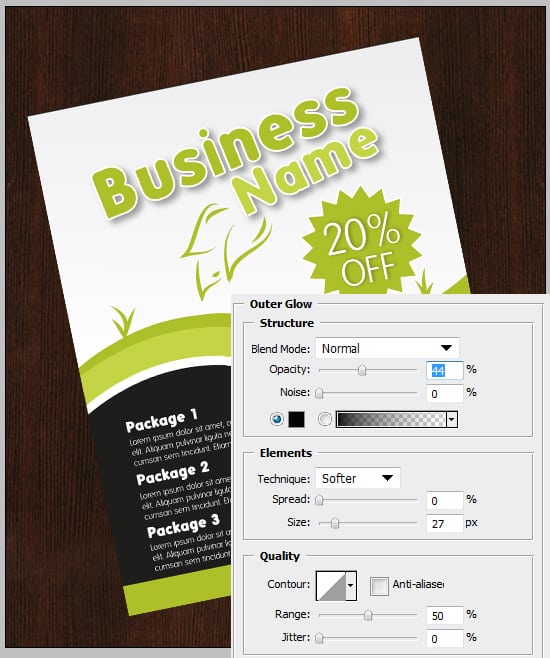
1. Create a new document that’s 539×640 pixels, copy and paste this wooden texture onto the canvas. Then open up your flyer in Illustrator Format and copy/paste it onto the canvas, to shrink down press ctrl+t, hold down the shift key and pull a top edge down, you can also rotate the edges if needed. On the flyer layer double click into Blending Options > Drop Shadow and put in the settings below:
Duplicate the flyer by dragging it to the new layer icon in the Layers window.
Final Result
