Create a Vector Male Portrait from a Photo
Learn how to create a Vector Male Portrait from a Photo Reference in Illustrator and create a sky background in Photoshop to finish.
Choose the image you would like to turn into a Vector Portrait and follow the steps below. I won’t be showing any colour codes in this tutorial as it will be different to your photo.
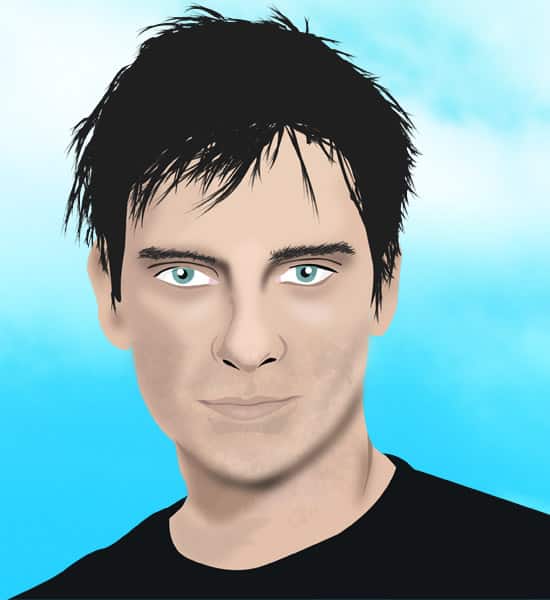
Final Result
Illustrator
1. Copy and paste your photo onto the canvas and lock the layer. Create a new layer, using the pen tool trace around the hair, face & body. Lock the layer.

2. Next using the pen tool trace around the shadows and light areas of the face.

3. Using the selection tool hold down the shift key and select all the shadows and light tones, go into Effects > Blur > Gaussian Blur and set it to 20 pixels.

4. Using the pen tool, trace around the eye/nose shadow and draw the top eyelid shapes. Then trace the eyes and put in some shadow on the eyes.

5. Next trace the eye lashes (make sure there not too thick!) & some under eye shadow. Then trace around the eyes. Using the Ellipse tool draw the black circle and a smaller white circle for reflection while holding down the shift key (so the shape stays perfect).

6. Next trace around the pink part of the eye. For the eye brows I’ve used this Illustrator Hairbrush Kit. You’ll need to zoom in to the eyebrow using the Zoom tool and trace the eyebrows using a small brush size.

7. Now hold down the shift key and select the 2 eye/nose shadows. Go into Effect > Blur > Gaussian Blur and put in 10 px.

8. Next using the pen tool trace around the nose, and draw a light shape on the bridge of the nose. Select the light tone and go into Gaussian Blur again and put in 15.

9. Trace around the lips and the features using the pen tool. I’ve drawn 2 shapes on the bottom lip for reflection.

10. Next using the Hairbrush Kit trace the hair. Take your time, don’t rush it!

11. In my photo the male has a 5 o’clock shadow, draw a line around the ‘beard’ area, holding down the sift key select all of the beard lines, set the fill to none set the stroke to colour, on the top tool bar you’ll see an option for the brush type, set it to chalk and opacity to what you want.
If the beard is going out of the areas move the brush lines.

12. Lastly with the pen tool draw the philtrum and the chin shape.

Photoshop
If you want to create a simple sky background for your vector portrait following the steps below.
1. Create a new document, double click on the background layer to unlock it, go into Blending Options > Gradient Overlay and put in a Linear Gradient. Open up the portrait and copy/paste it to the new document. Scale it down by press ctrl+t to make it transformable and pull down on an edge while holding down the shift key.

2. Next copy and past this image onto the canvas and set the Blending Mode to Overlay.

Final Result


