Create an Awesome Metal Textured Wallpaper in Photoshop
Learn how to create a grungy metal textured wallpaper from scratch in Photoshop!
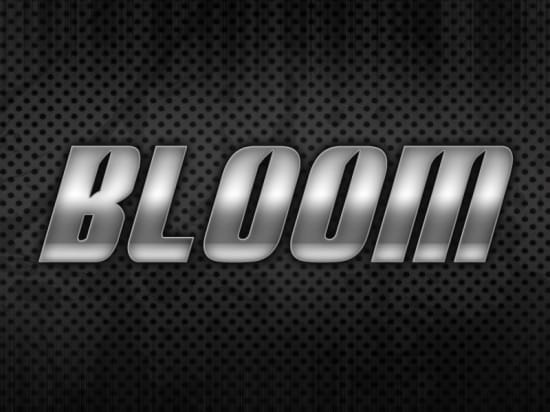
Final Result
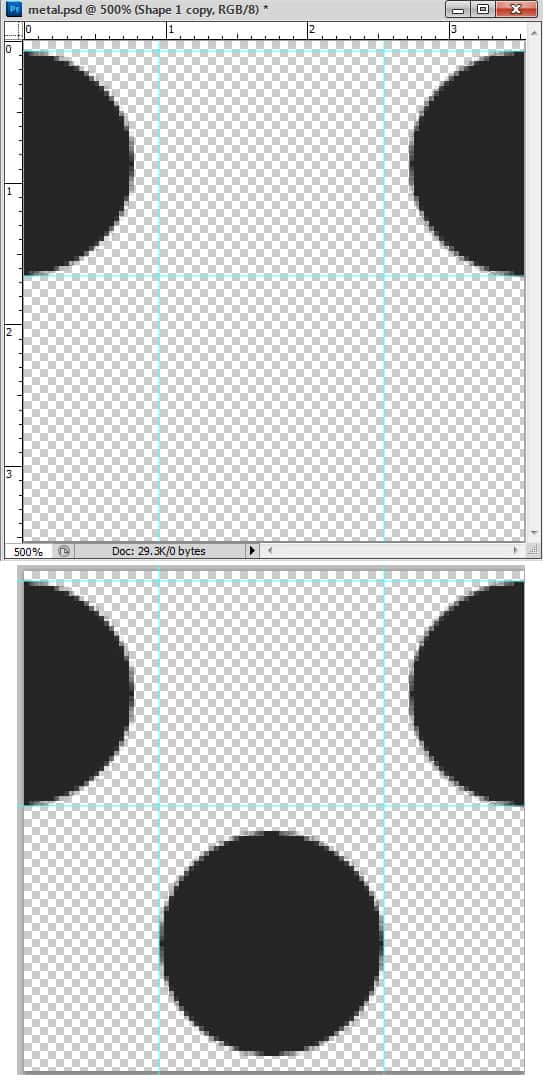
1. Firstly depending on how big your wallpaper is going to be create a 100×100 document or a 200×200 document. Make sure the background is invisible. Get the ellipse tool and draw a black circle like below while holding down the shift key. Place the circle on the top edge of the document so that only half is seen.
Now press ctrl+r to bring up the rulers and drag out 2 horizontal lines and drag them on the top and bottom of the circle. Duplicate the circle and move it across to the other side of the document making sure only half is visible and it’s inline with the rulers lines you dragged down.
Duplicate the circle again and place the new circle on the bottom center of the document like below.
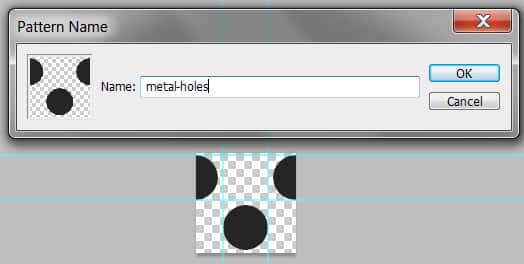
2. With the pattern created go to Edit > Define Pattern and create the pattern.
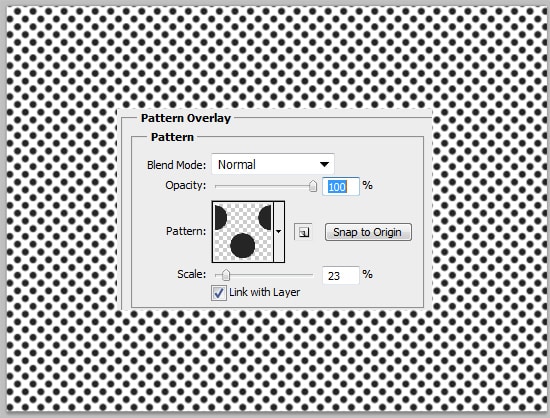
3. Now create a new document making the size of your choice. Set the background colour to white, then double click to go into Blending Options and put in the pattern you created.
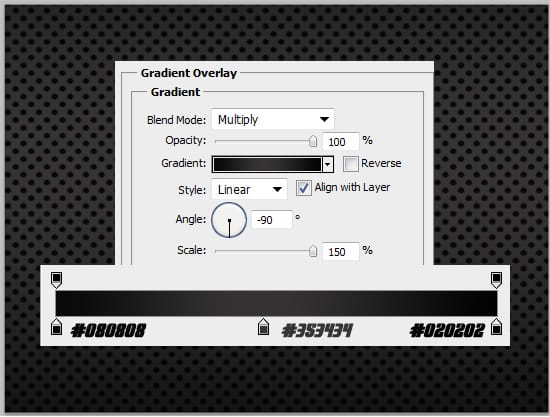
4. Next in Blending Options still go into Gradient Overlay and put in the following:
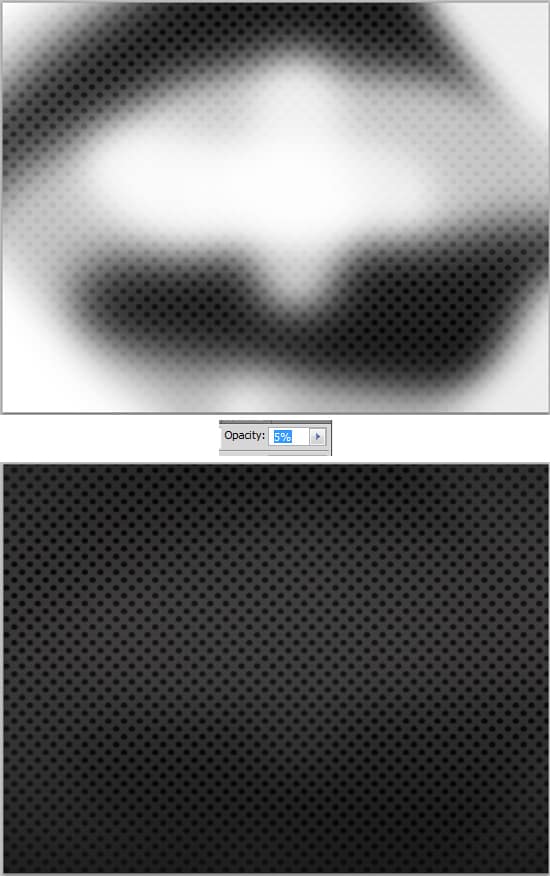
5. Now create a new layer, select a medium-large soft edged brush and draw in white on the edges and on the center of the document. then set the Opacity to 5%. This will create nice light tones on the metal texture.
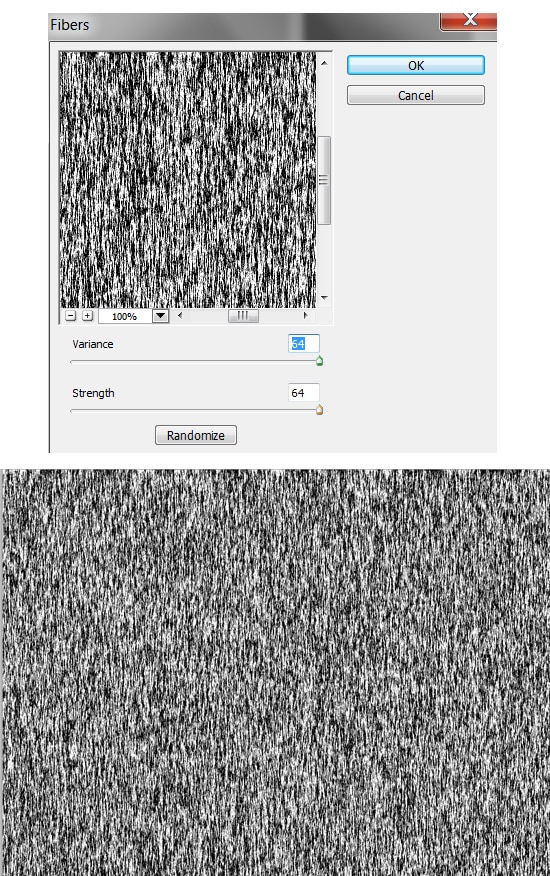
6. Next create a new layer and fill it white. With the foreground colour set to white, and the background set to black go into Filter > Render > Fibers.
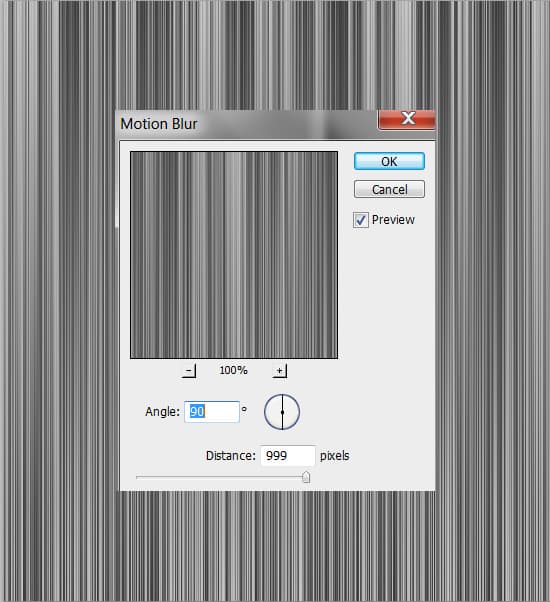
7. Now go to Filter > Blur > Motion Blur and put in the settings below:
8. Now set the Blending Mode to Multiply to create a nice streak effect on the metal.Still on the layer click on the Add Layer Mask icon (circled below), by doing this you’ll be able to edit the image while keeping the original untouched. Get a soft edged eraser, go click on the mask layer and erase the middle section of the streaks.
9. Next download and install these Splatter Brushes, create a new layer and place some black splatters on the metal.
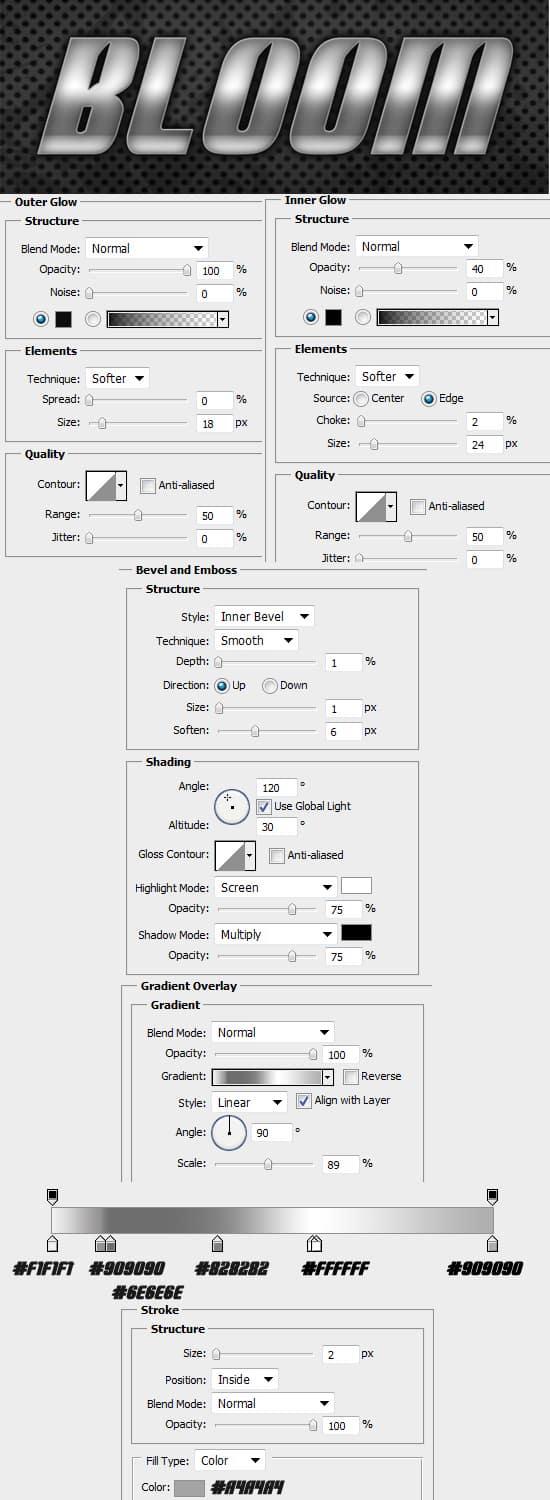
10. Lastly write out the name of your wallpaper (I’m using the font Nightwraith), double click into Blending Options and put in the settings below.
