In this tutorial I’ll teach you how to create a Colorful Balls Text Effect/Typography Poster using Adobe Illustrator to create the text, and Photoshop to add some finishing touches. We’ll be going through some basic Illustrator & Photoshop methods to create this fun & colorful text effect.
Final Result
Illustrator
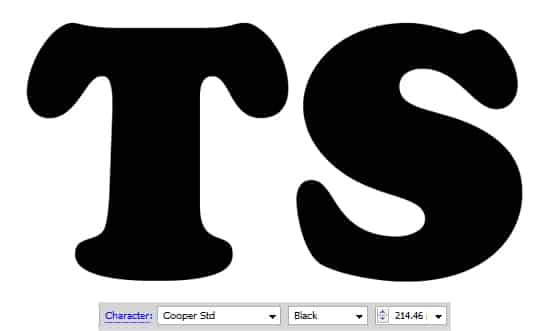
1. Create a new document that’s 600×300 pixels. Using a thick/bold font, write out your letters in black. Lock the letter’s layer and create a new layer.
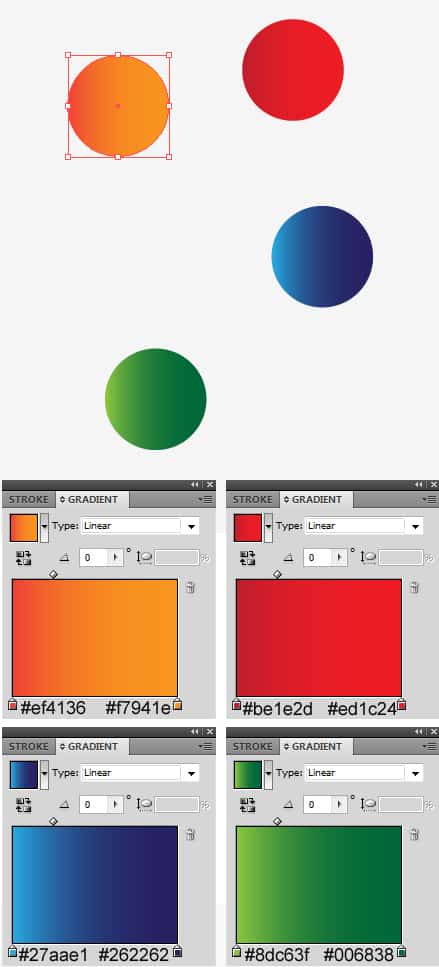
2. Using the Ellipse Tool draw a circle while holding down the shift key (to keep the shape perfect). Duplicate the circle 3 times by dragging the circle away while holding down the ALT Key. On each circle put on a different colored gradient like below.
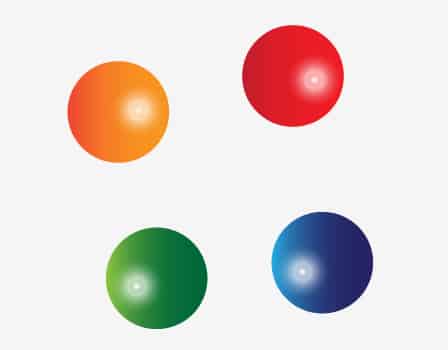
3. Draw a smaller circle with the Ellipse Tool again and put in the gradient below. This will create a nice light glare on the ball.
4. Duplicate the light glare and place it on the other circles.
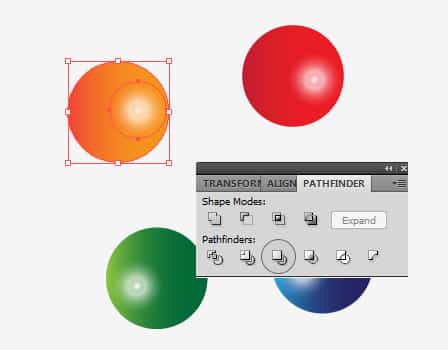
5. Next select each ball with the light glare and click on the Merge button in Pathfinder to merge the 2 shapes together.
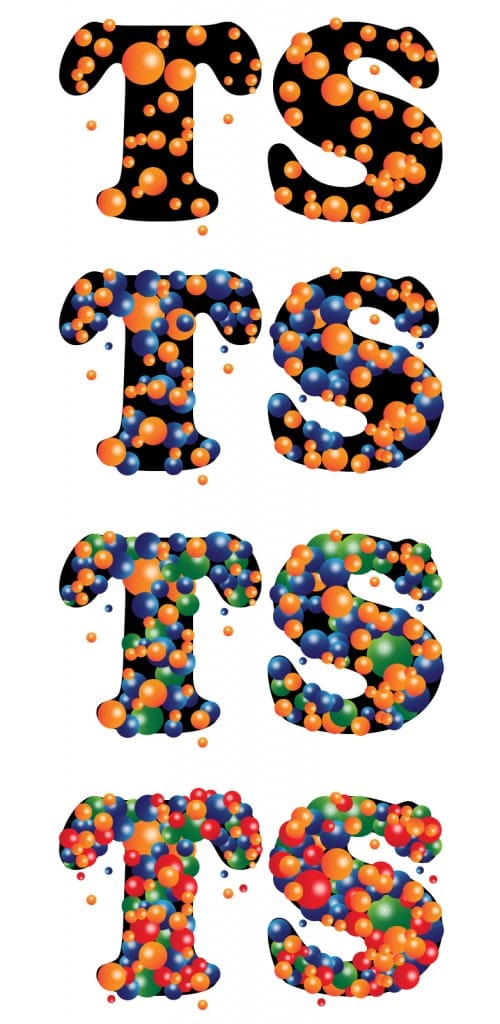
6. Now comes the most time consuming part! Select each of the balls and duplicate them over the letters, changing the size of them by selecting the balls with the Selection Tool and dragging a corner down or up while holding down the shift key. If you want to rotate them so the light glare is in a different direction, select them with the Selection Tool and rotate a corner.
Do this with all the colored balls until the black letters are hidden.
7. Remove the black text layer from view, and save the document.
Photoshop
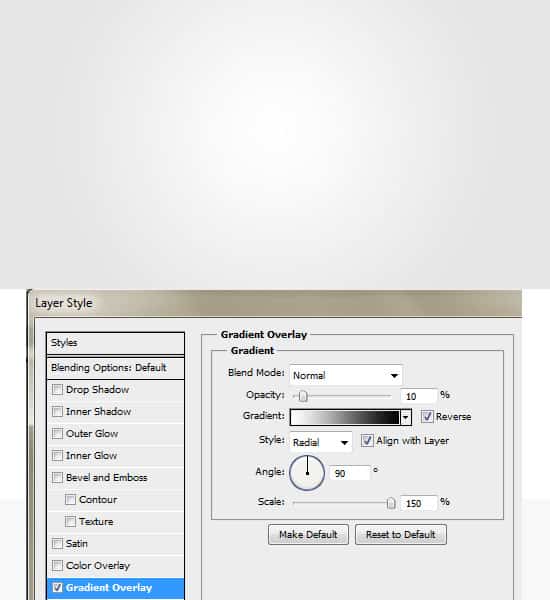
8. To add in some finishing touches to the text effect, create a new document in photoshop with the size of your choice with a white background (I’m using 700×400 pixels). Double click on the background layer to unlock, then again to go into Blending Options and put in the Gradient Overlay below:
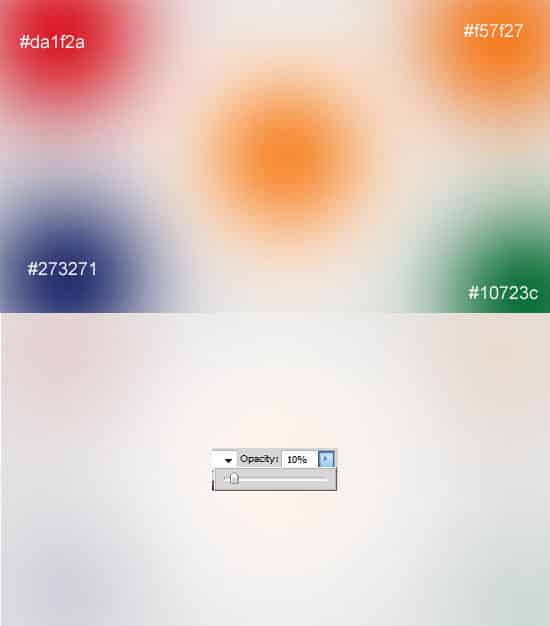
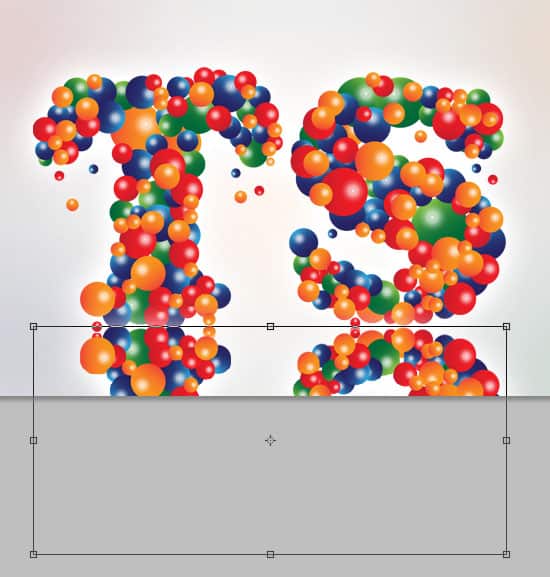
9. Create a new layer and select a fairly large soft edged brush. Using the same colours as the colorful balls, draw on some colourful spots around the canvas and set the Opacity to 10%.
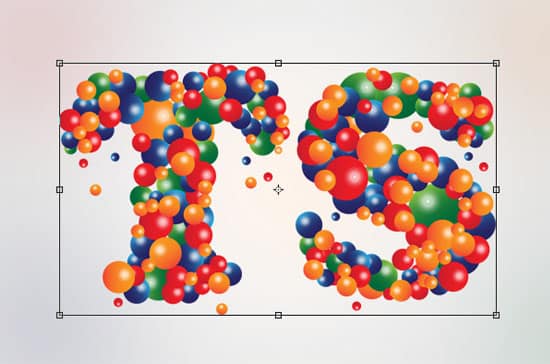
10. Open the Text Effect Illustrator document and copy/paste the text onto the canvas. To make the text smaller press CTRL+T and drag the top corner down while holding down the Shift Key (to keep the image perfect).
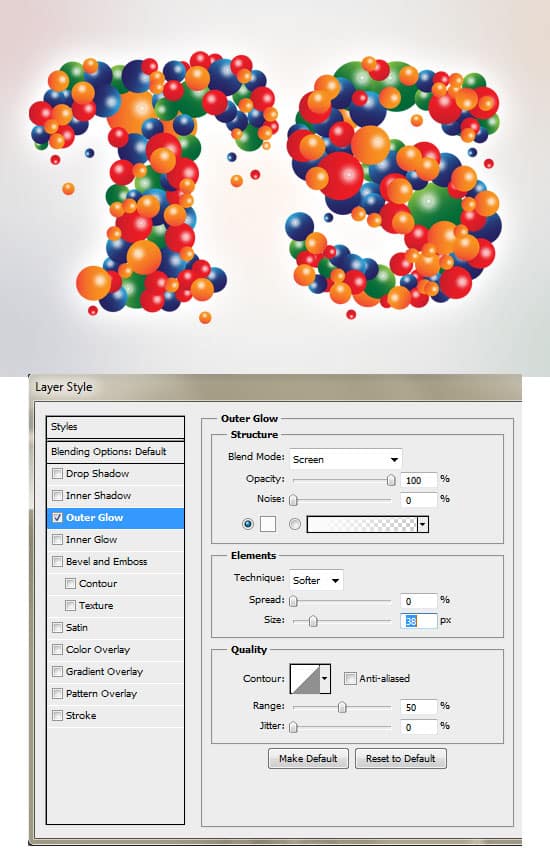
11. Double click on the text effect layer to go into Blending options and put in the following Outer Glow.
12. Duplicate the text layer by dragging it to the new layer icon, press CTRL+T and flip the duplicate layer down for the reflection.
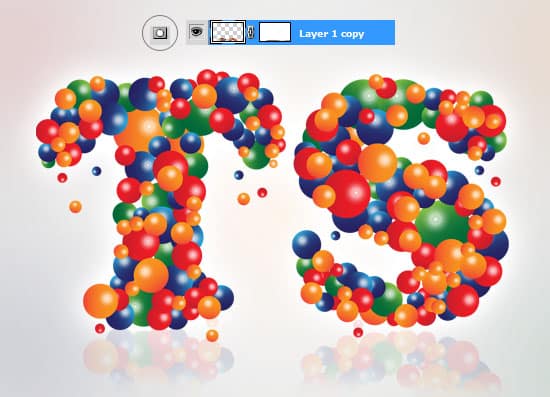
13. Click on Add Mask Layer to place a mask on the duplicate text. While on the mask layer, select a soft edged black brush & erase the bottom of the text. Make the Opacity 14% to finish off the reflection.
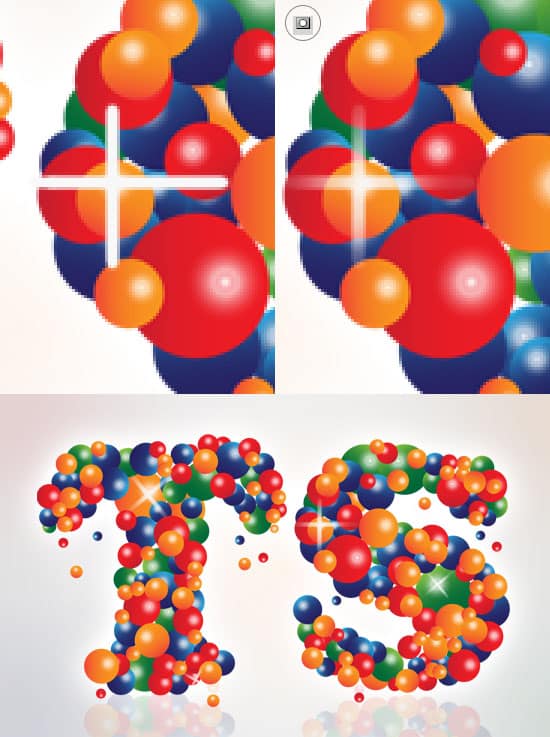
14. Create a new layer & select a 2 px solid white brush. Hold down the Shift Key and draw a vertical & horizontal line. Place a Mask over the layer like in step 13 and erase the edges of the white lines over a light glare for a nice light effect. Duplicate the light lines and place them over a couple of other light glare areas. If you want to rotate a layer press CTRL+T and rotate an edge.

