Create a Dripping Typography Poster in Illustrator & Photoshop
Learn how to create a colorful & dripping themed Typography Poster using Adobe Illustrator to create the font and adding finishing touches in Adobe Photoshop to create the poster. We'll be using useful must know methods & techniques in Illustrator & Photoshop to create this fun poster!
Final Result
Resources
Illustrator
1. Create a new document that's 600×600 pixels. Using the Bebas Neue or any font you want and write out the word/s.
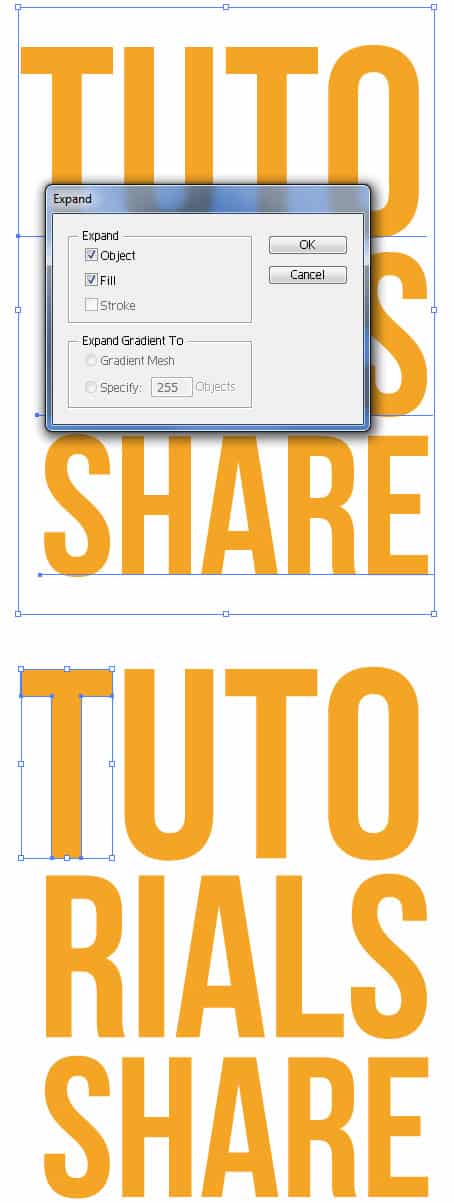
2. To make each letter selectable, select the font and go to Object > Expand and put in the settings below and click OK. Then select the font again and go to Object > Ungroup (Shift + CTRL + G). Depending on how many letters you have do this step until all the font is ungrouped.
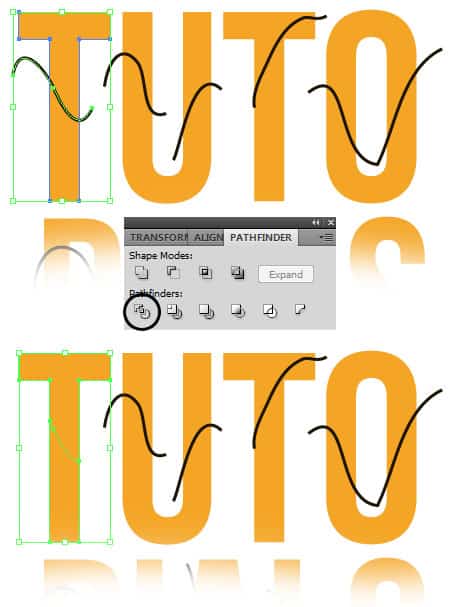
3. Next select the brush tool, and brush across each letter like below using a basic 3pt brush. With the Selection Tool select each letter and it's brush line and click on the Divide icon in the Pathfinder. The brush line you created will divide the letter into 2 parts.
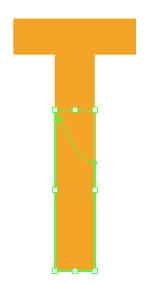
4. Select the letter again and go into Object > Ungroup (Shift+CTRL+G) to ungroup the 2 letter sections. Repeat steps 3 and 4 for the rest of the letters.
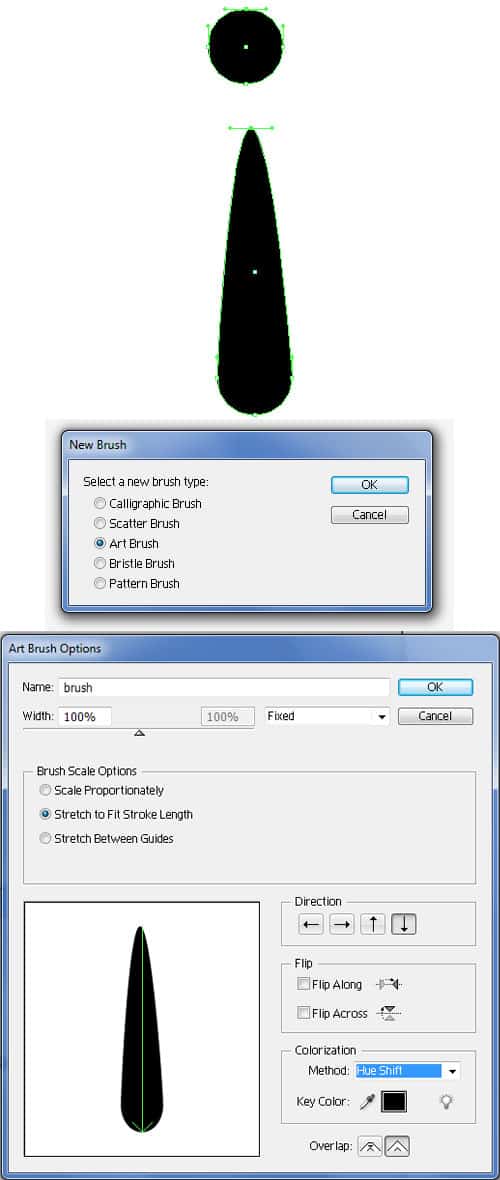
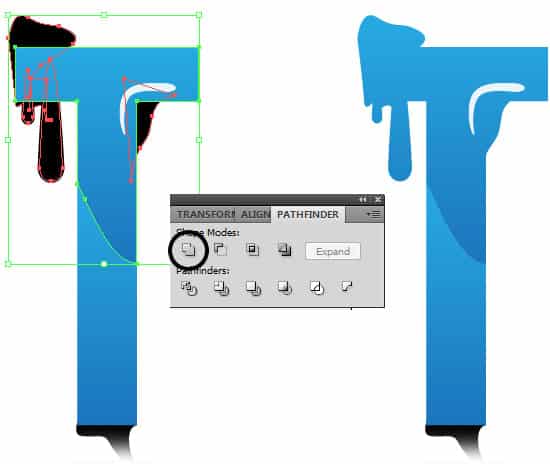
5. Elsewhere on the canvas, draw a circle using the Ellipse Tool while holding down the Shift Key (to keep the shape perfect). Using the Direct Selection Tool click on the circle, then click on the top anchor point to select it. Drag the top anchor point up to stretch out the shape until it's about 1 inch tall. With the shape selected, click on the new brush icon in the Brushes Palette and create a new brush with the settings below. Don't delete this shape, we'll be using it later.
6. Using the new brush brush on some highlight lines using the settings below.
7.Select each letter section and place colour gradients on them. Select the shape you created earlier and duplicate it by clicking on it with the Selection Tool, hold down the ALT Key and dragging the shape away. Place the duplicated shape on a letter, make sure the drip is under the letter, not on top. If the shape is on top of the letter, right click > Arrange > Send to Back. To make the shape larger or smaller select it with the Selection Tool, hold down the Shift Key and drag a top corner up or down. Do this many times to create the dripping.
8. Next select the Pen Tool, and draw some extra features on the font, again the extra features need to be behind the font.
9. Using the Selection Tool, select the dripping features plus the letter while holding down the CTRL Key and select the Merge icon in the Pathfinder. Do this for each letter.
10. Like step 6, draw on some extra highlights areas.
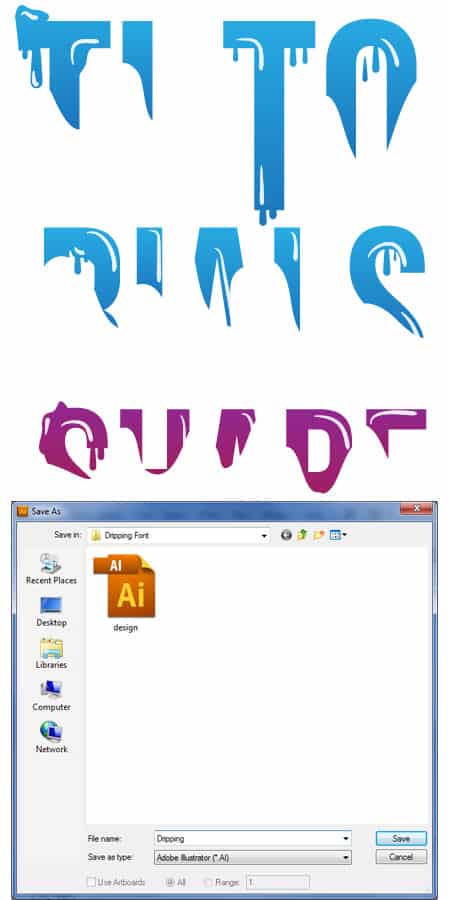
11. Save the document (if you haven't already), then save again under the name Drippings. Using the Selection Tool, select the bottom parts of the fonts and delete them until only the top half of the font remains and save.
Photoshop
12. In Photoshop, create a new document that's 600×800 pixels with a white background. Double click on background layer 2 times to unlock it, then go into Blending Options and put in the following:
13. Open up the 2 illustrator documents and open them up in Photoshop. Copy & Paste each document onto the final canvas. Make each image smaller by pressing CTRL+T on the layer, and drag the top corner down while holding down the Shift Key. You'll need to place the top dripping font over of the back font image making them the same size.
14. on the bottom typography layer, double click on the layer to go into Blending Options and put in the options below:
15. On the dripping typography layer, double click into Blending Options and put in the following:
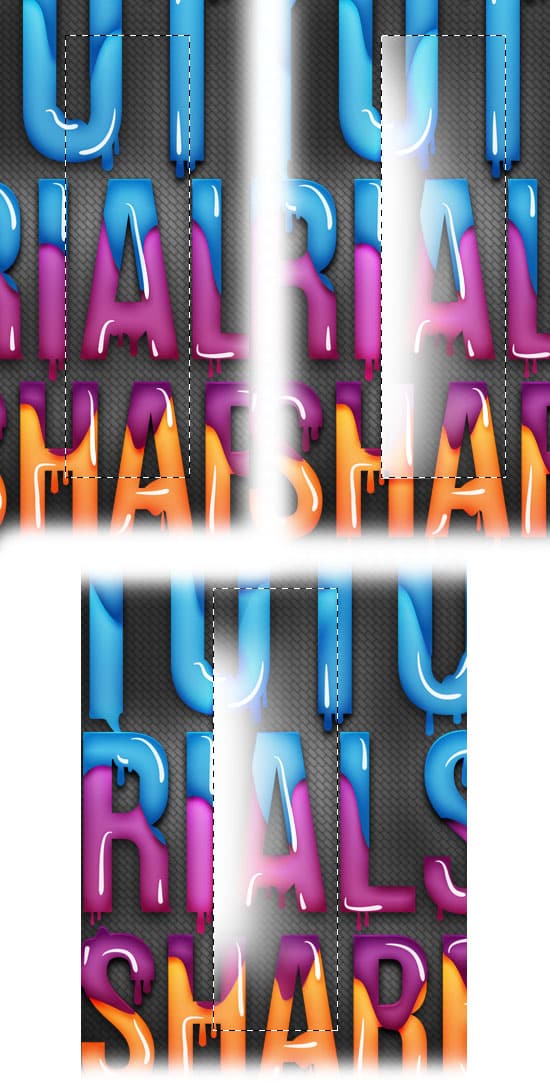
16. Create a new layer by click on the new layer icon. Select the Rectangular Marquee Tool and draw a horizontal shape like below, select a soft edged white brush and brush on one side of the shape. Using a soft edged eraser, erase the top and bottom of the white streak.
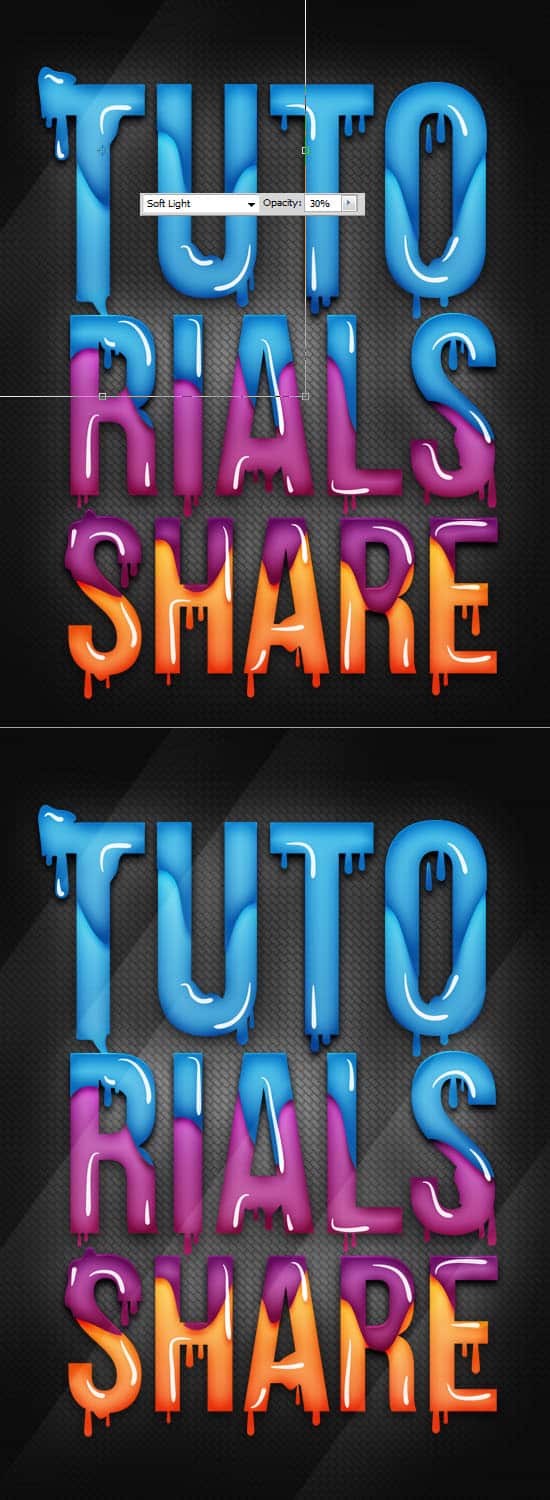
17. On the white streak layer, set the Blending Mode to Soft Light and the Opacity to 30%. Press CTRL+T to select the white streak and rotate it placing it on an angle. Duplicate the shape and place each white streak diagonally down the poster like below:
