Create a Cute Easter Themed Collage in Illustrator & Photoshop
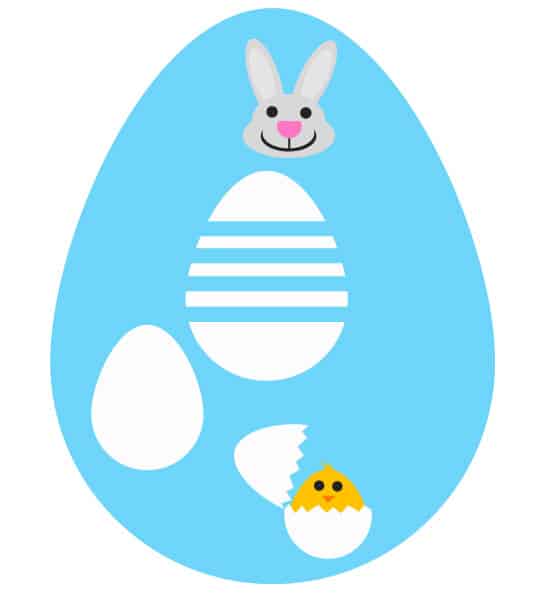
Learn how to create a fun Easter Themed collage, we’ll be creating Easter Eggs, a hatching Bird and a Bunny Face from scratch in Adobe Illustrator and arranging it into an Easter Egg shape. We’ll also be adding some finishing touches in Adobe Photoshop.
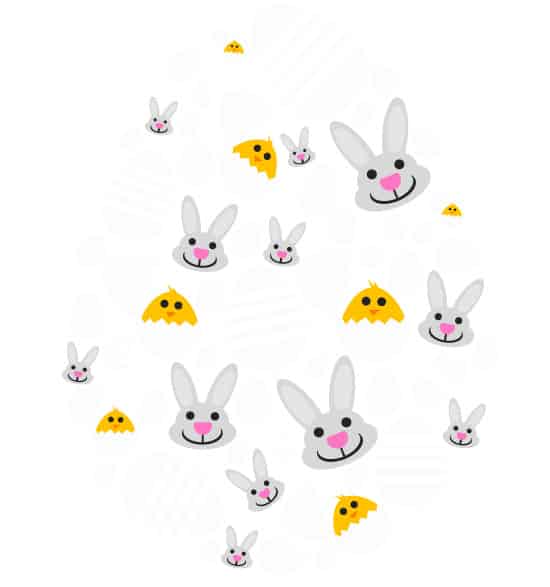
Final Result
Illustrator
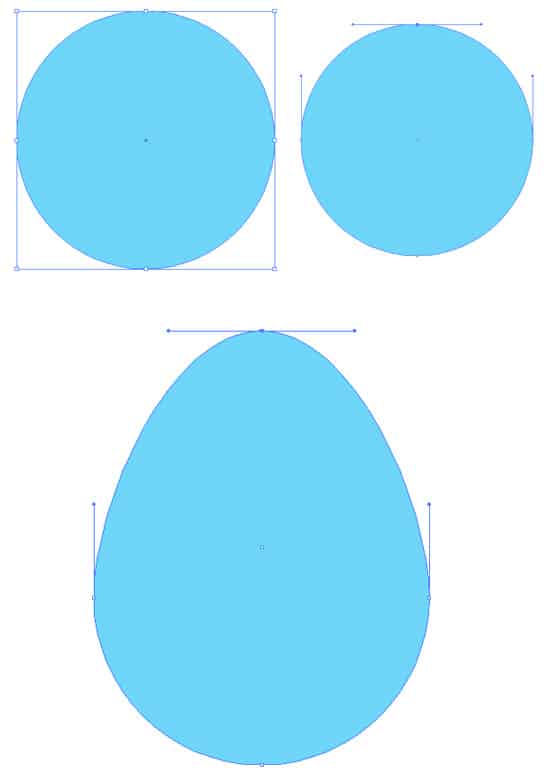
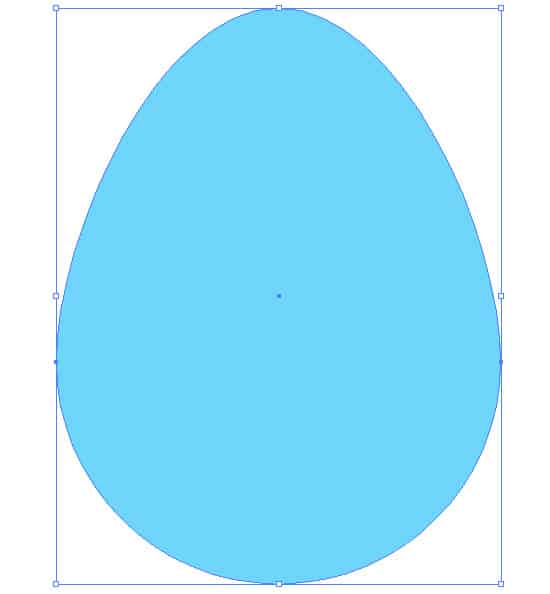
1. Create a new document that’s 600×600 pixels. Select the Ellipse Tool and draw a circle while holding down the Shift key (to keep the shape perfect), I’m using the colour #6ED5F9.
Select the circle with the Direct Selection Tool, and click on the Top Anchor Point, select the top anchor point again and drag up to create an egg shape.
2. Click on the egg, and drag away while holding down the Alt Key to duplicate. Do this 2 times.
Striped Easter Egg
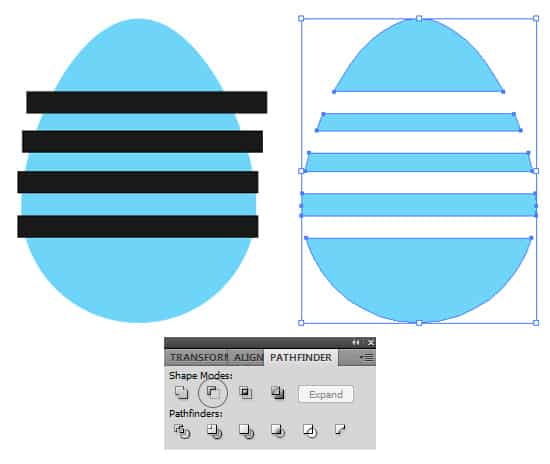
3. Select 2 of the eggs with the Selection Tool and drag away. On remaining egg, select the Rectangle Tool and draw a thin black shape like below. Duplicate the shape and separate it like below. Select all the black shapes, the egg and click on the Minus Front Icon in Pathfinder.
Easter Bird
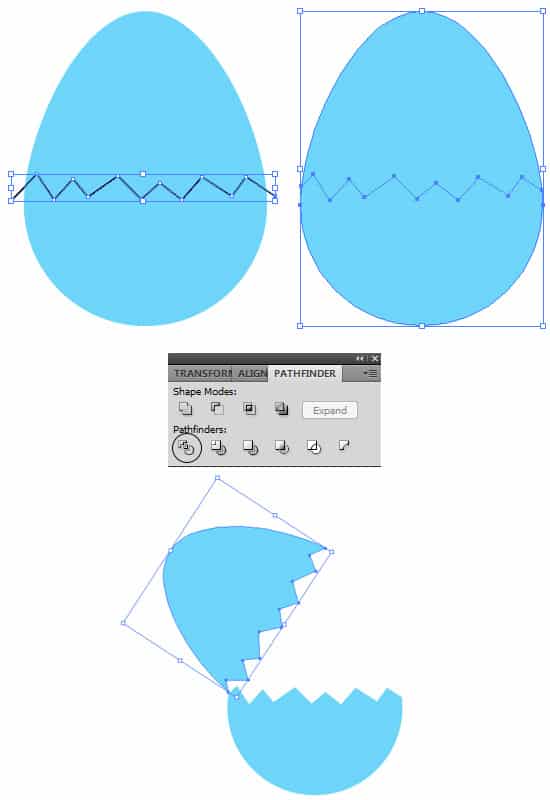
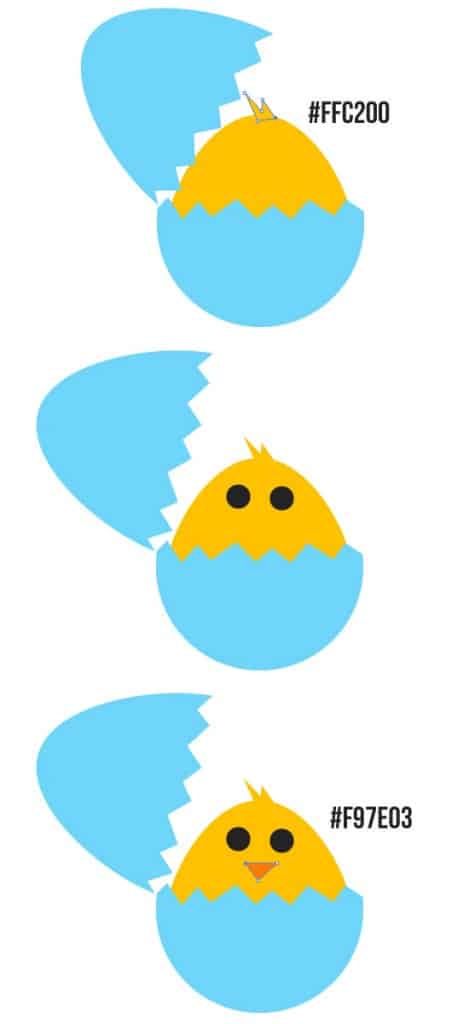
4. Drag the 2nd easter egg back onto the canvas. Select the Pen Tool (Fill: none & Stroke: black 1px). Draw a zigzag across the egg like below. Select the egg and zigzag and click on the Divide icon in Pathfinder. With the shape still selected, go to Object > Ungroup or click Shift + CTRL + G to separate the shape into 2 parts.
Select the top part with the Selection Tool, drag away and rotate like below.
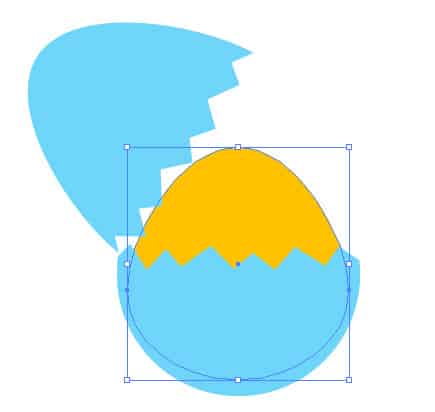
5. Duplicate the leftover egg shape and place it on the bottom part of the egg, right click > Arrange > Send to Back to place it behind. Make the colour #FFC200. Select the shape with the Selection Tool and drag the top down to make it smaller.
6. Using the Pen Tool, draw some hair on top of the bird. Next select the Ellipse Tool and draw some eyes using black or dark grey. Using the Pen Tool again finish the bird off with a beak.
Easter Bunny
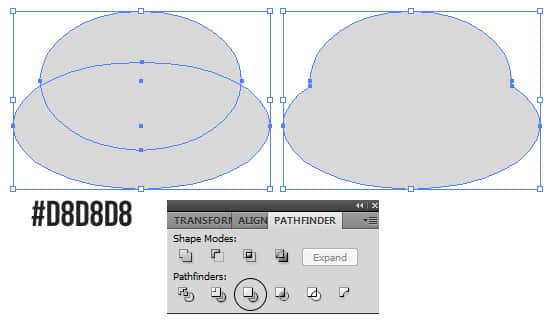
7. Using the Ellipse Tool, draw 2 shapes like below. Select the 2 shapes and click on the Merge or Unite icon in Pathfinder.
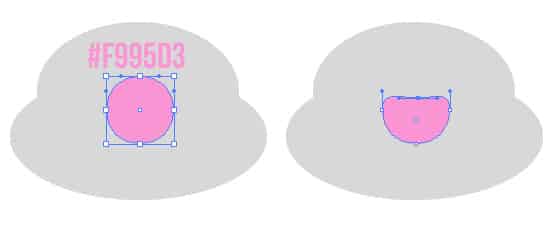
8. Next draw a circle using the Ellipse Tool. Select the Direct Selection Tool and click on the circle. Click on the Top anchor point to select it, then again and drag it down to make a nose.
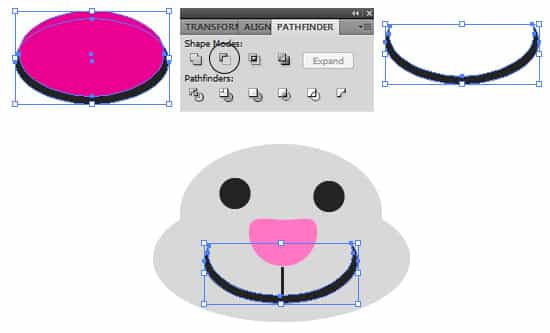
9. With the Ellipse Tool, draw the eyes, and with the Line Tool (Fill: None, Stroke: Black 2pt), hold down the Shift Key and draw the first mouth section.
10. Draw 2 shapes like below with the ellipse tool, select the 2 shapes and click on the Minus Front icon in Pathfinder to create a smiley mouth. Place the shape over the easter rabbit.
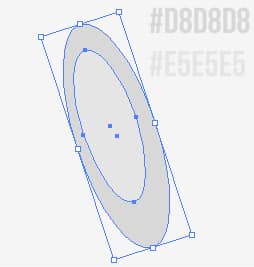
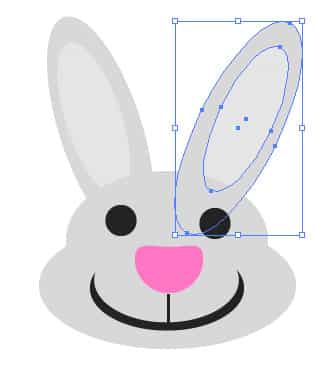
11. Next draw the rabbit ears with the Ellipse Tool. Rotate the shapes by clicking on the shapes with the Selection Tool and rotating.
12. Place the ear onto the bunny and duplicate the ear for the other other.
13. Now you should have all the Easter shapes ready.
Easter Egg Background Guide
14. Drag all the easter shapes off the canvas, duplicate the plain easter egg, drag it onto the canvas and enlarge. Right click the egg shape Arrange > Send to Back. On the layer window, click on the little arrow to bring up all of the layers. Scroll down to the large egg layer and lock the layer.
15. Drag back the Easter shapes to the canvas again, while holding down the Shift Key, click on all the blue shape, double click on the fill color and make it white.
16. Here comes the time consuming part. Drag the shapes off the canvas again (into the grey area so it’s easy to see them). Select each shape and place it on the egg, duplicate the shape many times and experiment with the size and rotation. Do this for each Easter shape.
Optional Steps
17. Click on the arrow to see all the layers again, scroll down to the Egg Background and remove the layer from view & save the document.
Photoshop
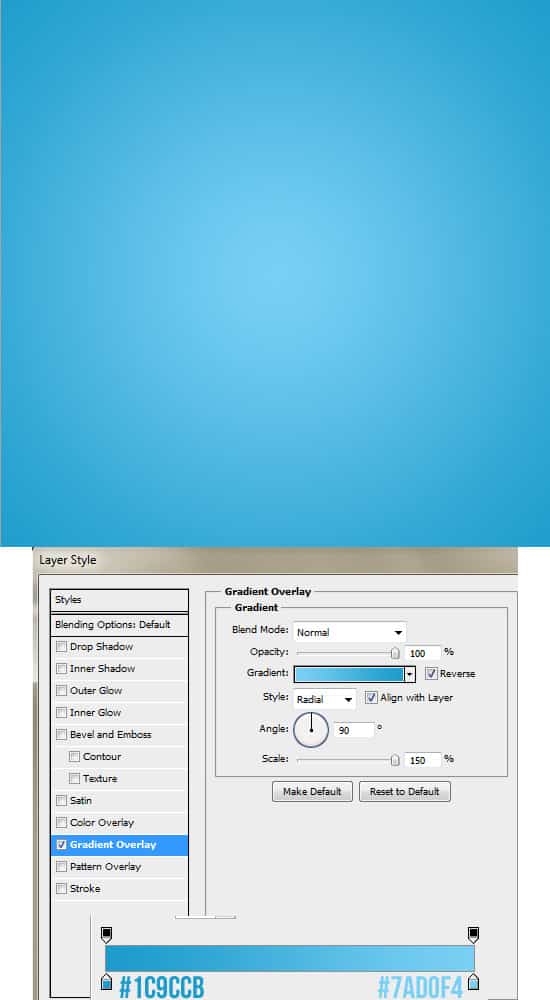
18. Create a new document that’s 600×600 pixels with a white background. Double click on the background layer to unlock it, then again to go into Blending Options > Gradient Overlay and put in the following gradient:
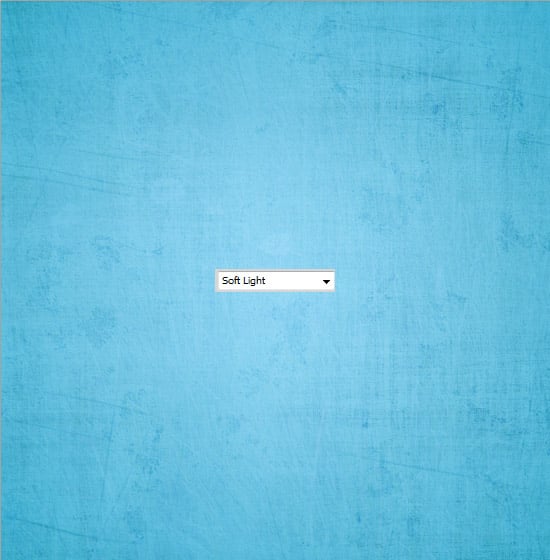
19. Copy & Paste this Grunge Texture onto the canvas and set the Blending Mode to Soft Light.
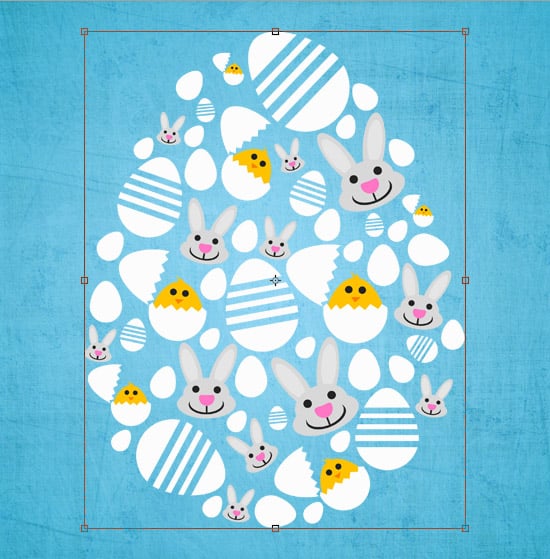
20. Open up the Illustrator document and copy/paste it onto the canvas. To shrink it down, click CTRL+T and drag a corner down while holding down the Shift Key.

