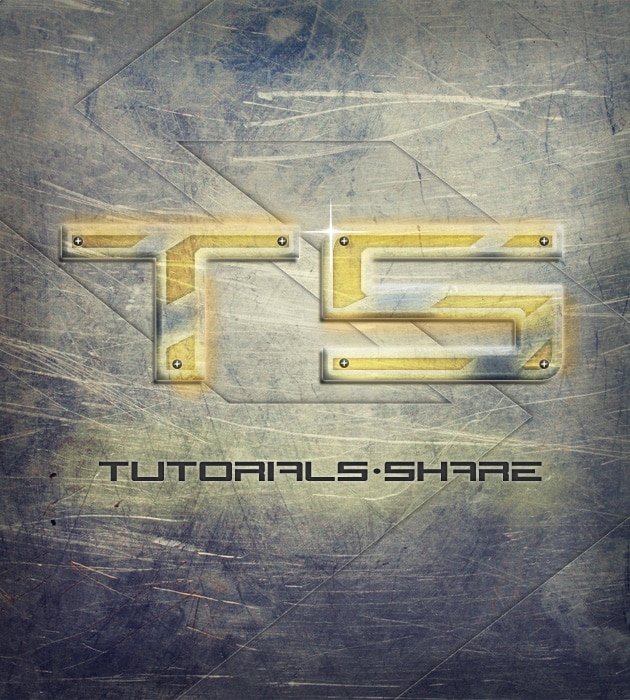
Learn how to create a grunge, metal sci-fi/futuristic text effect using Adobe Photoshop. We’ll be using textures, brushes, shapes and useful techniques.
Final Result
Resources
Background
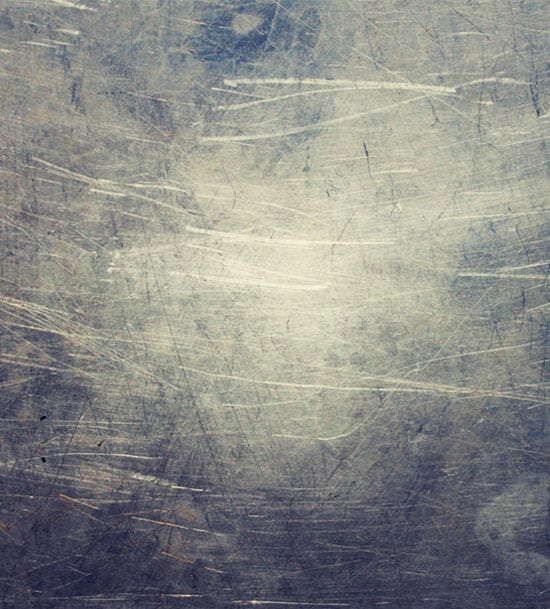
1. Create a new document that’s 630×700 pixels. Copy and Paste the Metal Texture onto the Canvas and shrink down by pressing CTRL+T and drag a top corner down while holding the Shift Key.
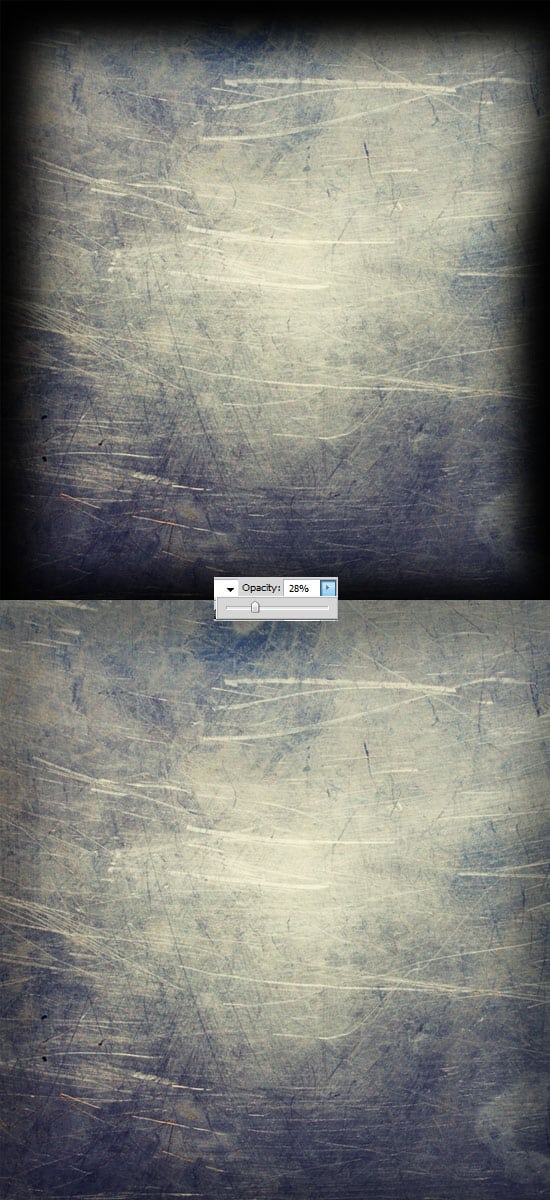
2. Create a new layer, grab a soft edged black brush and brush around the edge of the canvas. Set the Opacity to 28%.
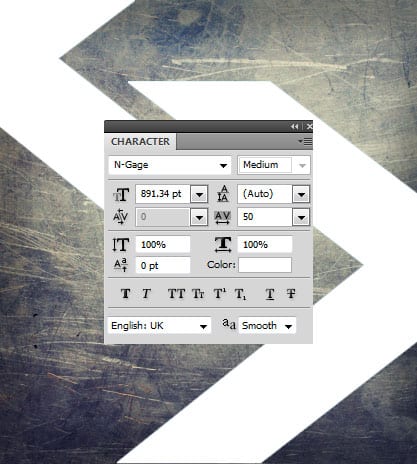
3. Using the font below, write out 2 large X’s and place them like below on the canvas.
4. Set the Blending Mode to Multiply on the X’s to make them invisible. Double click on the layers to go into Blending Options and put in the options below for the text.
First Font Effect
5. Using the N-Gage Font, write out the words you want the effect on. Double click on the text layer to go into Blending options and put in the options below:
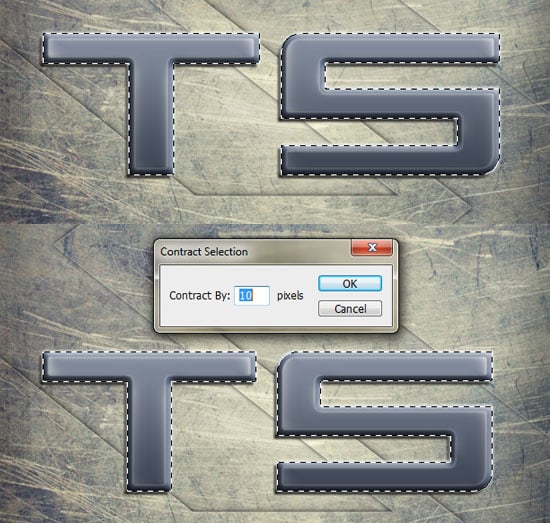
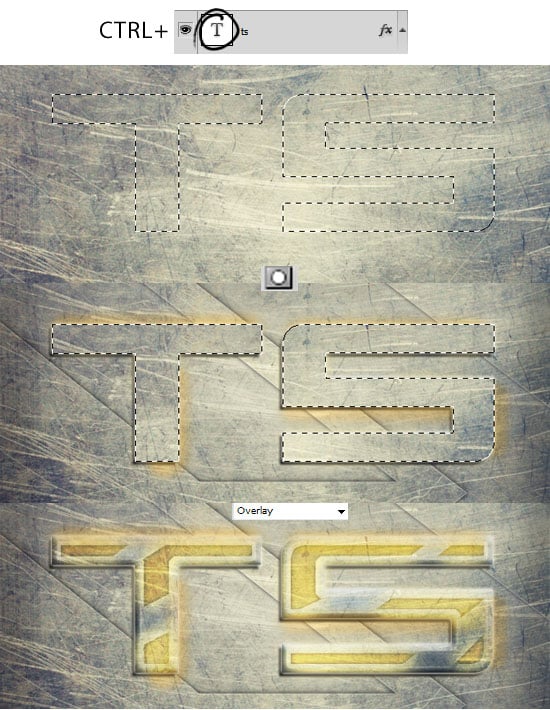
6. Hold down the CTRL Key and click on the text Layer Thumbnail to place the marquee around the text. Go into Select > Modify > Contract, and contract by 10.
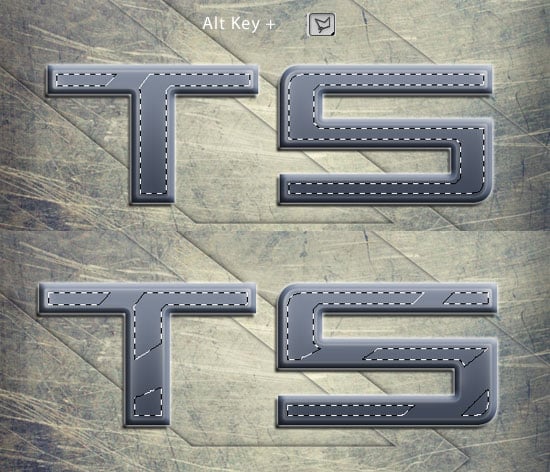
7. With the marquee still active, select the Polygonal Lasso Tool and while holding down the ALT Key.
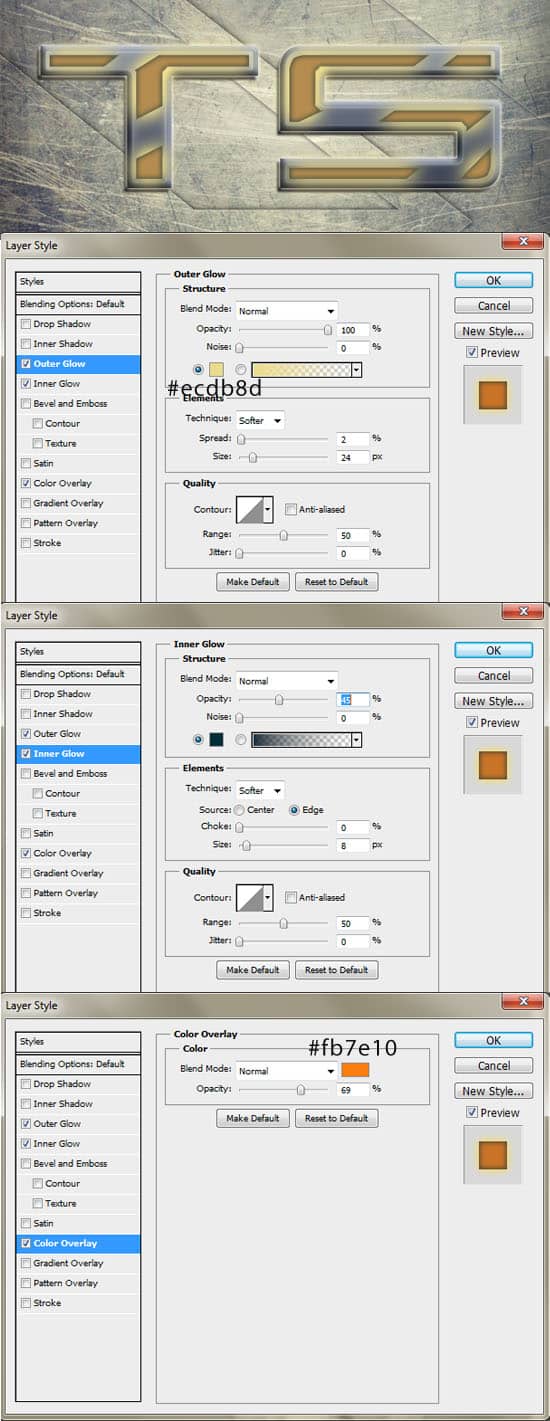
8. Create a new layer and fill the leftover marquee shape. Double click into Blending Options and put in the following:
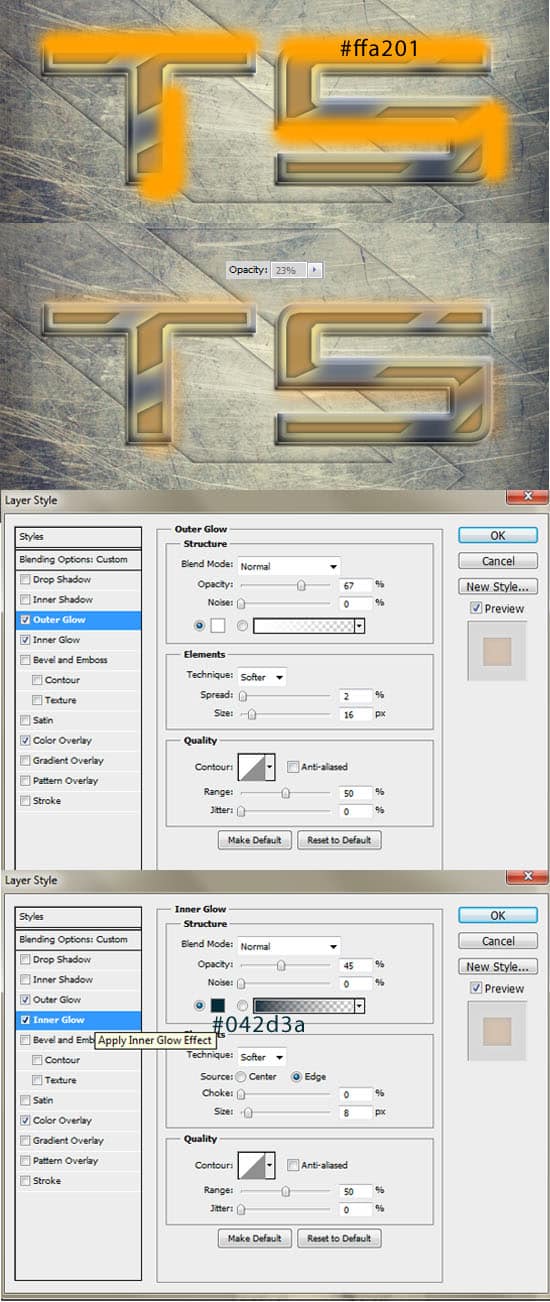
9. Create another new layer and select a soft edged brush. Using the colour below, brush on some highlights. Set the Opacity to 23%, go into Blending options and put in the following settings on the highlights.
10. Duplicate the Metal Texture by dragging it to the new layer a icon and place it on top of all the layers. Hold down the CTRL Key and click the Text layer thumnail to bring up the marquee. Go back to the metal texture and hit the Add Mask Layer to crop the texture down to the text shape. Set the metal texture’s Blending Mode to Overlay.
Screws
11. Using the Ellipse Tool, draw a small circle while holding down the Shift Key (to keep the shape perfect). Double click on the layer to go into Blending Options and put in the following below. Again with the ellipse tool, draw thin oval shapes for the screw top using the colour white.
12. Duplicate the 2 screw layers to place more screws on the font.
Second Font
13. Write out the second text using the N-Gage font again using the colour, go into Blending Options and place in the following settings below:
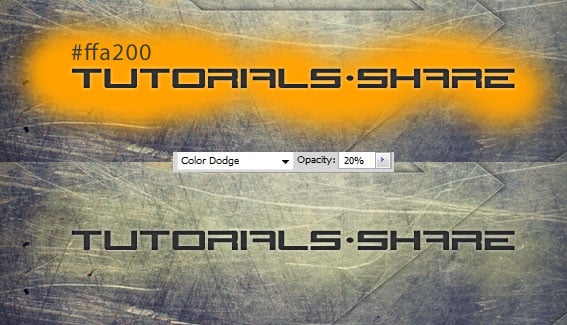
14. Create a new layer and place it underneath the second text layer. Using a soft edged brush, brush on the colour #ffa200 behind the text. Make the Blending mode Color Dodge and the Opacity 20%.
Flare
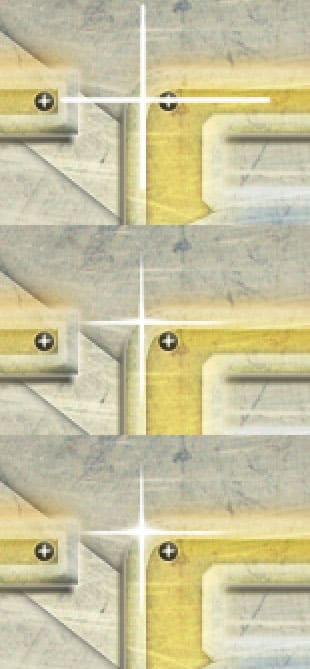
15. Create a new layer and select a hard edged/3px sized white brush. Hold down the Shift Key and draw a vertical and horizontal line, select a soft edged eraser and erase the edges so the lines fades it. Select a soft edged/17px sized white brush and click on the center of the lines to finish off the Flare.

