Create Happy Feet Font – Text Effect Illustrator Tutorial
Learn how to create the Text Effect from the movie, Happy Feet! We’ll be using Adobe Illustrator, 3D effects & Gradients to create this cute text.
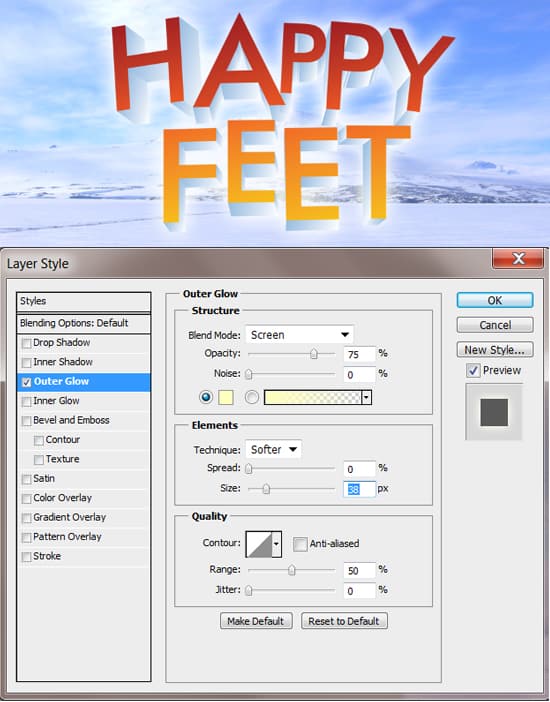
Final Result
Illustrator
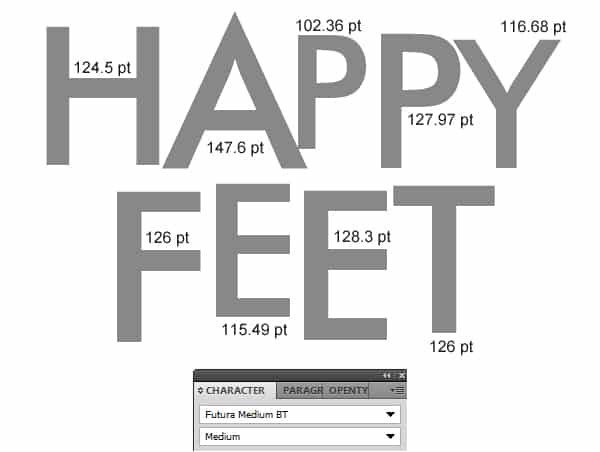
1. First download & install this font. Open up Illustrator & write each letter separately using the size for each below with the fill colour to a grey & a stroke of none. Arrange the letters like the Happy Feet Text.
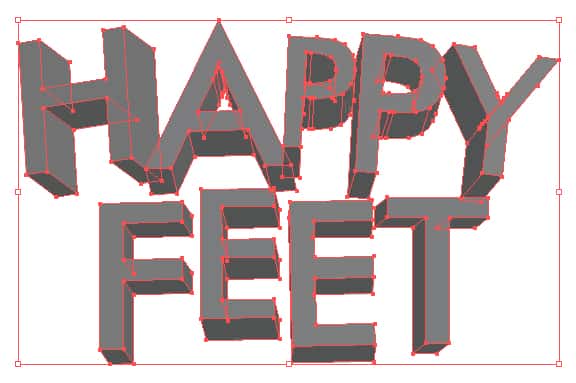
2. Next select each letter & go into Effect > 3D > Extrude & Bevel. Put in the settings below for each letter.
3. If some fonts are overlapping, right click the font and go to Arrange > Send to Back. Or if you want to bring a letter forward, right click > Arrange > Bring to Front. Using the Selection Tool select all of the letters and go into Object Expand Appearance. With the letters still selected go into Object > Ungroup (Shift+CTRL+G), you’ll need to do this about 10 times. This will make it so you can select each section of the letters.
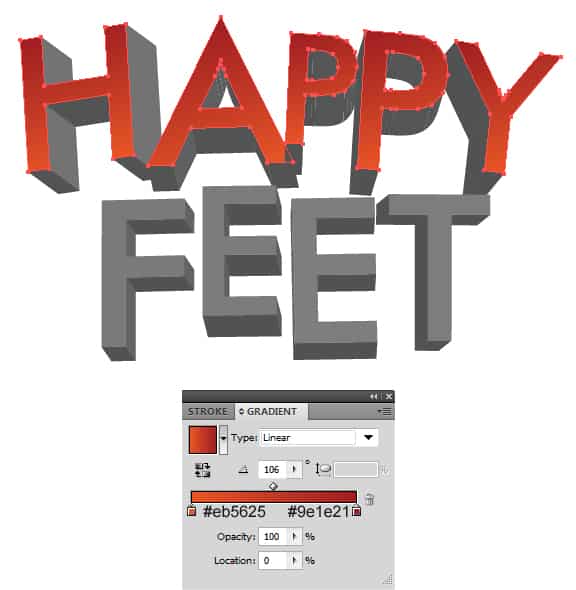
4. While holding down the Shift Key select the front part of the letters on the first word. If you click on the wrong section just click on the section again while still holding down the Shift key. With all the main shapes selected put in the Gradient below.
5. Do the same with the second word, but put in the gradient below.
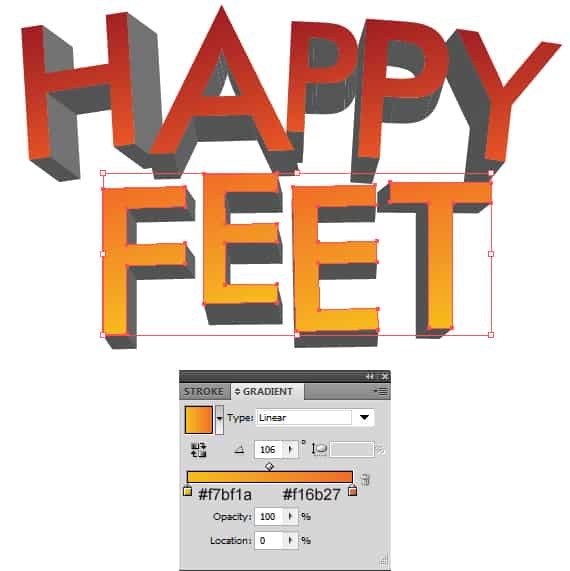
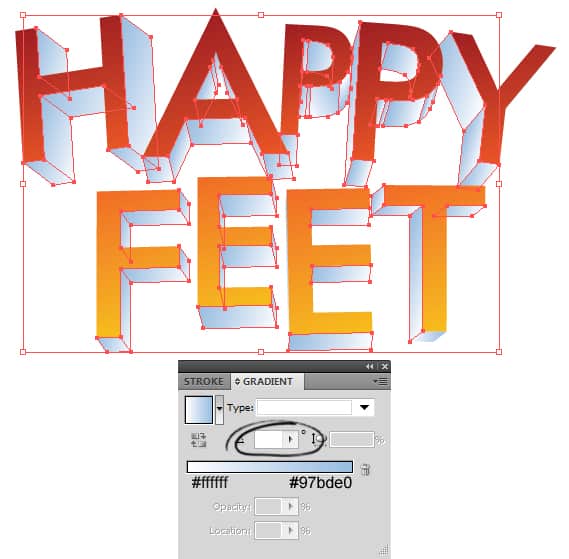
6. Now select all of the 3D sections of the letters and put in the Gradient below. You may need to Enlarge the canvas using the Zoom Tool to select the smaller 3D sections that are hard to select and apply the gradient. Quick Tip: To apply a gradient that’s already on the canvas, while the shape you want to put the gradient on.  Get the Eye Dropper Tool and click on the Gradient. Save the document (if you haven’t already before).
Photoshop
7. To present the font on a Happy Feet themed background, go into Photoshop & create a new document that’s 900×400 pixels. Copy & Paste this image onto the canvas. Shrink the image down by pressing CTRL+T and dragging a top corner down while holding down the Shift Key (to keep the image perfect).
8. Open the saved text document in Photoshop and press CTRL+A to select all, then copy & paste it onto the previous canvas. Make the text image smaller like step 7. Double click on the text layer to go into Blending Options and put in the Outer Glow option below.

