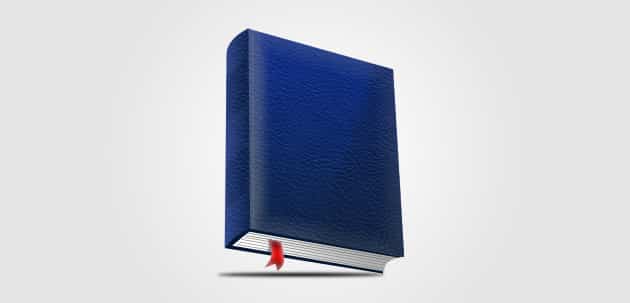
Create a Leatherback Book Icon using Photoshop
Learn how to create a realistic Leatherback Book Icon using Adobe photoshop. We’ll be using the shapes tool, pen tool & Blending Options to create this cool icon.
1. Â Create a new document that’s 600×600. Using the Rectangle Tool & draw the book cover. Press CTRL+T to bring up the Transformation tool, while holding down the CTRL Key, click on the edges and create a similar shape to below.
2. Double click on the shape layer to go into Blending Options & put in the following:
![]()
3. Using the Pen Tool, draw the side of the Book icon. Double click on the layer to go into Blending Options and put in the following:
4. Using the Pen Tool, draw the back cover of the book using the colour below.
5. Again using the Pen Tool, draw the white area for the pages. Double click into Blending Options and put in the following Gradient:
6. Using the Zoom Tool, zoom up to the bottom of the book (or click CTRL +). Select the Line Tool (1px) & draw the lines for the pages using  dark grey. To zoom out press CTRL  -.
7. While holding down the CTRL Key, click on the front cover’s Layer Thumbnail to highlight the shape. Create a new document and using a soft edged white brush, brush on some highlights. Set the opacity to 77%. Highlight the shape again and create a new layer, using a Black soft edged brush, brush on some shading & set the opacity to 33%.
8. Using the Pen Tool, draw the 2 sides on the book. Double click into Blending Options and put in the following gradient:
9. Next using the Line Tool (1px), draw a white line down the side of the front cover and set the Opacity to 17%.
10. Next zoom up & draw a ribbon shape using the Pen Tool. Double click into Blending Options and put in the following below:
11. Next draw the shadow behind the ribbon (make sure the shadow shape layer is behind the ribbon layer). Draw the shadow in black and set the Opacity to 40%.
12. Next grab this Leather Texture. While holding down CTRL+Shift click on the front cover & main side Layer Thumbnail to highlight the shape. Create a new layer & Copy/Paste the Leather Texture onto the canvas. Click on the Add Layer Mask icon, this will crop the leather shape down to the highlighted shape.
13. Lastly using the Elliptical Marquee Tool, Â draw a thin oval shape for the shadow. Create a new layer and fill in the shape dark grey. Go to Filter > Blur > Gaussian Blur to finish off the shadow.


