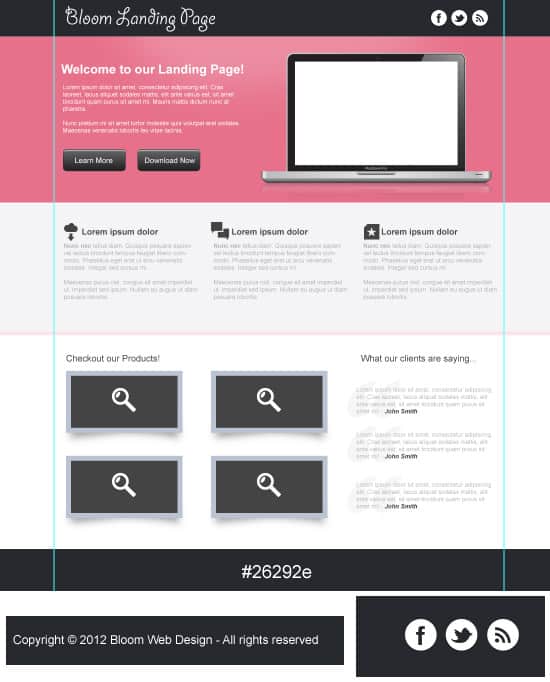
Design a Clean Landing Page Template in Photoshop (Free PSD)
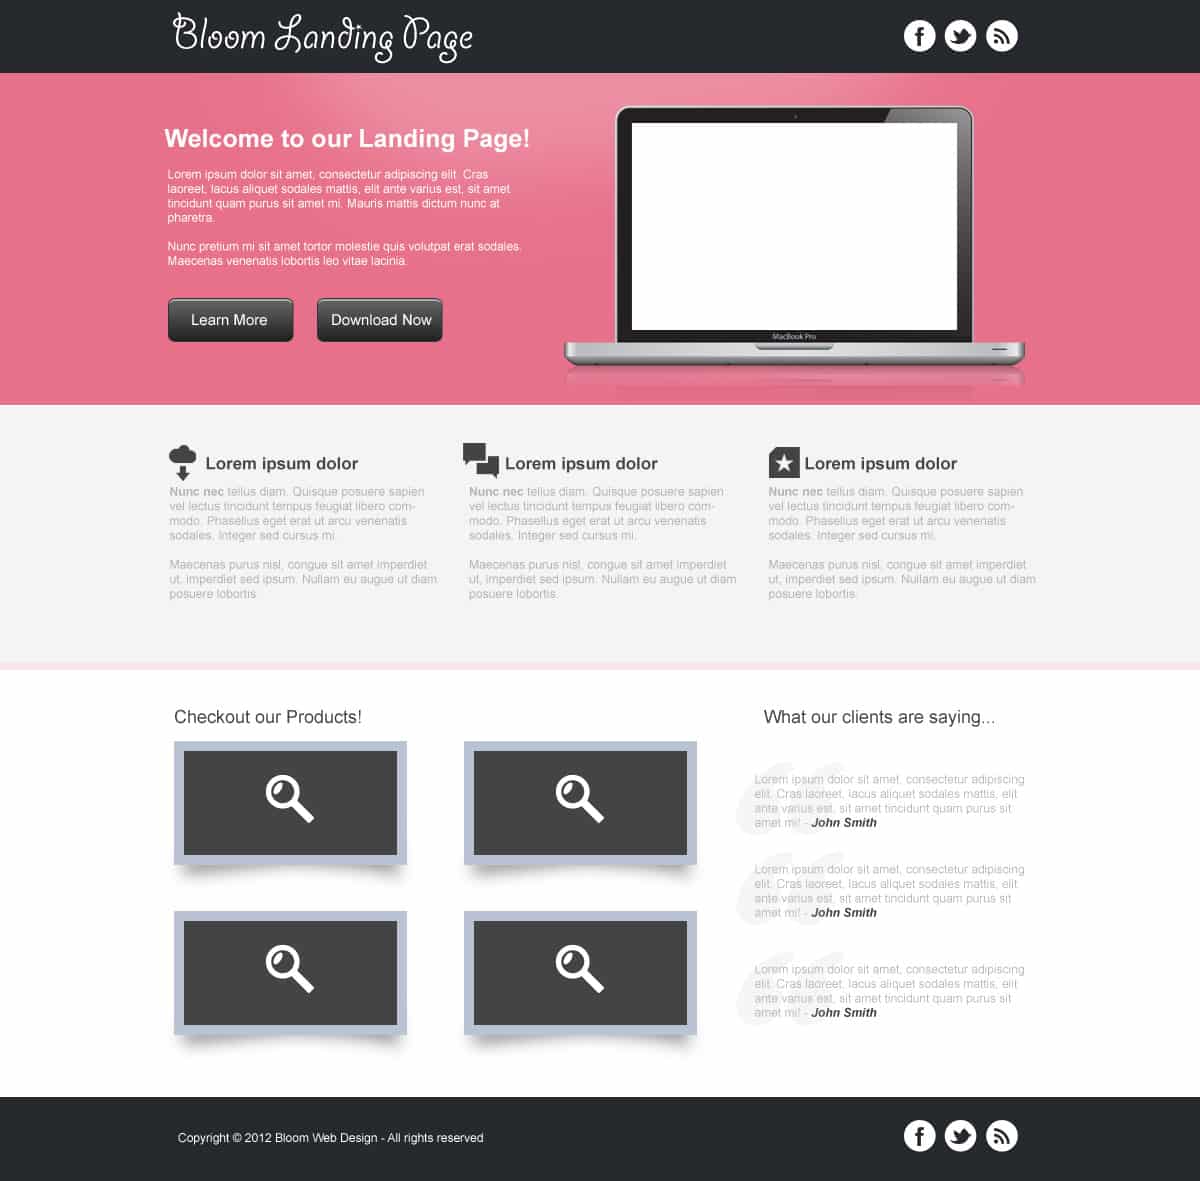
Learn how to create a clean and professional Landing Page template using Adobe Photoshop. We’ll be using a variety of methods and techniques to design this landing page which can be used for a variety of businesses who are seeking a professional template.
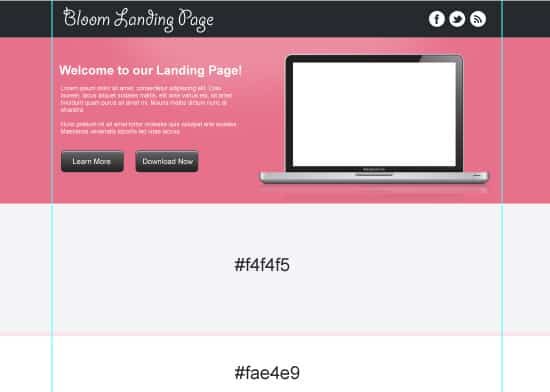
Final Result
Resources
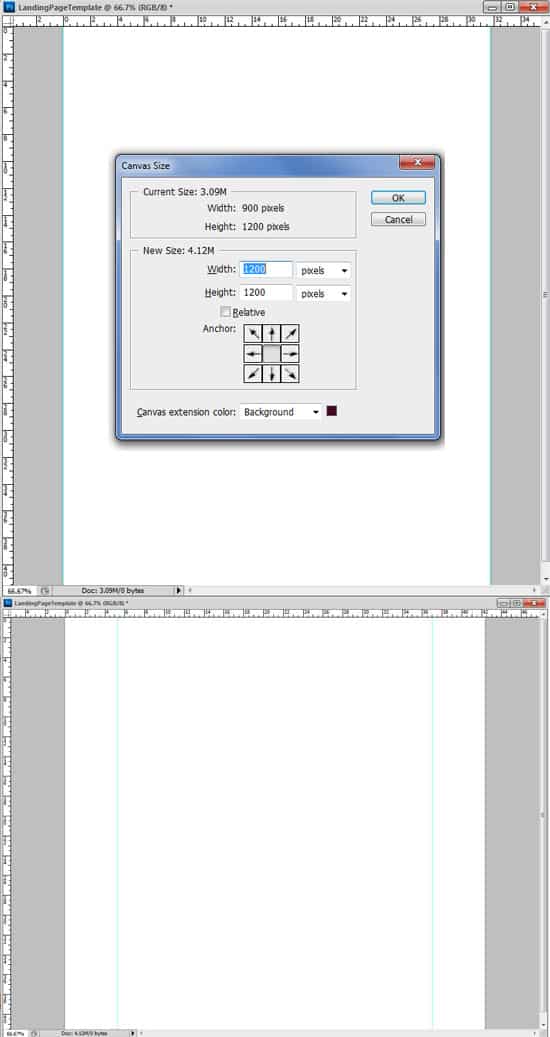
1. Firstly create a new document in photoshop with the settings below:
2. Next press CTRL+R to bring up the ruler around the canvas & drag out 2 horizontal lines placing them on the edges like below. Go into Image > Canvas Size and put in the settings below to make the width larger. The lines you dragged out will be guidelines to keep the website’s features in.
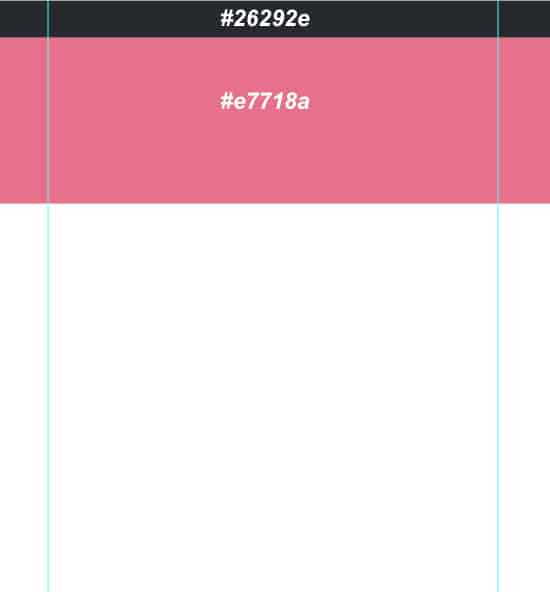
3. Select the Rectangle Tool and draw 2 shapes like below for the header & slider sections.
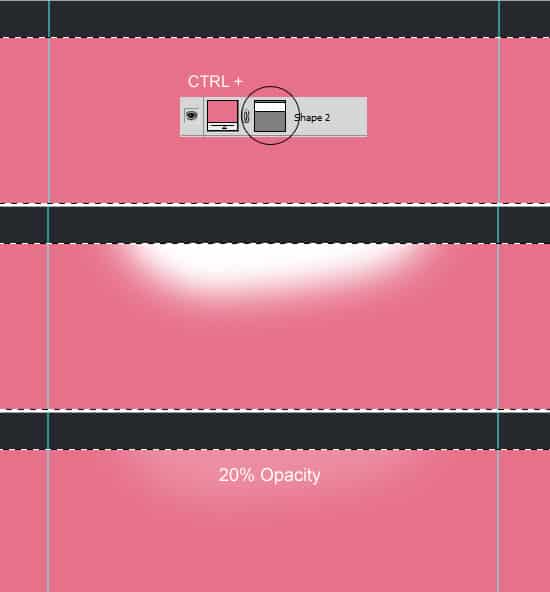
4. While hold down the CTRL key, click on the slider’s layer thumbnail to bring up the marquee around the shape. Create a new layer and draw on some white on the top like below using a soft edged brush. Set the opacity to 20% on the layer, this will give it a nice subtle tone.
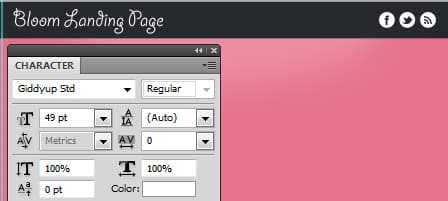
5. On the header, write out your landing page name, download the icons and drag them onto the header section like below.
6. Next on the slider section, write out some content using the text tool.
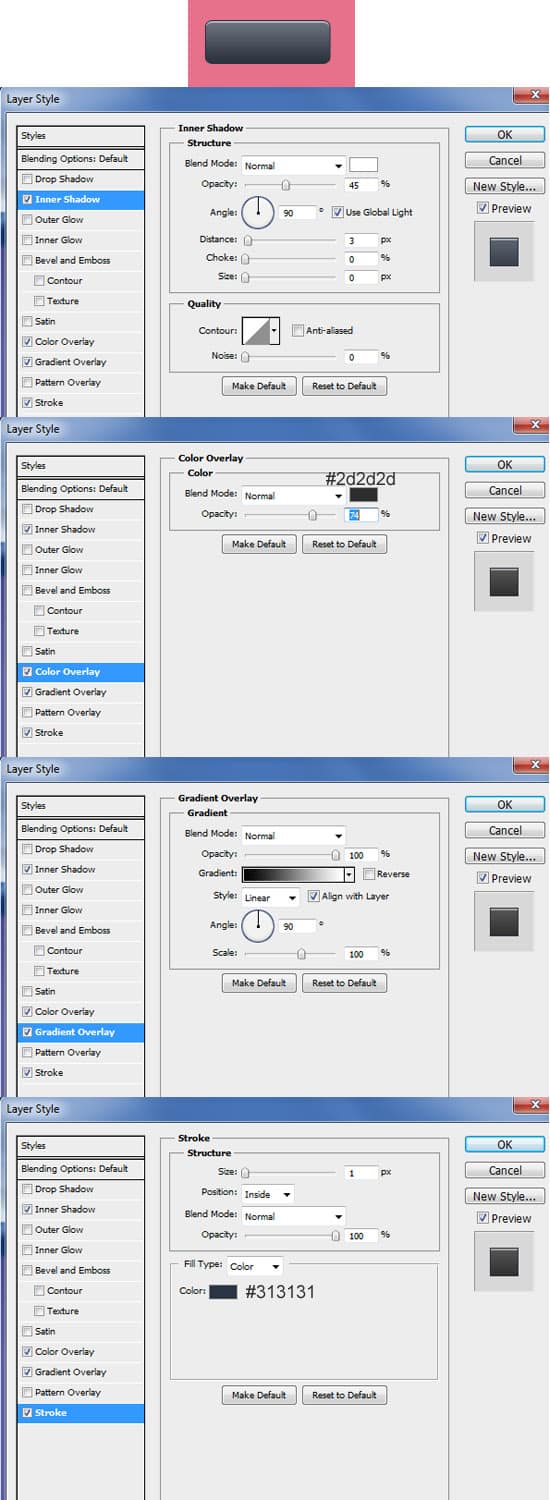
7. Now for a button, select the Rounded Rectangle Tool and draw a nice button size. Double click on the layer to go into Blending Options and put in the settings below:
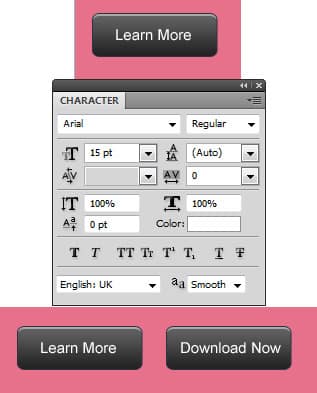
8. Next write the name of the button using the font below. Duplicate the button if you need a second one.
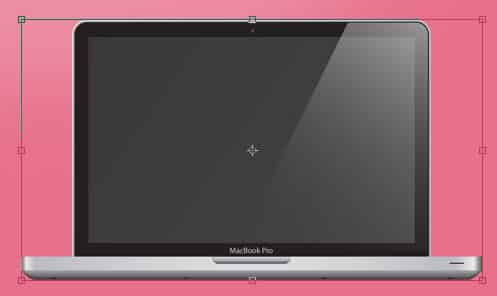
9. Download the Apple Laptop and open it up in Photoshop. To make it smaller press CTRL+T and drag the top corner down while holding down the shift key.
10. Duplicate the laptop by dragging it to the new layer icon. On the duplicated laptop press CTRL+T and flip the laptop down like below. Erase the part of the laptop that’s outside of the slider area using a soft edged eraser and set the opacity to 34%. This will make a nice reflection for our laptop.
Next using the Rectangle Tool, draw a white shape covering the screen of the laptop. If you want an image on the laptop, place it just above the white shape, right click the layer and press Create Clipping Mask. This will crop your image down to the white box shape.
11. Using the Rectangle Tool, draw the next 2 colours for the background.
12. Â Next select an icon of your choice from the Jigsoar icons and place it on the content area. Â Using the font below, write out out some content.
13. While holding down the CTRL Key, select all of the text & icon layers from the previous step and drag to the new layer icon to duplicate & 2 more content areas like below while changing each icon.
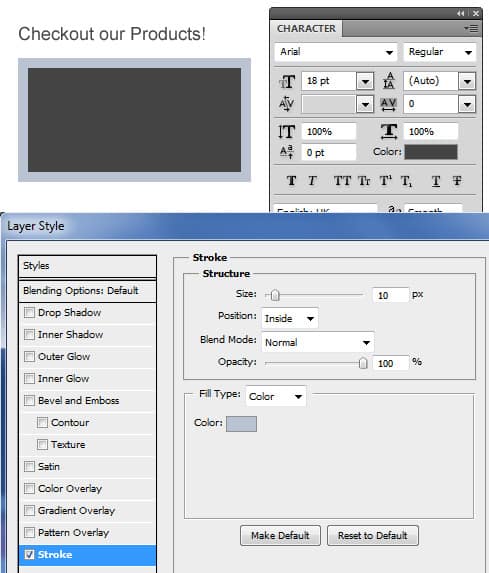
14. Using the font below, write out a title. Next grab the Rectangle Tool and draw a thumbnail shape of your choice. Double click on the layer to go into Blending Options and put in a stroke for the border.
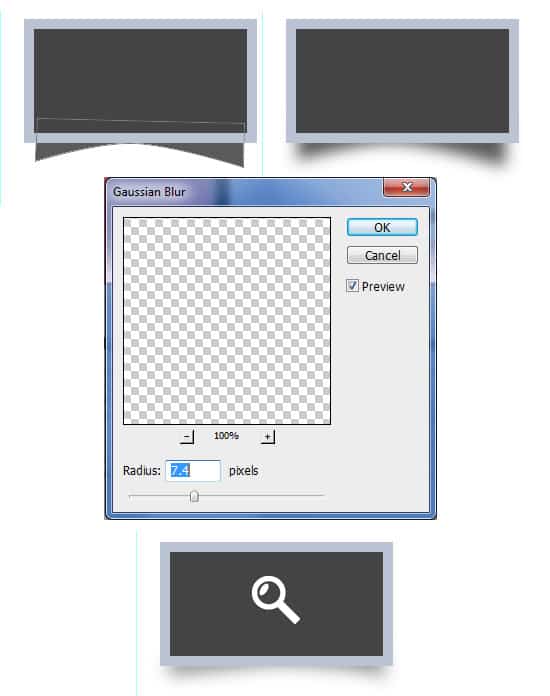
15. Next select the Pen Tool, and create a shape like below for the shadow using a dark grey colour. Go into Filter > Blur > Gaussian Blur and put in 7.4. Â Set the opacity to 60% to finished off the shadow. Next go into the Jigsoar icons and drag the magnifying glass icon onto the canvas.
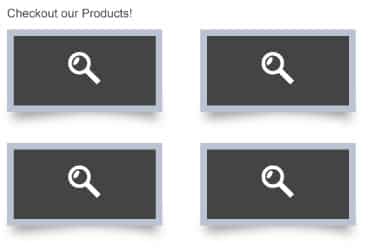
16. Select all the thumbnail layers (like in step 13) and duplicate them to complete the gallery section.
17. Write out the heading using the same font as the gallery section. Using any font you like, write a large quotation mark using a light grey colour. Using the font below, write out some example testimonials.
18. Lastly for the footer section, draw the footer using the Rectangle Tool, make it the same colour as the header. Place in some copyright details and place the same social icons as the header.
