Design a Diary/Journal Web Layout in Photoshop
Learn how to create a fancy looking diary/journal website layout in Photoshop!
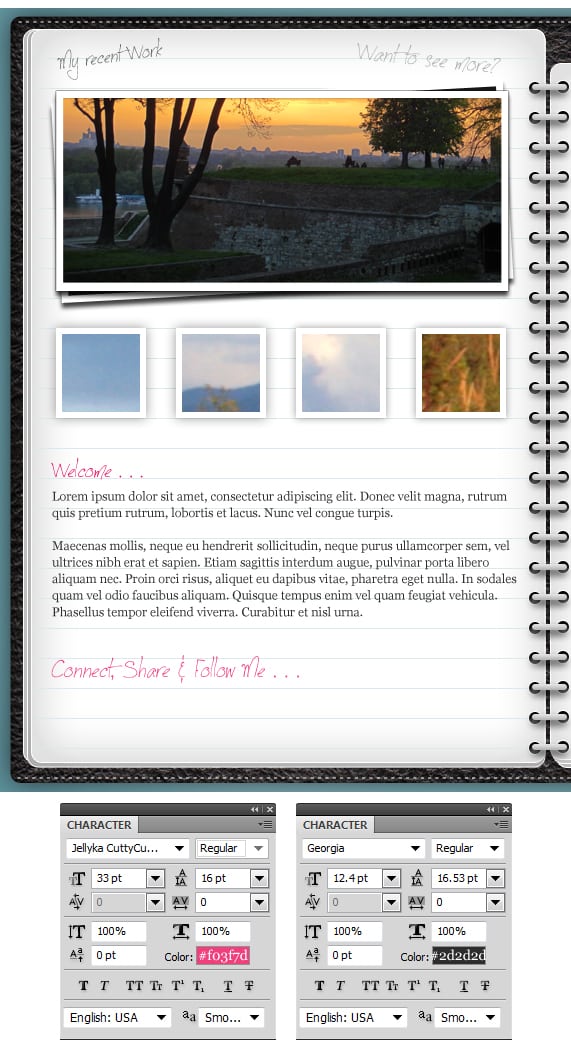
Final Result

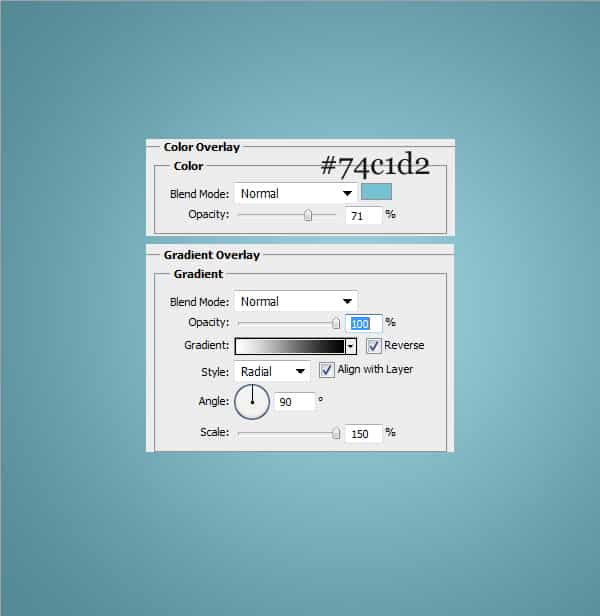
1. Create a new document that’s 1050×920 pixels. Double click on the background layer to unlock it, then again to go into Blending Options and put in the options below.
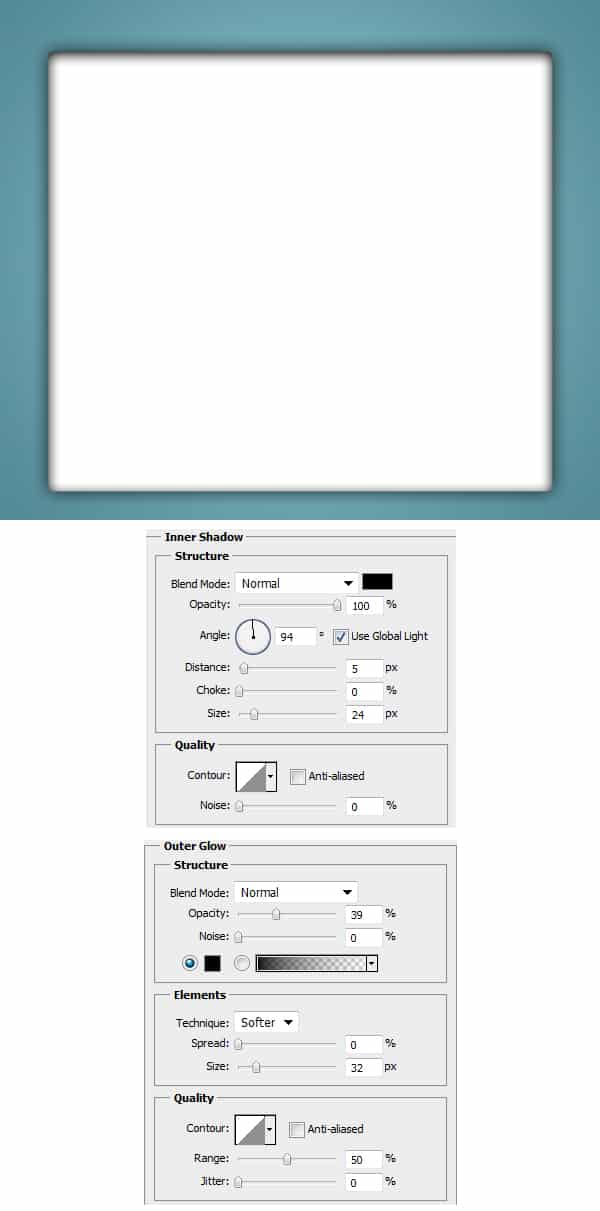
2. Using the Rounded Rectangle Tool draw the main body of the diary/journal using the colour white. Double click into Blending Options and put in the options below:
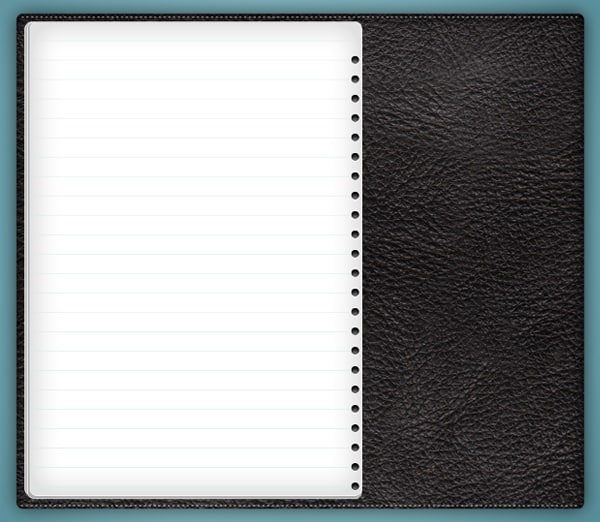
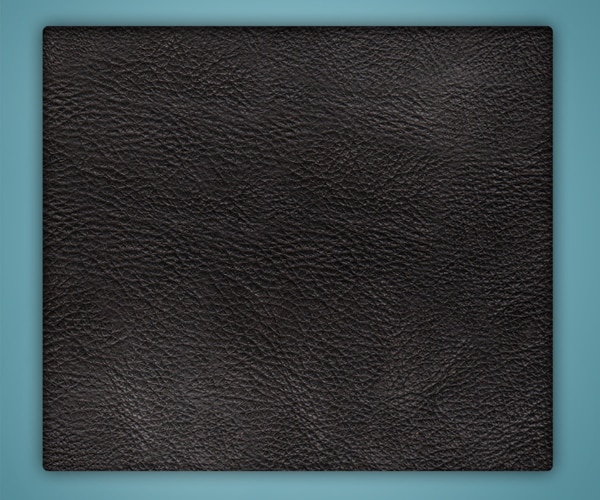
3. Next copy & paste this Leather image onto the canvas. If you need to shrink the image down to the size of the white box press CTRL+T & drag a top corner down while holding down the Shift Key (to keep the shape perfect. With the leather image directly over the white rectangle, right click on the Layer > Create Clipping Mask. This will crop the image down to the white rectangle without interfering with the original leather image.

4. Create a new layer over the leather image and set the Blending Mode to Soft Light. Get a Medium Soft Edged White Brush, and brush on some highlights.
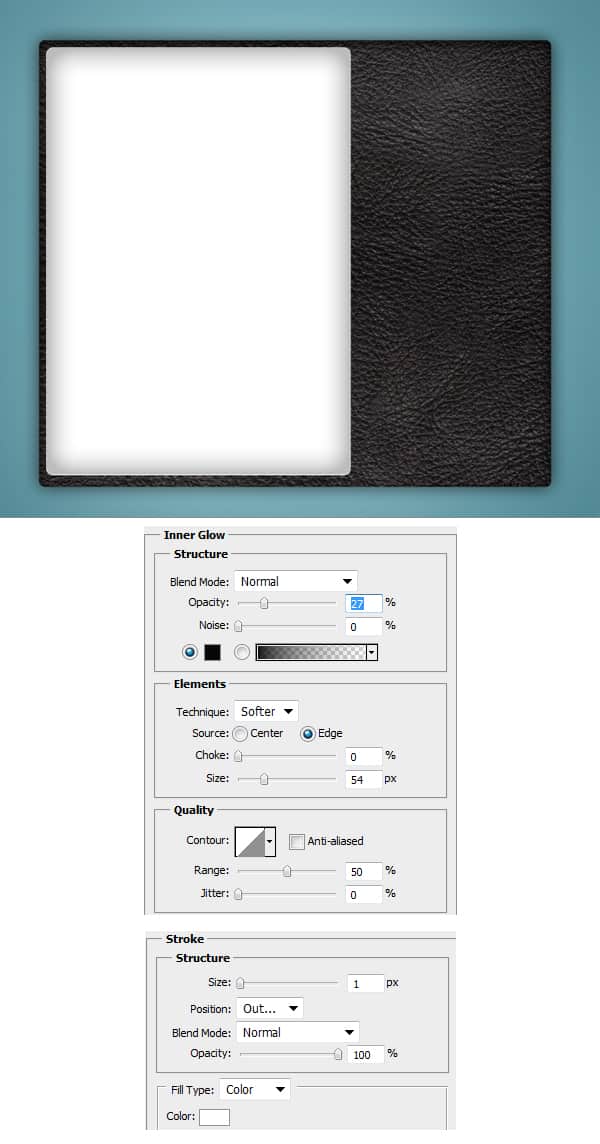
5. Using the Rounded Rectangle Tool, draw the main content area of the layout using the colour white. Double Click to go into Blending Options and put in the options below:
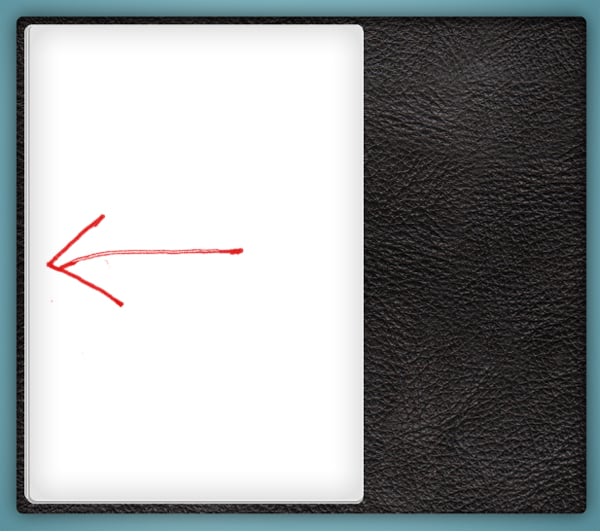
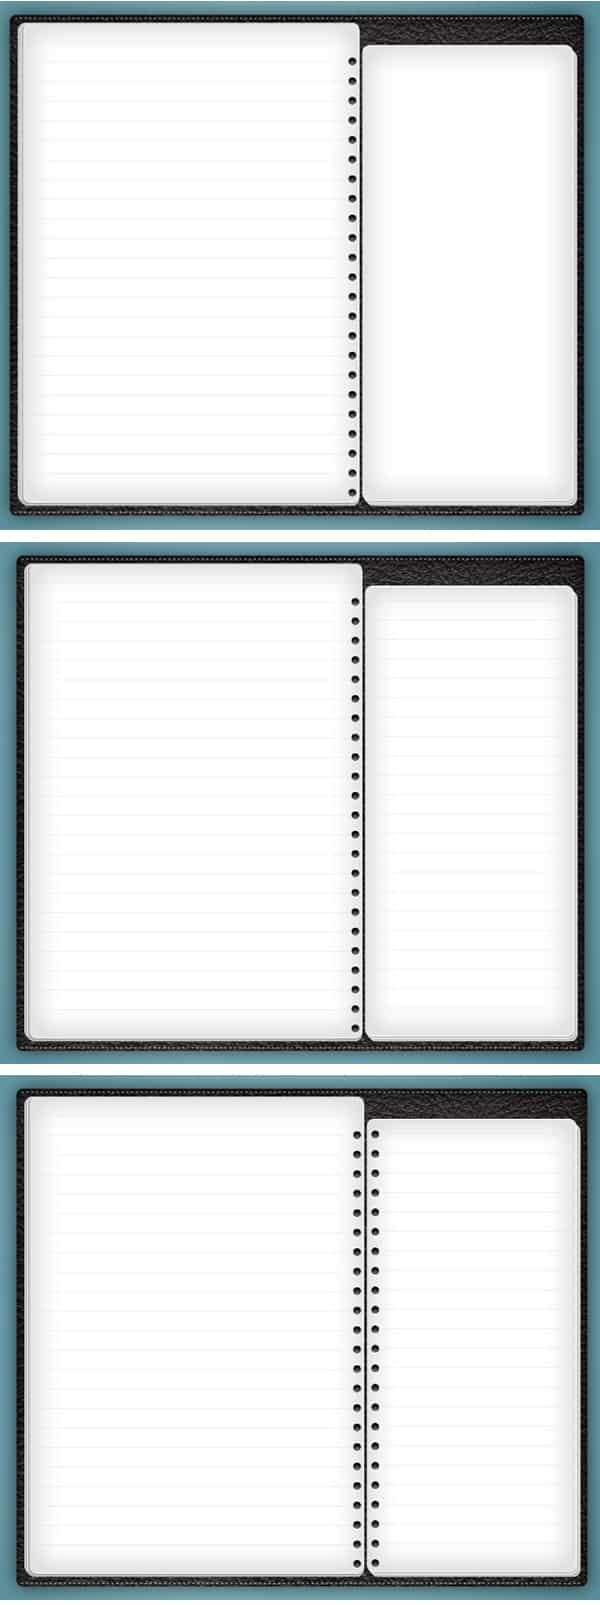
6. Duplicate the page by dragging the layer to the New Layer Icon, or right click and Duplicate Layer. On the duplicated layer press CTRL+T and drag a bit of the left side in. Do this again until it looks like pages from a book.
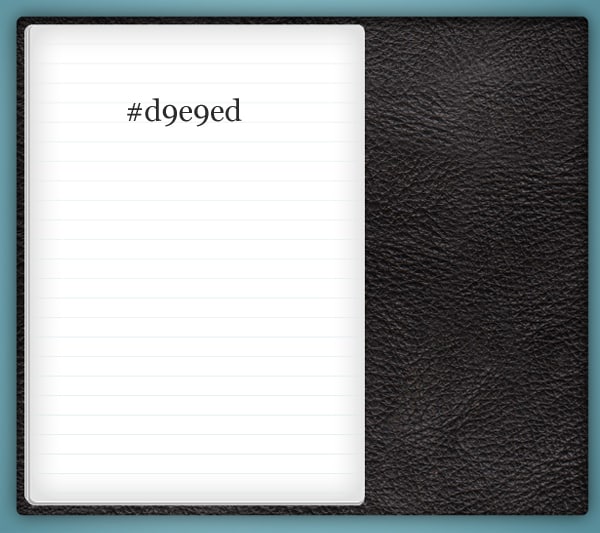
7. Next using the Line Tool (1px), draw a line using the colour below across the page (while holding down the shift key). Duplicate the line and move down by press Shift+Down Arrow Key (you need to have clicked on the Rectangular Marquee Tool to do this). Repeat this step until the lines are filling the page.
8. Using the font below write out the minus symbol – for stitching on the top & bottom of the diary/journal cover.

9. Next using the Ellipse Tool draw a small circle while holding down the shift key using the colour #616364. Double click into Blending Options and put in the options below:
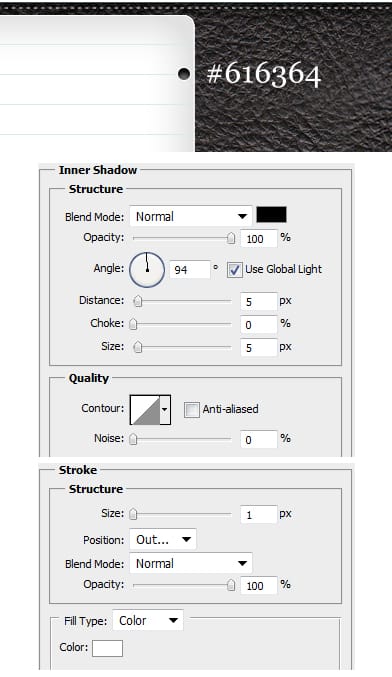
10. Duplicate the circles and place each of them on the centre of the blue lines like below.
11. Repeat steps 5 to 10 on the sidebar area.
12. Next using the Rounded Rectangle Tool, draw a Binder using the colour white. Double click into Blending Options and put the followings options on the binder:
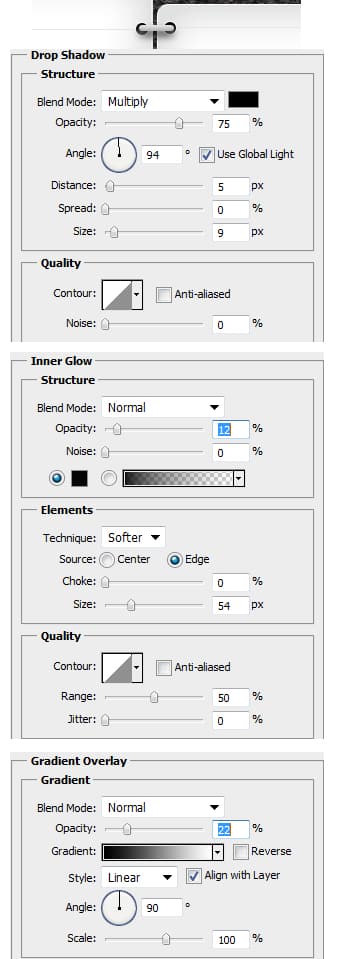
13. Duplicate and place the binders correctly.

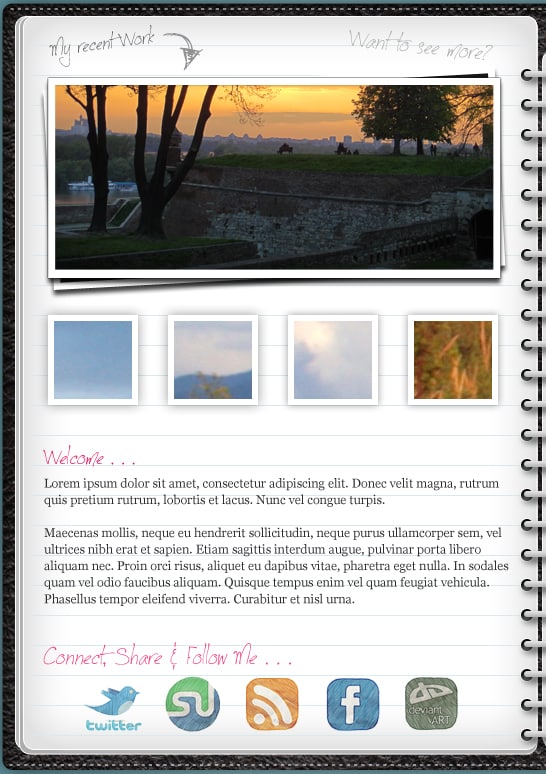
14. For the Gallery, draw a rectangle box using the Rectangle Tool using the colour white. Double click into Blending Options and put in the options below. Duplicate the Rectangle. On the behind rectangle, press CTRL+T and rotate the box to give a nice effect.

15. Next copy & paste the image you want to display & place it directly over the front rectangle image.
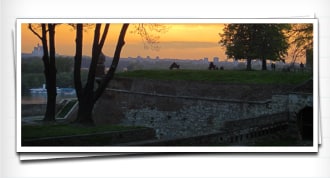
16. Using the Rectangle Tool draw the thumbnails using the colour white. Double click into Blending Options and put in the options below. Select the images you would like on each thumbnail and place them using the previous method.

17. Next write out some Content and little messages on the content section.
18. Grab these Social Icons and place the ones you want on the bottom of the page.
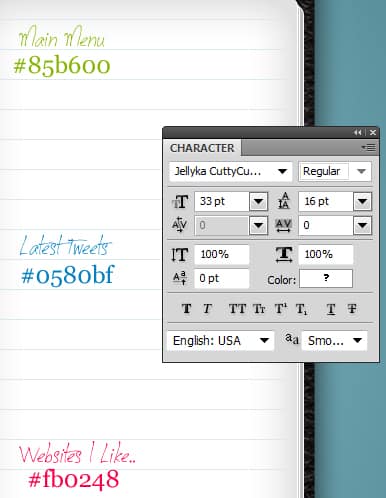
19. Next write out the headings for the Sidebar area.
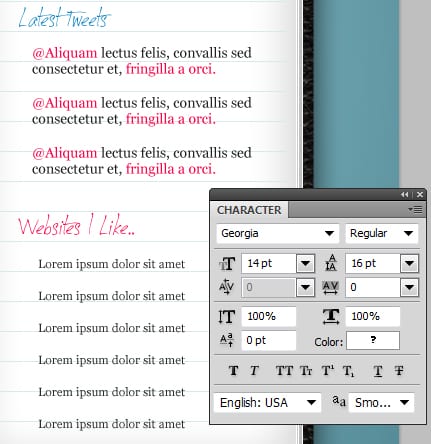
20. Next write out the sidebar content.
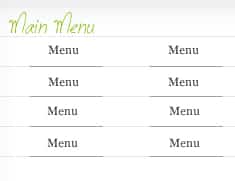
21. For the Main Menu, write out some button name examples. Using the Line Tool (1px) draw 2 dividers like below while holding down the Shift Key.
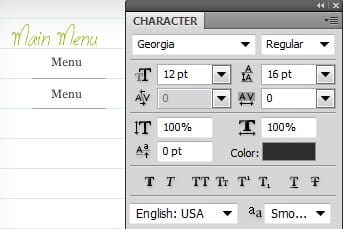
22. Do this until the Menu sections looks complete.
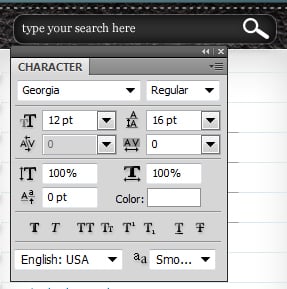
23. Using the Rounded Rectangle Tool, draw the search box. Double click into Blending Options and put in the options below: Color Overlay is: #333333 Stroke is: #f0eded.

24. Next go into the Custom Shape Tool, select & draw on the Magnifying Glass shape. Write out the search instructions.
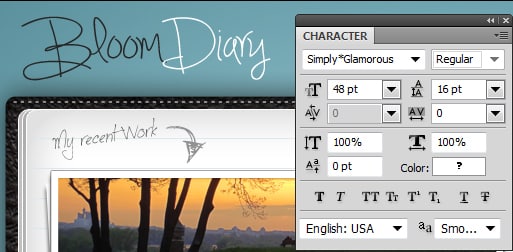
25. Using the font Simply Glamorous write out the website name.
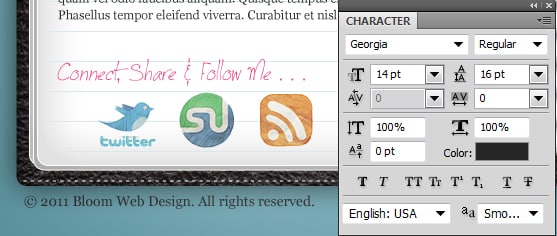
26. Write out the Copyright details.
Optional Step
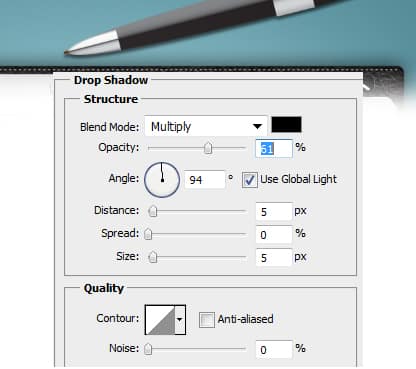
27. If you have Illustrator Download & Open this Pen Vector. In Illustrator, select the Pen Layers and Copy/Paste the pen onto the Canvas. Shrink down and rotate the pen the way you like, double click on the pen layer to go into Blending Options and put in a Drop Shadow:
Final Result

