Design a Sleek Calculator Icon in Photoshop
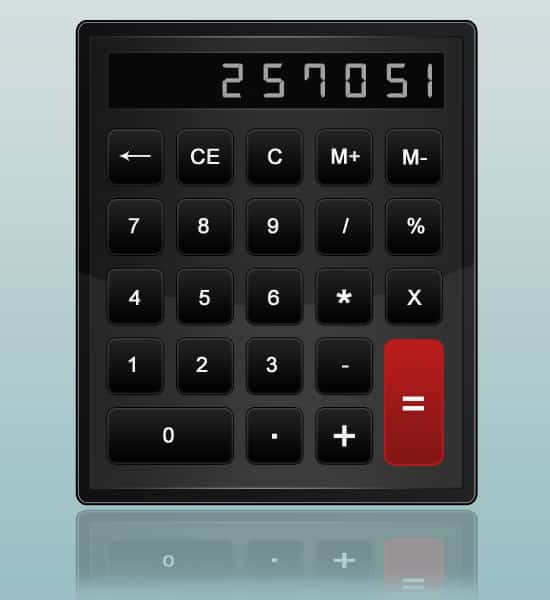
Learn how to create a cool & sleek Calculator Icon in Photoshop!
Final Result
1. Create a new document that’s 550×600 pixels. Draw the body of the calculator with the rounded rectangle tool, double click on the layer to go into Blending Options and put in the settings below:
2. Next hold down the CTRL key and click on the layer thumbnail (circled below) to highlight the shape.
3. Next go to Select > Modify > Contract and Contract the highlighted shape by 15 pixels.
4. Create a new layer and fill the highlighted shape a colour. Double click on the layer to go into Blending Options and put in the settings below:
5. Repeat step 2 to highlight the shape. Select the Elliptical Marquee Tool and drag over the top of the highlighted shape while holding down the ALT key, this will remove it.
Create a new layer and fill the highlighted shape white & set the opacity to 6%.
6. Get the Rectangle tool and draw the screen of the calculator using the colour black. Double click on the layer to go into Blending Options and put in the setting below:
7. Press ctrl+r to bring up the rulers around the canvas and drag out 2 horizontal lines and place them on the side of the screen. Draw a button using the rounded rectangle tool, double click on the layer into Blending Options and put in the settings below:
8. Duplicate the button by dragging it to the new icon layer, or right click and go to Duplicate Layer. While on each button layer click on the move tool, hold down the ctrl (for small moves) or shift (for large moves) and click on the right arrow key.
Press ctrl and click on all the button layers and drag them to the folder icon to place it in a folder. If the buttons are larger then the screen press ctrl+t on the button folder and drag a corner down while holding the shift key.
Duplicate the buttons folder until you have buttons down the calculator like below.
9. Next remove some buttons like below. Drag out rulers like the second image below and draw 2 larger buttons, one with the same Blending Options as the other buttons, and the other in red (or any colour you like!).
To remove the ruler lines, drag them off the canvas using the Move Tool.
10. Next go click on the Custom Shape Tool and choose the arrow circled below. Hold down the shift key and draw the arrow in a off white, to change the direction of the arrow press ctrl+t to bring up the transformation and flip the arrow over.
Next using the font below write out each button title and place it in the center of each button, this can be tedious!
11. Next using the font Digital 7Â write out some numbers on the screen.
12. To make it easier I’ve placed the calculator & button names in 2 folders. Duplicate each folder by dragging it to the new layer icon or right click and Duplicate Group. Select the two copied layers while holding down the ctrl key, right click and Convert to Smart Object.
13. Press ctrl+t and flip the duplicated calculator upside down and drag it underneath the main calculator.
14. Next click on the Add layer mask (circled below) on the duplicated calculator layer, select a medium to large soft edged eraser and erase the button part of the image. By adding a mask to the layer you can edit the layer without editing the original image.
15. Lastly I’ve decided to place a gradient background for presentation, you can do this by creating a new layer on the bottom & fill it white. Double click into Blending Options > Gradient Overlay.


