Design a Textured Typography Poster in Photoshop
In this step by step tutorial we'll learn how to create a textured typography poster using Photoshop. We'll be using grunge texture, various fonts and photoshop techniques to give this poster a distressed appearance and attractive style.
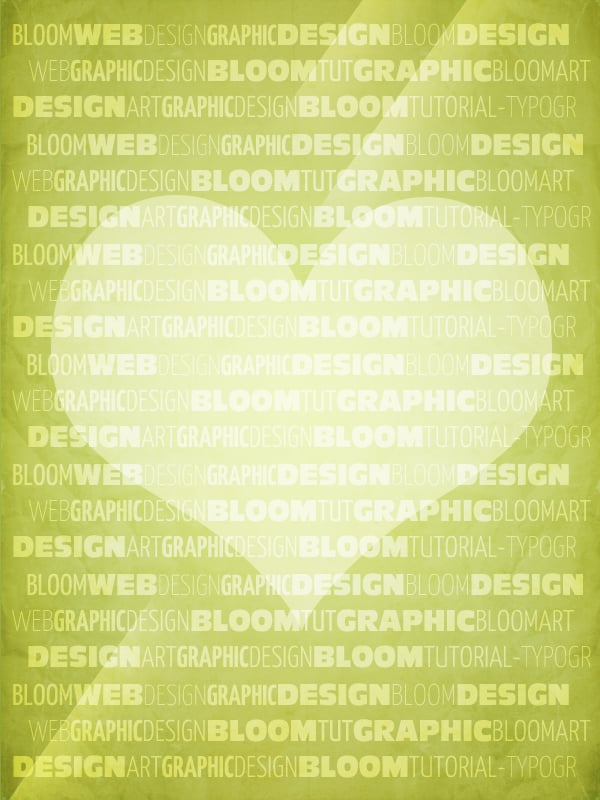
Final Result
Resources
Background
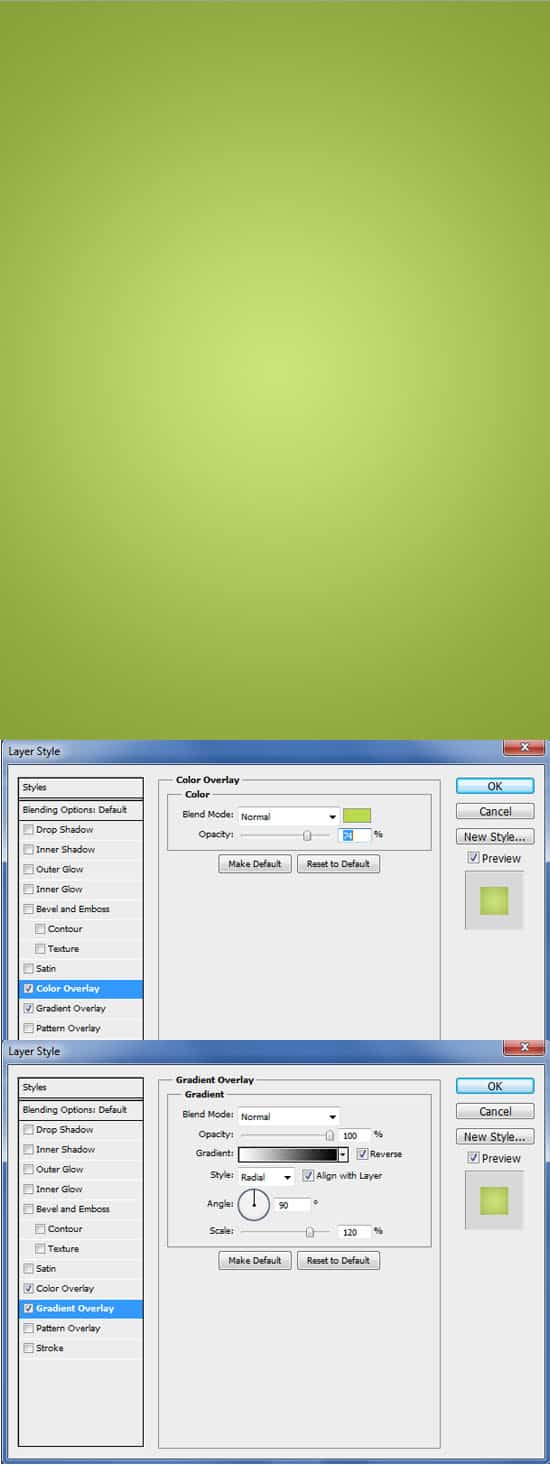
1. Create a new document with the size of your choice with a white background. Double click on the background layer to unlock it, then again to go into Blending Options. Put in the options below with the colour of your choice.
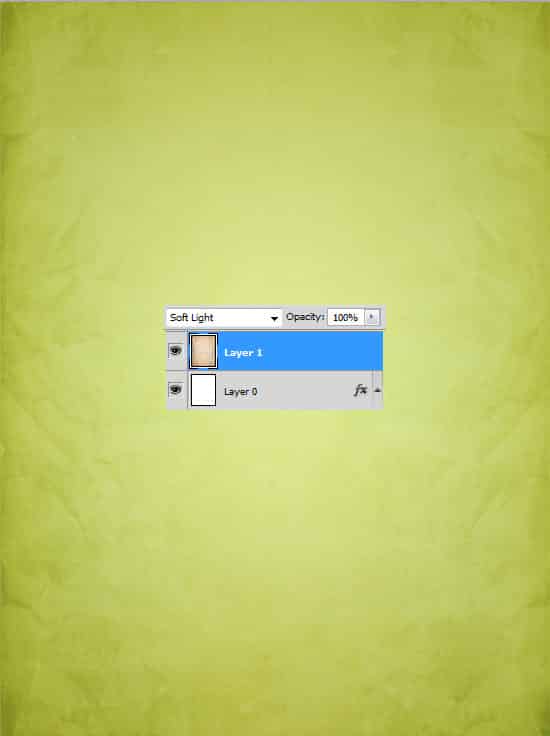
2. Copy & Paste the grunge texture onto the canvas, to shrink the size of the texture press CTRL+T and drag the sides of the layer down to the canvas size. Make the Blending Mode Soft Light.
Type
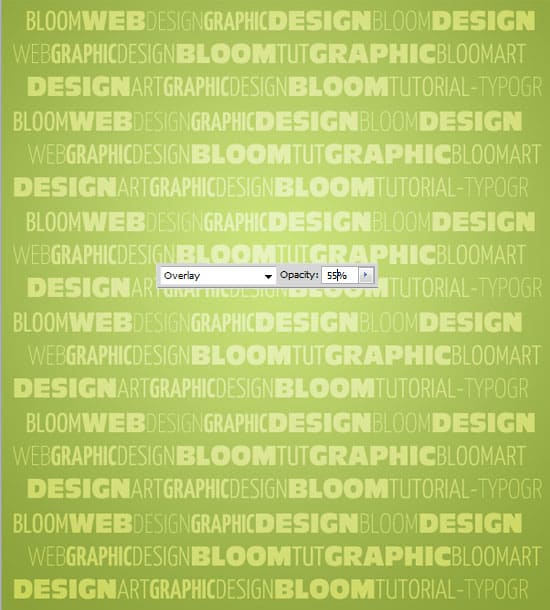
3. For the type, write in the words of your choice using one of the fonts in one line. Next select each font and change the type of font to your liking. Depending on what font you use, you may need to edit the size so it stays in proportion with the rest of the text.
4. Create 2 more lines of text each with different word combinations. Make sure the other lines of text are different (eg. I've placed to spaces on the second line to bring in some variety).
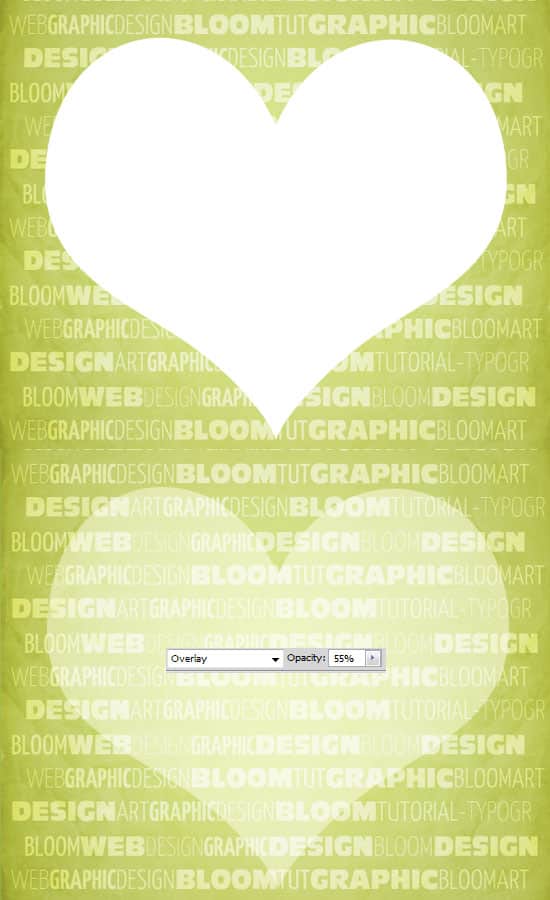
5. Copy and paste all 3 lines and place them down the poster. To select all of the text layers, hold down the shift key and select the first text layer, then select the last text layer to select all layers. Drag the layers to the folder icon to place them all in the folder. On the text folder, make the Blending Mode Overlay and the Opacity 55%.
Main Shape
6. Go into the Custom Shapes Tool and choose the shape you want. Draw the shape in white while holding down the Shift Key (to keep the shape perfect). On the shape layer, set the Blending Mode to Overlay and the Opacity 55%
Streaks
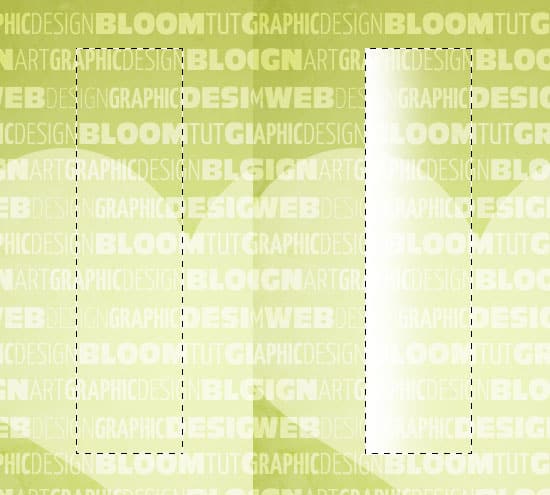
7. Create a new layer. Using the Rectangular Marquee Tool draw a shape like below, select the soft edged brush and draw on one side using the colour white. Next select the soft edged eraser and erase the top and bottom of the shape.
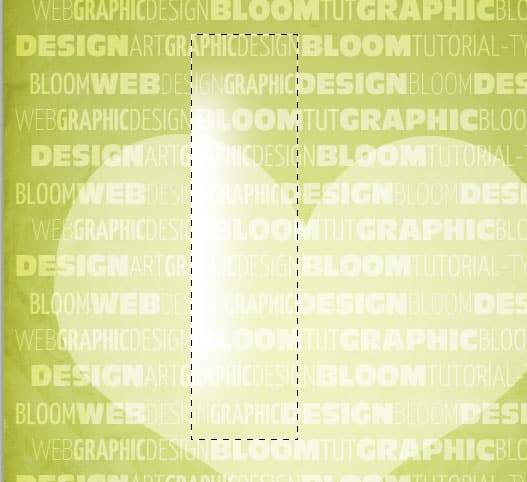
9. On the streak layer, set the Blending Mode to Overlay and the Opacity to 44%. To make the streak diagonal, press CTRL+T on the layer and rotate on of the edges. Duplicate the streak layer to create 2 more streaks and place where you like on the poster.
