Shopping Girl Character Logo Tutorial
Learn how to create a Vector Shopping Girl Character Logo in Illustrator & Photoshop!
Final Result
Illustrator
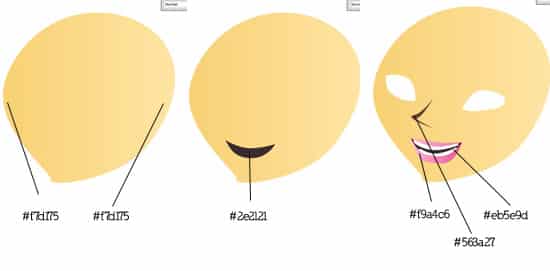
1. Firstly sketch out the character roughly to get a good idea of what you’re after. I’ve used a Graphics Tablet to draw out me idea, if you don’t have a Graphic Tablet you can draw you’re idea of paper and scan it in. 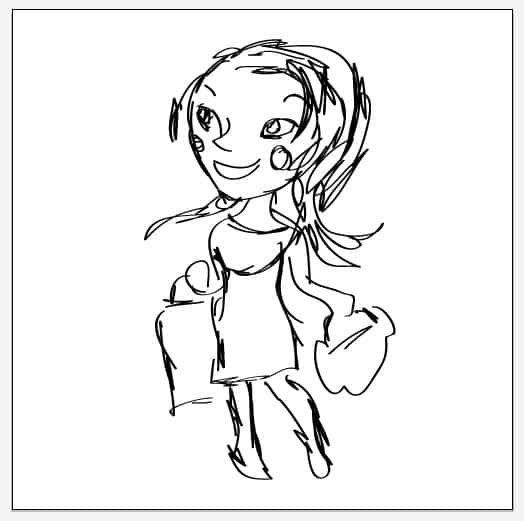 2. Next get the pen tool and trace around the face and face features of your sketch, you can use any color you like, I’m using the colors below.
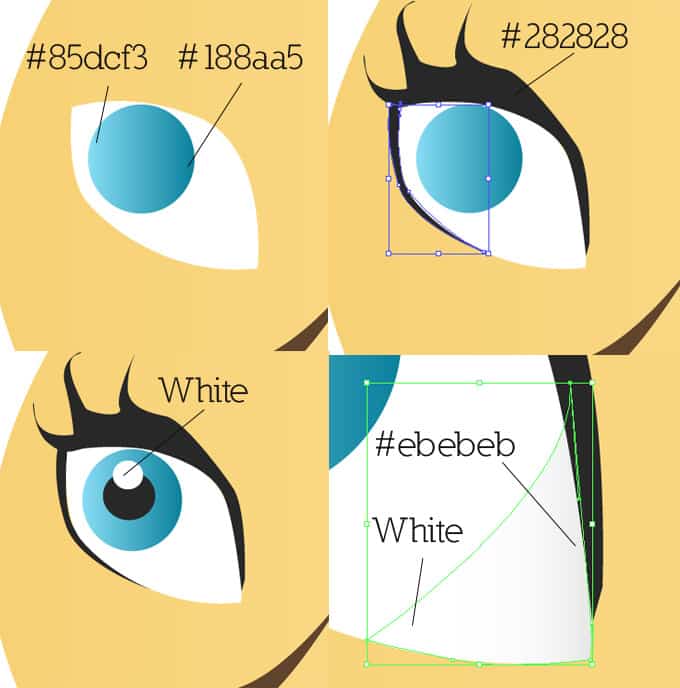
  3. Next put more detail into the eye using the pen and circle.
4. Next put some pink ovals on the cheeks, go to Effect > Blur > Gaussian Blur and make it 9.2. Next create some eyebrows with the color of your choice. 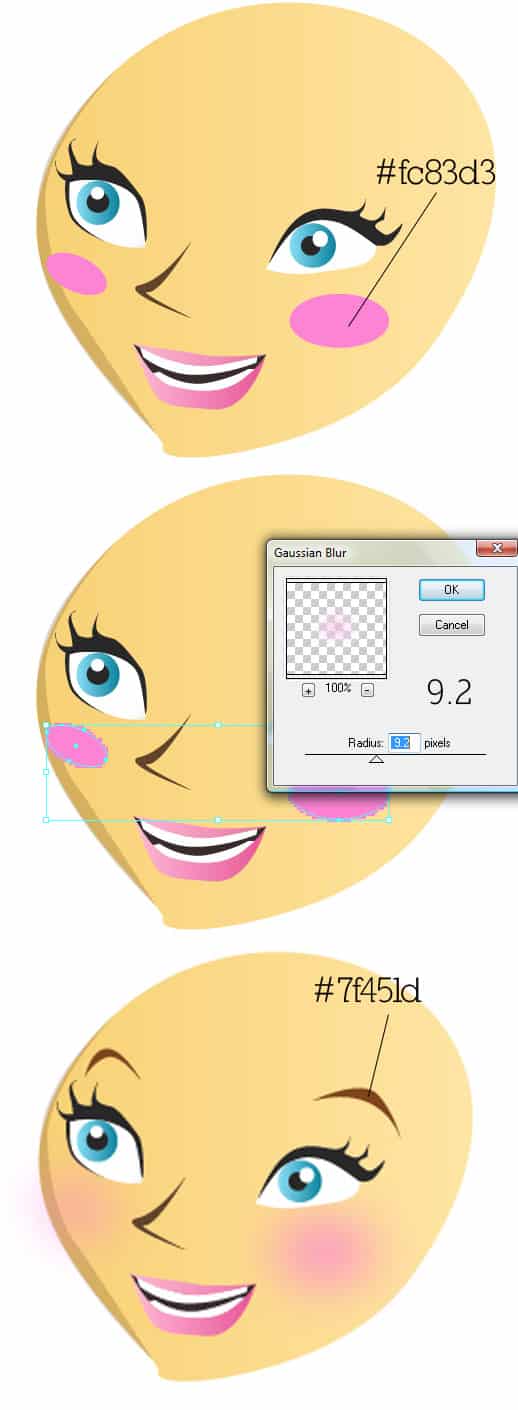 5. With the pen tool create some hair using your rough sketch as a guide.
  6. Next trace around the dress with the pen tool and draw the arms.
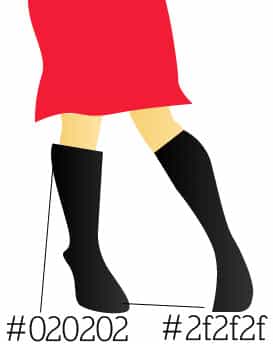
  7. Next draw the legs and boots.
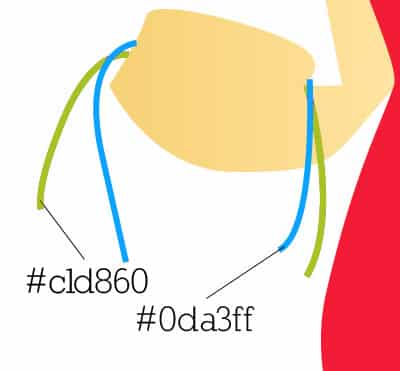
  8. Now draw the shopping bag straps. Make the Fill color none and put in the strap color on the stroke. Using the pen tool to draw them lines, then click on the Selection tool to leave it.
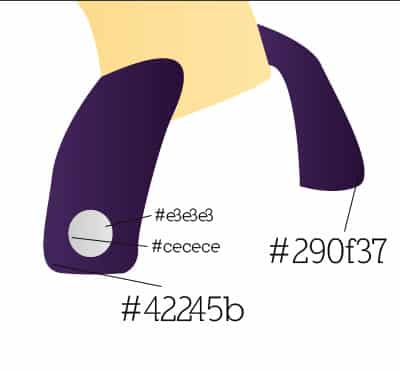
  9. On the other hand create the handle for the handbag using the pen tool. Put in a silver button.
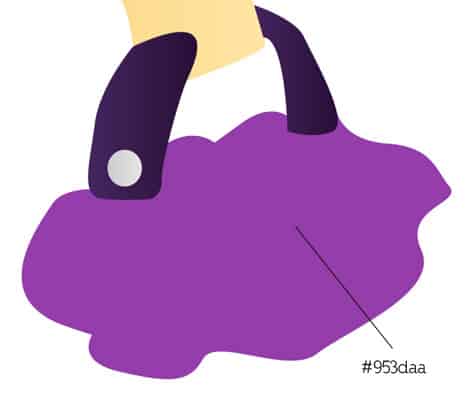
  10. Create the shape of the bag with the pen tool.
  11. Next create the shopping bags with the pen tool, I’ve created to rectangle shapes and duplicated them. Make sure the bags are behind the body layer.
 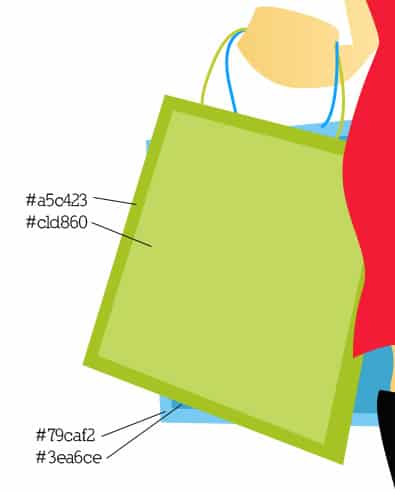 12. Next create a new layer and put it on top of all the layers. Get the pen tool and create the shadows using the color black. The press ctrl+a to select all of the black shadow shapes, go into Window > Transparency and make it 5%.
  13. Next using a light brown color draw some freckles using a round 1pt round brush.
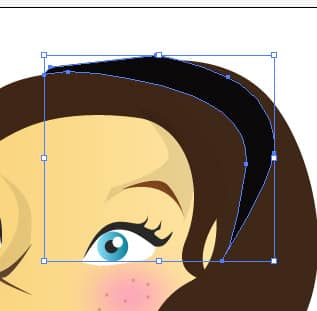
  14. Using the color black draw a hair band with the pen tool. Save the design.
Photoshop
15. Open the character in photoshop. Create a new document that’s 500×700, copy and paste the character onto the new canvas. Press ctrl+t to make the girl smaller.  16. Next download this paintstroke brush set here. Select the first stroke shape, create a new bigger document, create a new layer, and put a large paint stroke down. Get the eraser tool and erase part of the brush so it looks like below.
 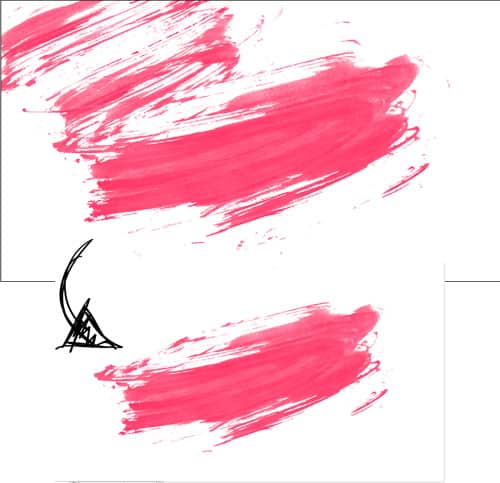 17. Copy and Paste the shape onto a new layer underneath the logo. Press ctrl+t and rotate and shrink the shape so it looks like below. Right-Click and go into Blending Options, Choose Color Overlay and make it the blue color below.
  18. Using the font from here write the logo title using the colors below. I’ve used the bold font for the first word, and the thinner font for the second.
