Design an Apple iMac to Showcase your Portfolio
Learn how to design an Apple iMac showcasing your work in Photoshop!
Final Result
 1. Create a new document that’s 580×700 pixels. Get the rounded rectangle tool and draw a shape like below.
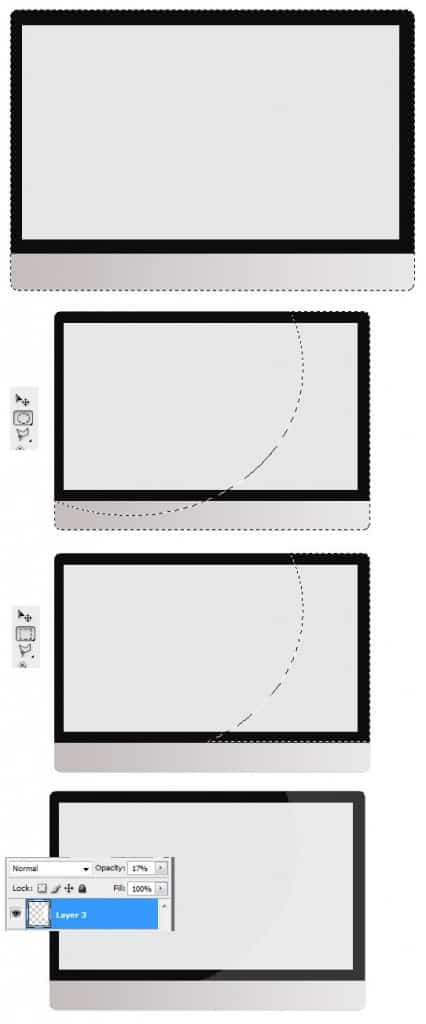
 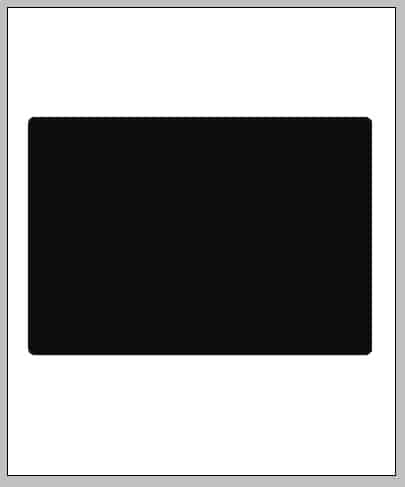 2. Holding down the ctrl key click on the squares’s layer thumbnail to highlight the shape. Get the rectangular marquee tool, hold down the alt key and remove part of the selected shape, create a new layer & fill the shape with a light grey.
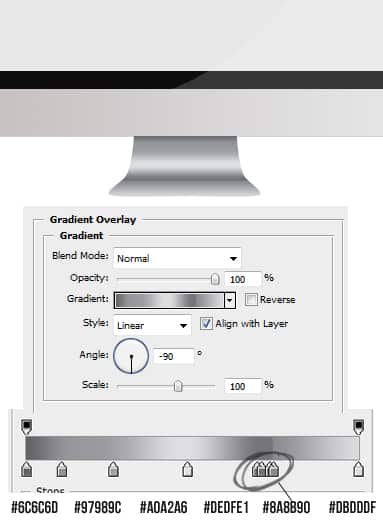
3. Right click the layer and go into Blending Options > Gradient Overlay and put in the following colours: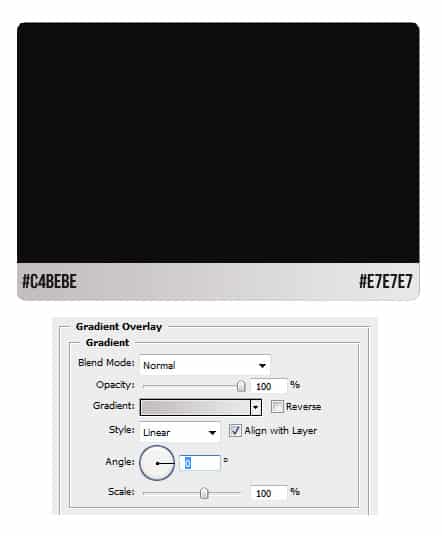
4. Next get the rectangle tool and draw a square shape for the screen.
 5. No go back to the main shape , hold down ctrl & click on the layers thumbnail to highlight the shape again. Get the Elliptical Marquee tool, hold down the alt key to remove part of the selected shape. Next select the Rectangle Marquee Tool, holding down the alt key again remove the bottom part of the selected shape. Create a new layer and fill the selected shape white & set the opacity to the layer to 17%.
 6. Next get the pen tool and draw 1 side of the platform. Duplicate the shape, press ctrl+t and flip the shape over to the opposite side. Hold down the shift key and click on the two layers, right click and Convert to Smart Object.
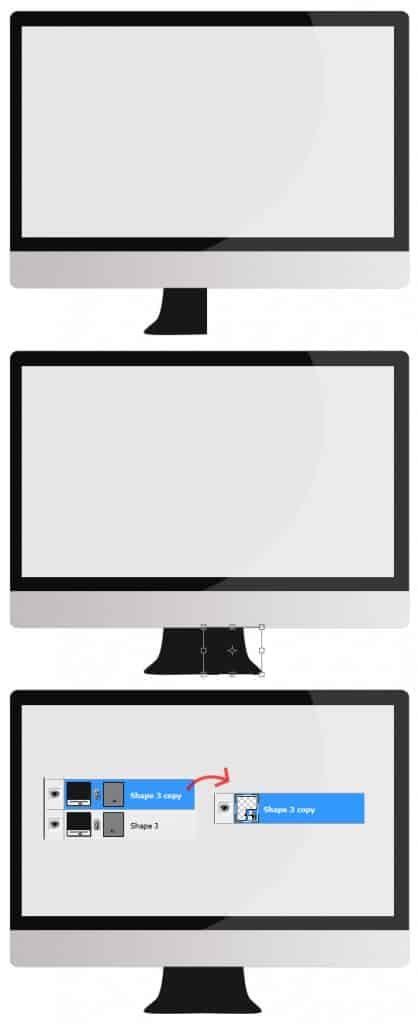 7. Right click on the layer & go into Blending Options > Gradient Overlay & put in the colours below:
8. Next get a black apple logo and set the Blending Mode to multiply so the white background is gone. Press ctrl+t, holding down the shift key pull one of the diagonal tops down to make it smaller and place it in position.
 9. Next get one of your work, copy and paste it onto the canvas. Hold down the ctrl key and click on the grey screen’s layer thumbnail. Go to your work and copy & cut it back on the canvas. Remove any remaining leftovers of your work.
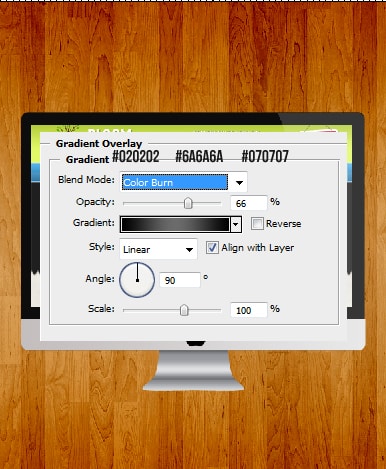
 10. Now get this wood texture and paste it onto the canvas underneath all the layers. Right click into Blending Options > Gradient Overlay and put in the settings below:
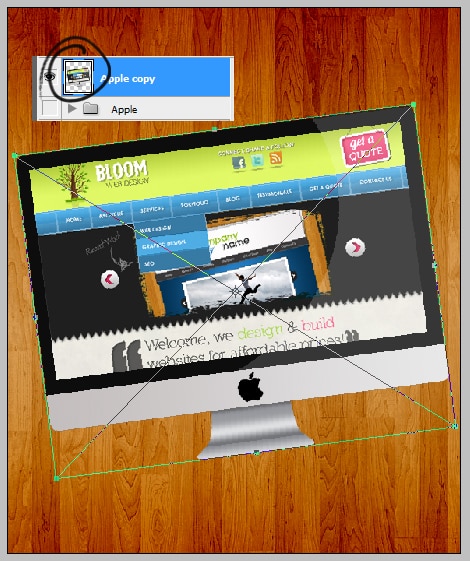
11. Put all the apple imac layers into a folder & duplicate it. Right click on the duplicated folder and Convert to Smart Object. Remove the eye icon form the original folder. On the duplicated apple layer, press ctrl+t and rotate the apple imac.
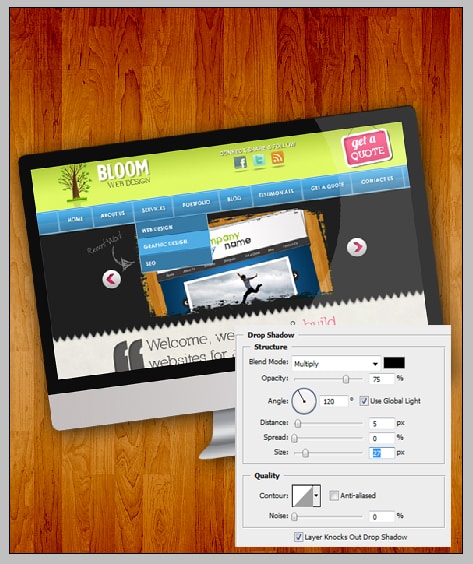
12. Right click the layer and go into Blending Options > Drop Shadow & put in the settings below:
13. Create a new layer, fill it white and set the Blending Mode to Multiply. Right Click into Blending Options > Gradient Overlay and put in the following settings.
