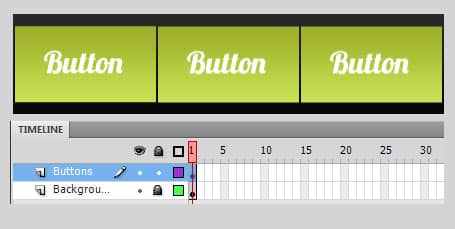
Design & Animate Menu Buttons – Photoshop & Flash Tutorial
Learn how to design and animate fancy menu buttons in Photoshop & Flash CS4.
Final Result
1. Create a new document, make it whatever size you want. I’ve got 500x100px.  2. Double click on the background layer to unlock it, right-click and go into Blending Options and make a Gradient Overlay with these colours:
  3. Get the Rectangle Tool and draw a rectangle like below, go into blending options > gradient overlay and put in the colours below. Duplicate the shape by right clicking and pressing Duplicate layer. Duplicate as many shapes as you need.
  4. Put the previous shapes into a new folder and name it ‘Normal’, duplicate the folder, name it ‘hover’ and change all the gradients colours to below:
  5. Using the font ‘Lobster’ write in your button names:
  6. Duplicate the ‘hover’ folder, name the new folder ‘motion 1’. Press ctrl+t to bring up the transformation and change the size to below.
  7. Now go into the motion 1 folder, right-click each layer and rasterize them. Then go to Filter > Blur > Motion Blur and put in these settings:
 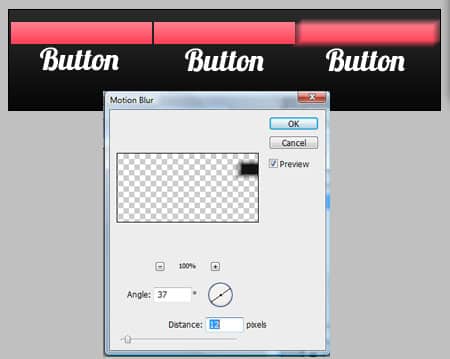 8. Duplicate the ‘Hover’ folder again and name it ‘motion 2’. Press ctrl+t and change them to the size below. Now rasterize each shape again and place a motion blur using the settings below.
 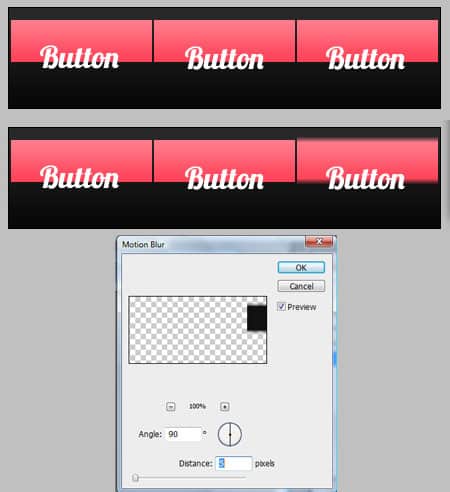 9. Now duplicate the text layer, go into Blending Options and put in a Outer Glow:
  10. Save the design 2 times as 2 diffierent names, just in case make a mistake with saving. Remove the eye icon for all the layers except for the background layer, save that as a .jpg in a new images folder. With the rectanglar marquee tool select one of the button shapes, go to Image > Crop. Remove the background layer so it’s see through, then save each of the rectangle shape phases as a .png format so the background is invisible. Press ctrl+ alt + shift to bring back the original size. Depending on how many text names you have, crop them and save them without a background in png format.
 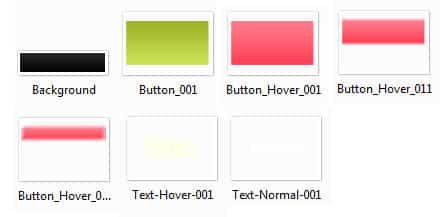 11. Now go into Flash and create a new Actionscript 2 document with the settings below.
 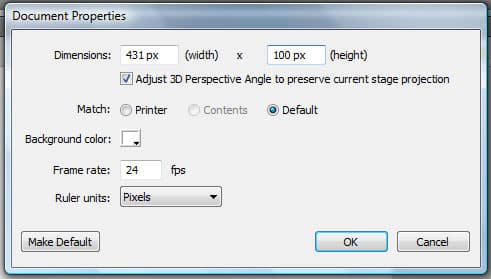 12. Go to File > Import to Library & import all your images.
  13. Name the layer Background drag the background image onto the layer. and lock the layer.
  14. Create a new layer and name it ‘Buttons’. Select the normal button image and place it on the canvas. Press ctrl+k to bring us Align and press the following icons. Now get the normal button name and repeat the following.
 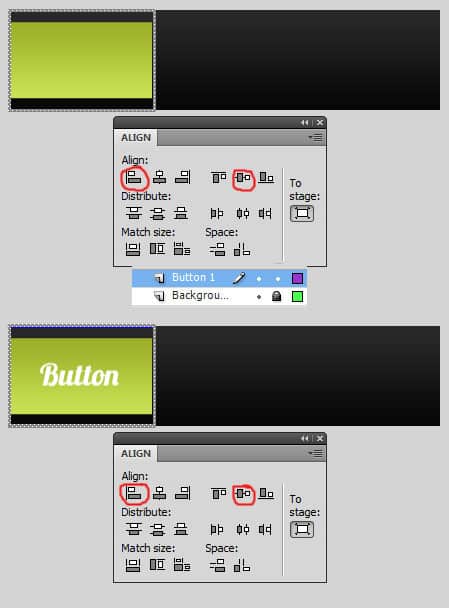 15. Select the 2 layers, right click and Convert to Symbol. Make the type button and registration center.
 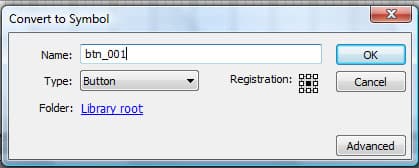 16. Double click on the new button symbol to go into the button layer. On Over, right click and insert keyframe. Now remove the normal button image and replace it with the first motion button, press the same buttons in the align window to place it right.
  17. Right click the new image > go to Convert to Symbol and convert it to a movie clip.
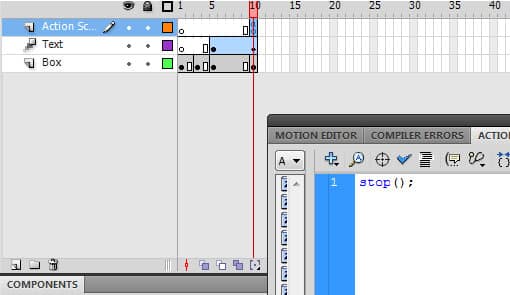
 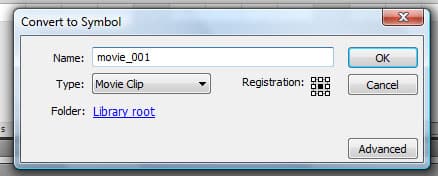 18. Double click on the layer to go into the movie clip. Create 3 layers and name them what I have below.
 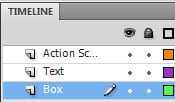 19. Right click on the 3rd keyframe of Box and press Insert Keyframe, delete the first motion button and place the 2nd motion button on the layer. Do the same step on the 3rd motion button.
 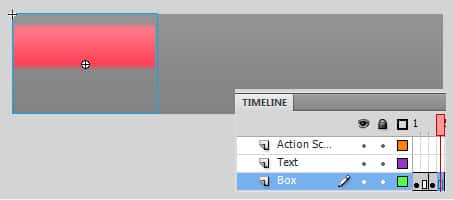 20. On the 3rd button frame, insert the keyframe on the 10th frame like below:
  21. Go to the text layer and insert a new keyframe where the third button image starts. Place the hover text there.
 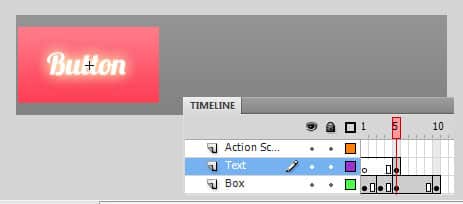 22. Go to the 10th keyframe and press f5 (or right click and press insert frame).
 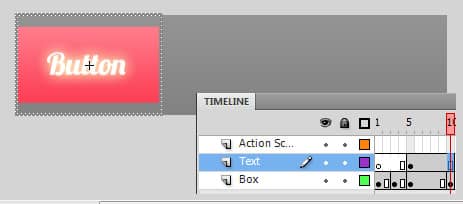 23. Right click anywhere in the layer and press > Create Motion Tween.
  24. Go to the first frame and click on the text image, go into properties >Color Effect > Style > Alpha and make it 0%.
  25. Now go to the last frame, select the text and make the Alpha 100%.
  26. Now insert a new Keyframe on the last frame in the Action Script layer. Right click the frame and go tin Actions. Type in stop(); this will stop the animation when it reaches the end.
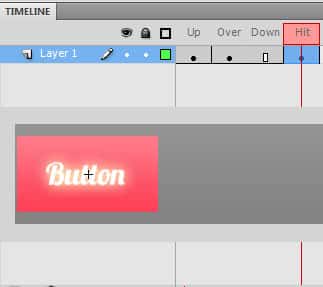
  27. Go back to the button screen, go to the hit frame, right click and insert keyframe. Remove the first motion image and place the final hover button & text images.
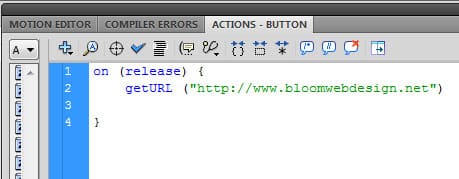
  28. Now press Scene 1 to go back to the original screen. Now right click on the button you just created and go into Actions. Type in the following code to link it.
  29. Now complete the previous steps again to create more buttons.