Quick Tip: Create a Seamless Pattern in Photoshop
Creating Seamless Patterns can be a tricky task if you're new to it as it requires being exact with the aligning of elements. In this Quick Tip I'll be showing you how to create a Seamless Pattern in Photoshop, we'll be using some basic methods and techniques with this Seamless Pattern Tutorial. Seamless Patterns can be a very useful skill to have, allowing you to create your own seamless patterns for Backgrounds, Artwork, Skateboard Decks, Apparel, and Package Designs.
In this tutorial we'll be using some Custom Shape Web Icons to create a seamless pattern. You can try this Seamless Pattern tutorial out using your own elements or Custom Shapes and try experimenting with various colour schemes. Enjoy!
Resources
21 Clean Web Icons Set: Freebie Friday
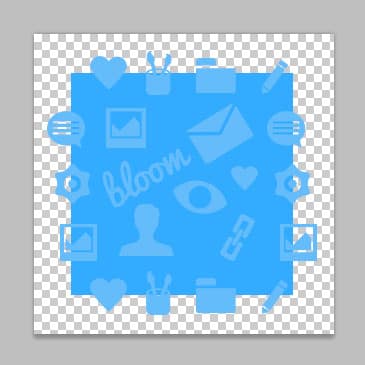
Final Result

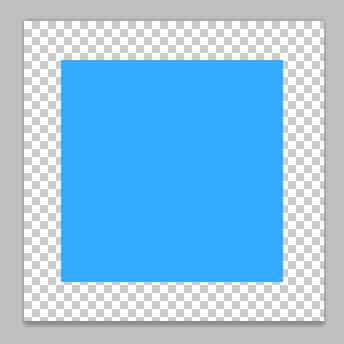
1. Create a new document that's 300×300 Pixels with a Transparent Background. Turn on Smart Guides by going to View > Show > Smart Guides. This will make your elements snap and guides appear on certain alignments.
Using the Rectangle Tool, draw a Square while holding down the Shift Key (to keep the shape perfect) using the colour of your choice. Drag the square to the middle of the canvas, this doesn't have to perfect.
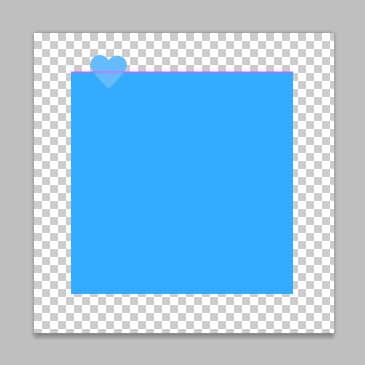
2. At this stage you can import illustrator elements to the canvas, draw your own elements or using Custom Shapes which is what we'll be doing today. Place your first element onto the canvas Drag the element to the edge of the square using the Marquee Tool, look for the 'snap' to the center edge. You should see a Pink Guide Line appear.
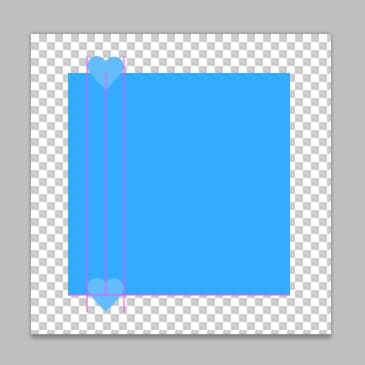
3. Duplicate your first element by dragging it to the new icon layer. To move your duplicate element down, hold down the Shift + Down Arrow Key to move the element down to the bottom of the square.or use the Move Tool until the 'Snap' Guide Lines appear to center the element.
4. Use different elements and repeat on all sides of the square. The more elements you use the better the seamless pattern will look.
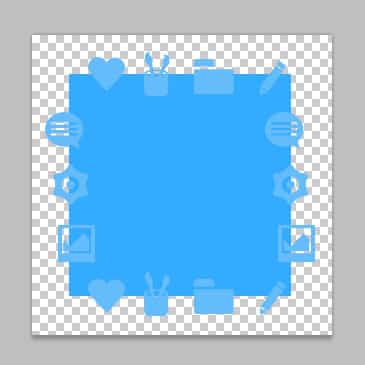
5. Draw more elements to the middle of the square. You can try rotating elements by pressing CTRL+T and rotating an edge.
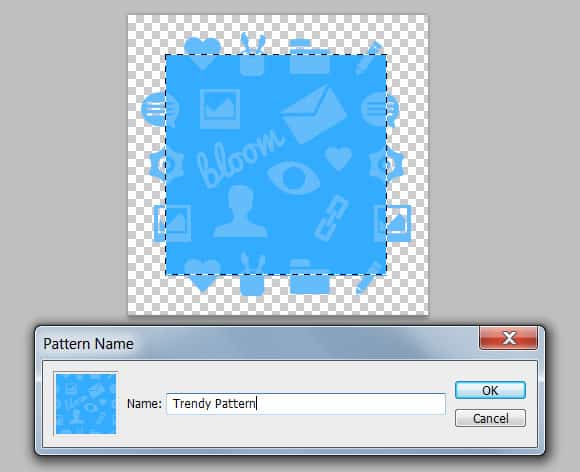
6. To make it a Pattern, go to the square layer. Hold down the CTRL Key and select it's Vector Mask Thumbnail. Go to Edit > Define Pattern and type in a Name.
To test the pattern out create a new canvas with the size of your choice, Select the Paint Bucket Tool and choose Pattern Option in the Top Toolbar. Choose your saved Pattern and and Fill the canvas. Alternatively you can go into Blending Option of a Layer, go into Pattern Overlay and select your pattern.
Final Result


