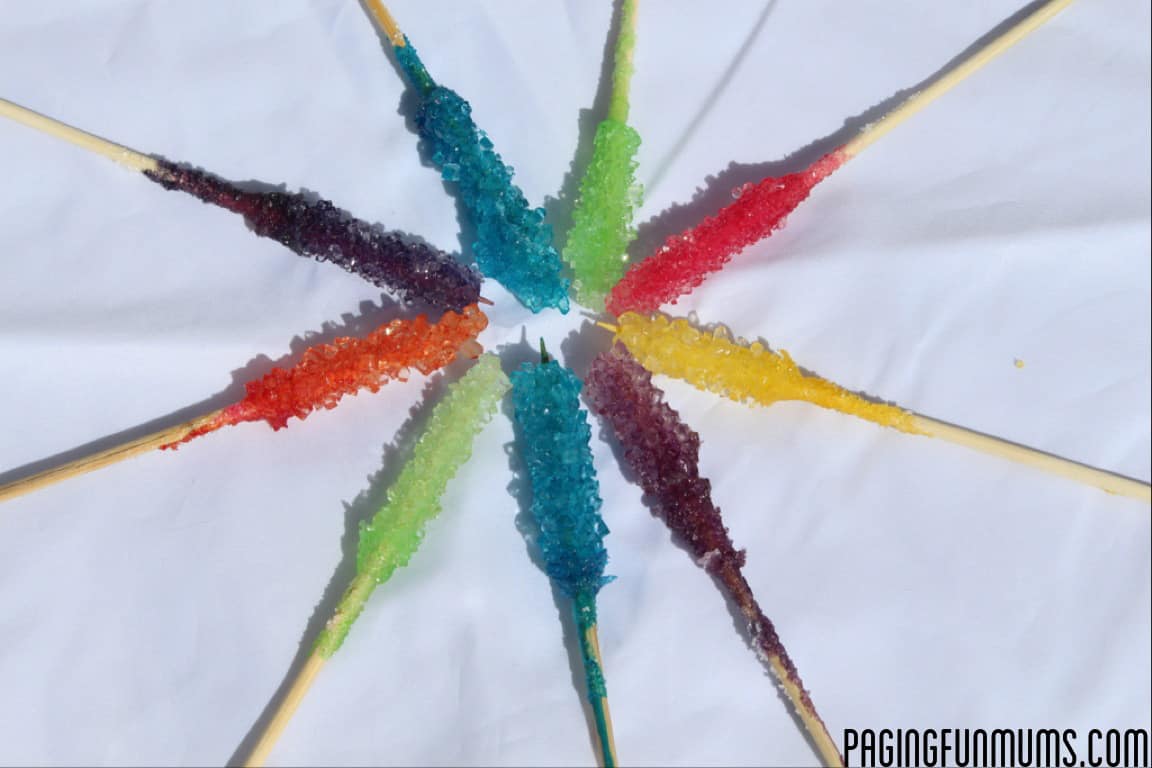
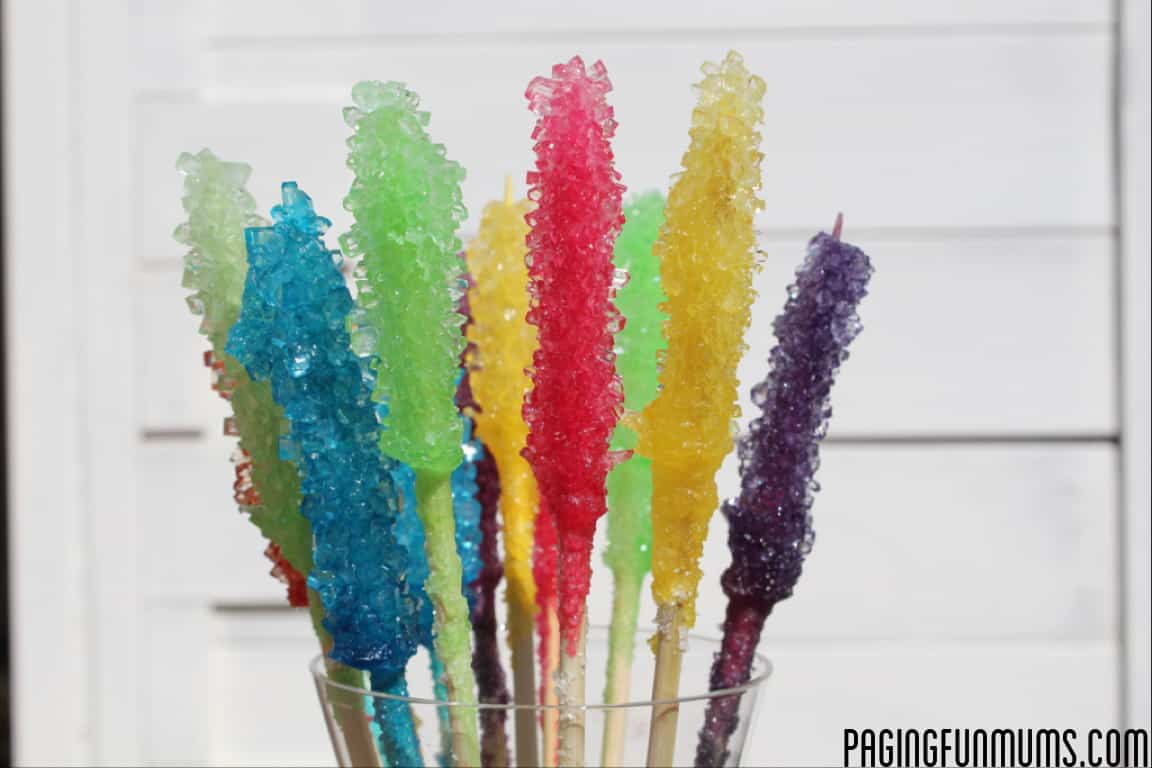
How To Create DIY Edible Rock Candy!
Rock Candy isn’t just a yummy treat! It can also be lots of fun to make yourself at home and can be a great ‘experiment’ to create. Today the team at Paging fun Mums will be teaching you how to create DIY edible rock candy, this candy is simply a delight to make yourself!
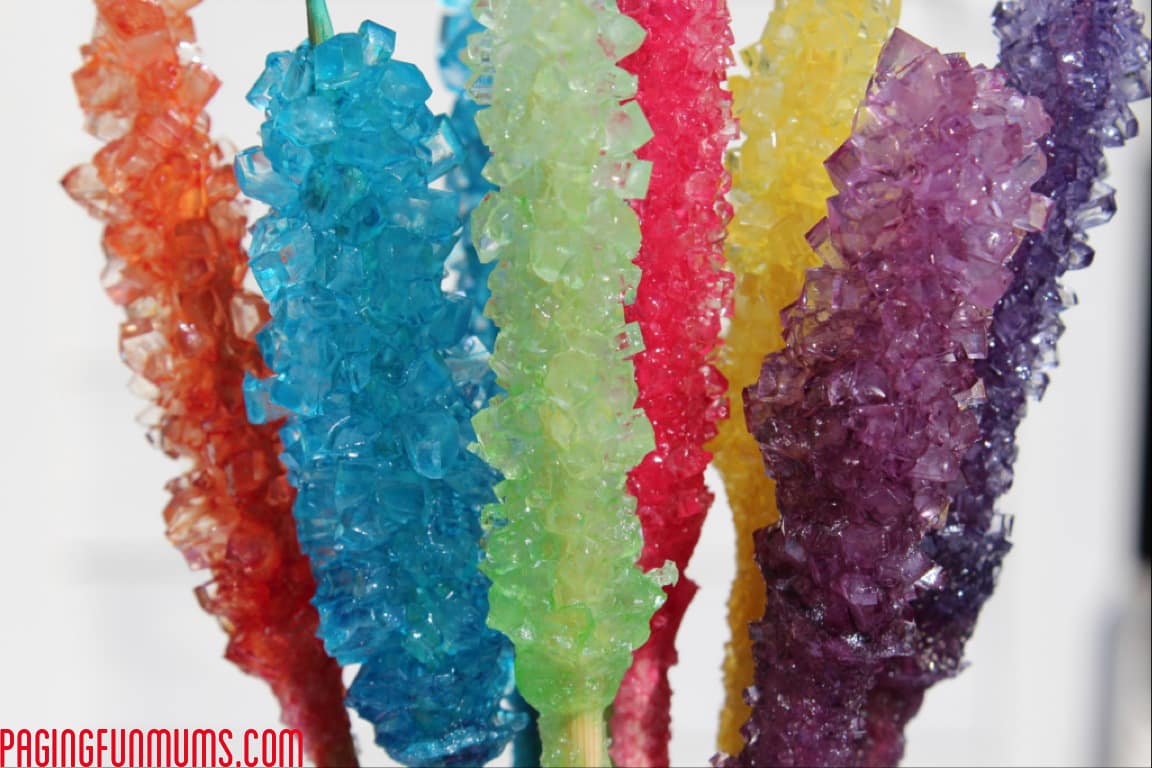
Rock candy (also called rock sugar) is a type of confectionery mineral composed of relatively large sugar crystals. This candy is formed by allowing a supersaturated solution of sugar and water to crystallize onto a surface suitable for crystal nucleation, such as a string, stick, or plain granulated sugar. Heating the water before adding the sugar allows more sugar to dissolve thus producing larger crystals. Crystals form after 6–7 days. Food coloring may be added to the mixture to produce colored candy.
So what are you waiting for? Learn how to create this amazing DIY editable rock candy today!
You will need:
2-3 cups white sugar
1 cup water
Food colouring
Flavouring (optional) I had some ‘Bubblegum Essence’ so I used that
You will also need:
Jars/champagne flutes
Pegs
Skewers
Large saucepan
Method
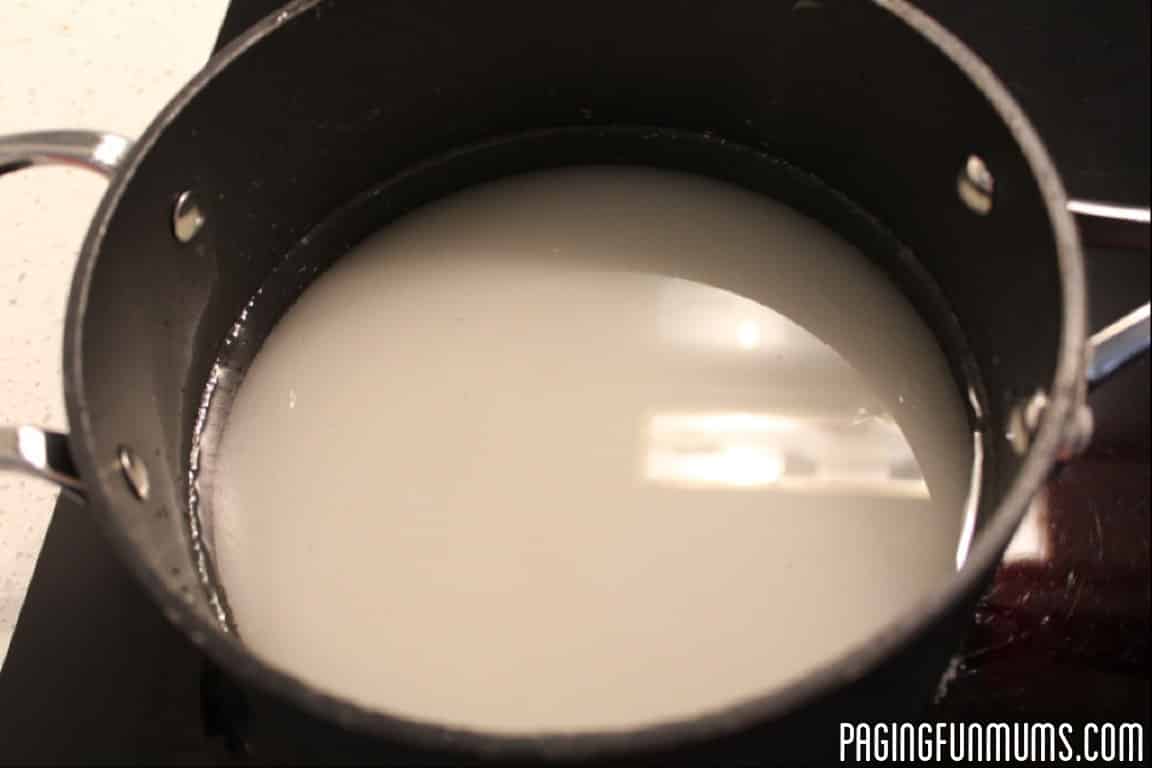
Add your water to the saucepan and bring to the boil
Start adding the sugar a 1/2 cup at a time, until it no longer dissolves (making a saturated sugar solution). The more sugar you add, the longer it will take to dissolve. Be patient and try to get as much to dissolve as possible.
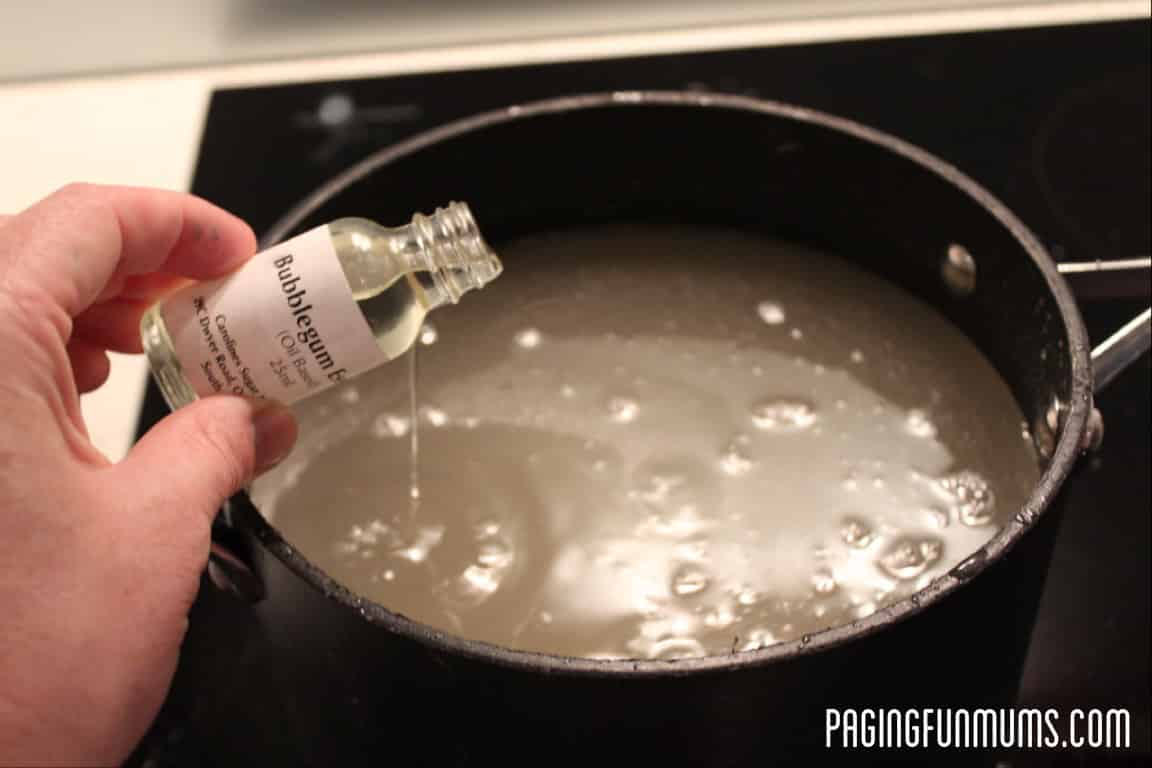
Add a few drops of your flavouring.
Take your mixture off the heat and allow to cool – approximately 15 minutes.
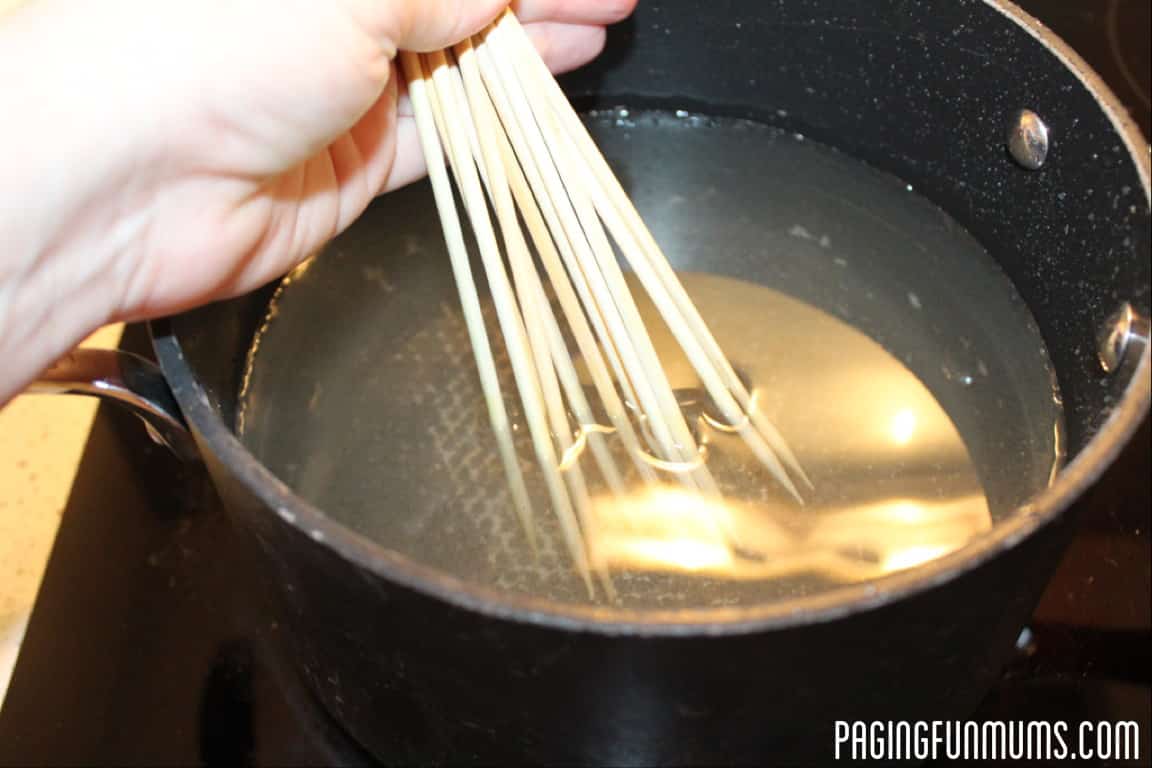
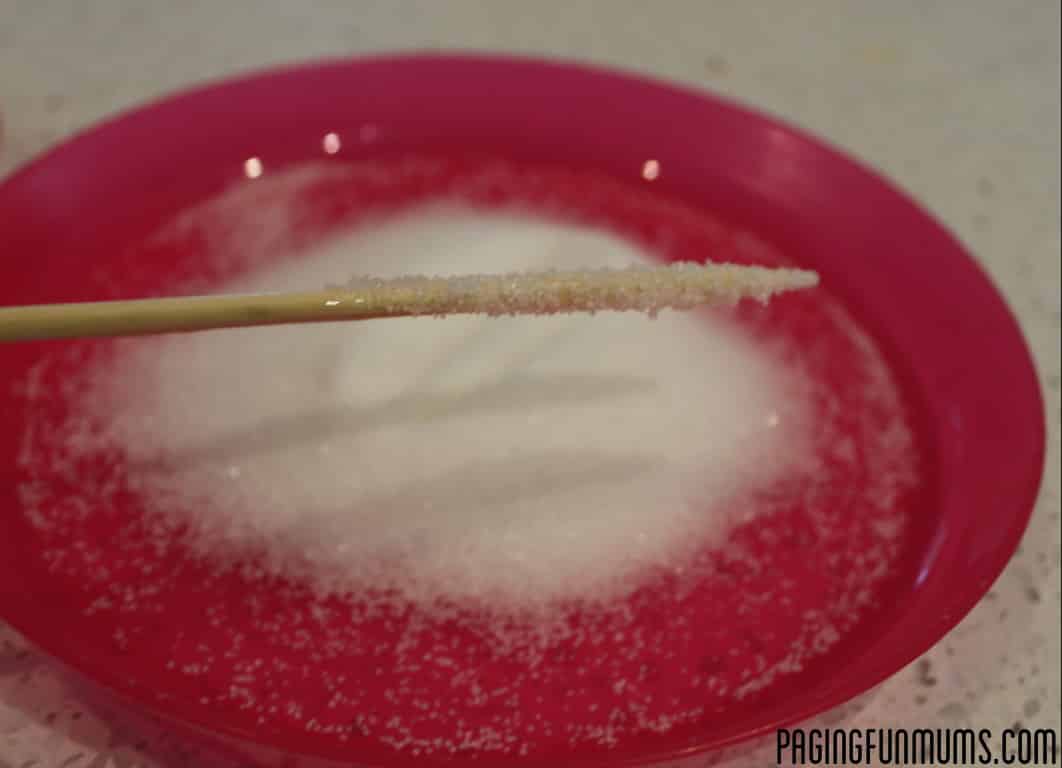
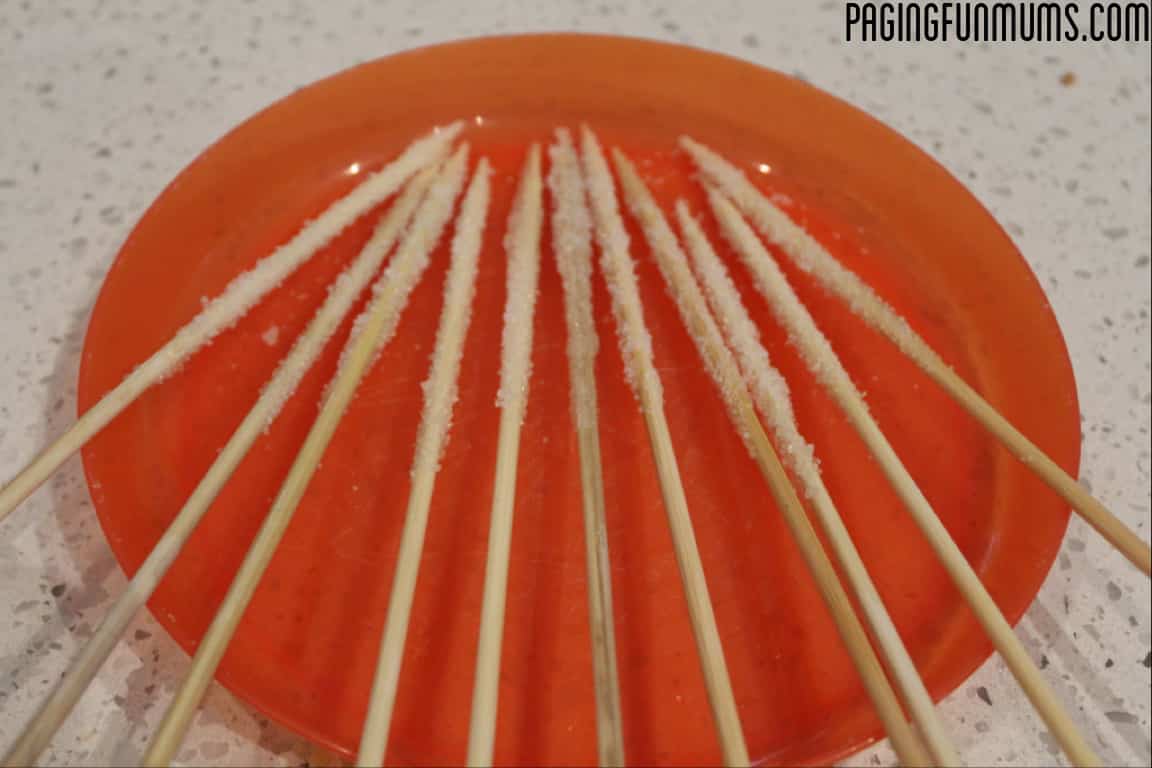
While you are waiting, take a plate and add some sugar to it. Get your skewers and dip them into the liquid sugar mixture then dip it into the plain sugar to coat the stick. This will give your Rock Candy something to ‘grow on’. Let them dry for a few minutes until they are completely dry – if they are still too wet when you put them into the hot sugar solution, all of the sugar coating will fall off, and the new crystals will have nothing to grow on.
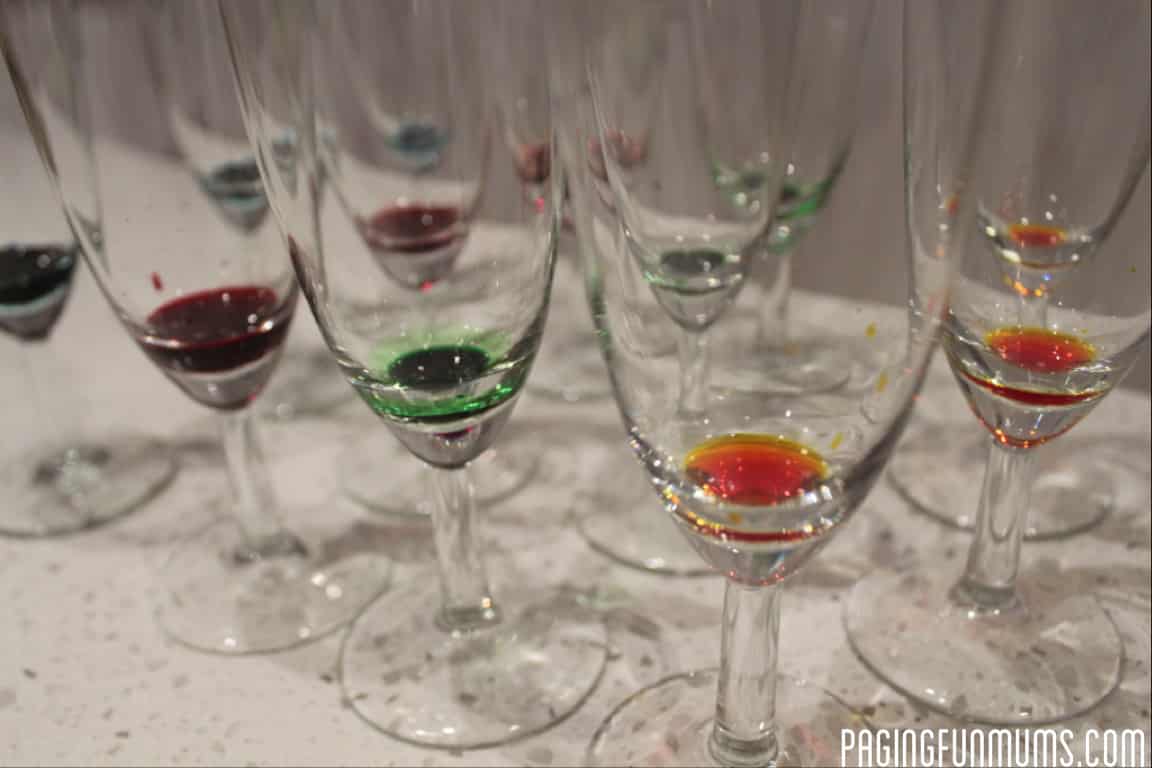
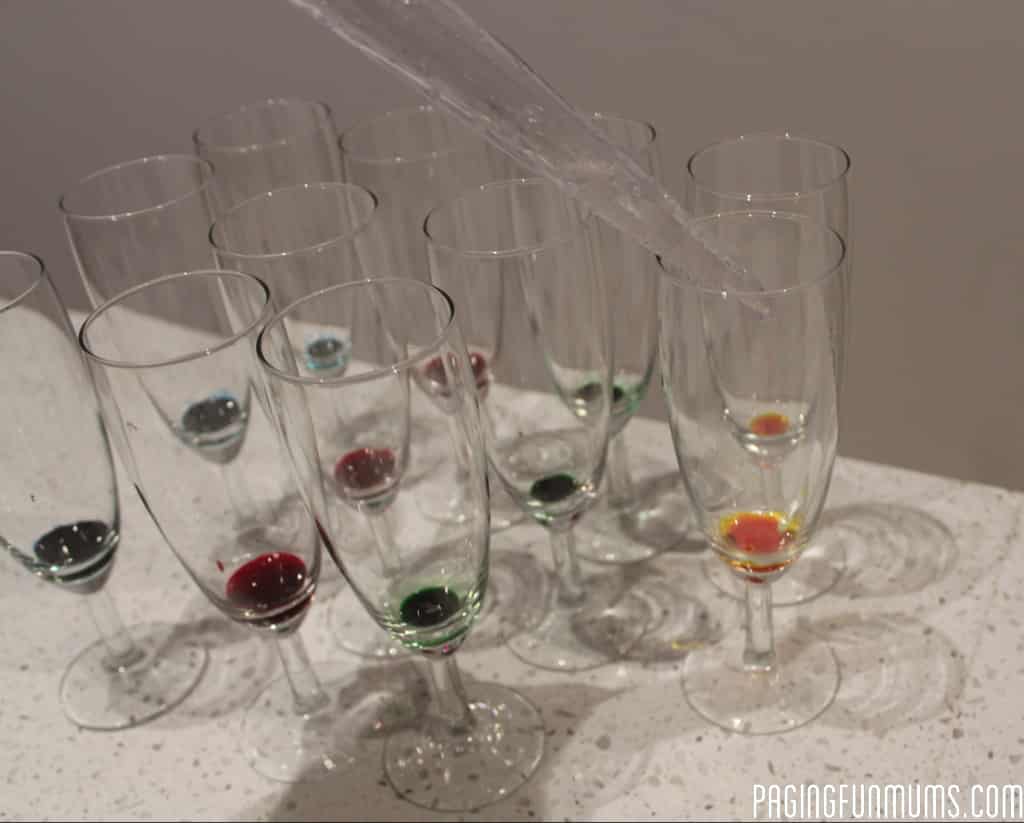
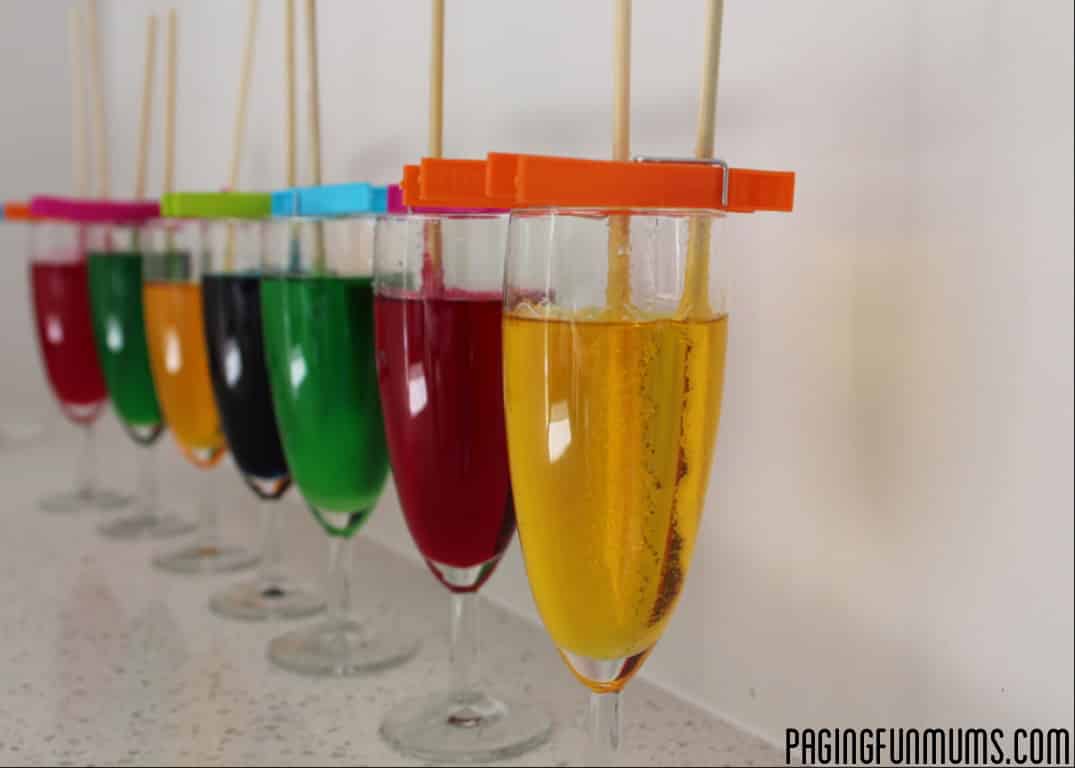
Set out your champagne flutes/jars and add a few drops of food colouring to the bottom of each.
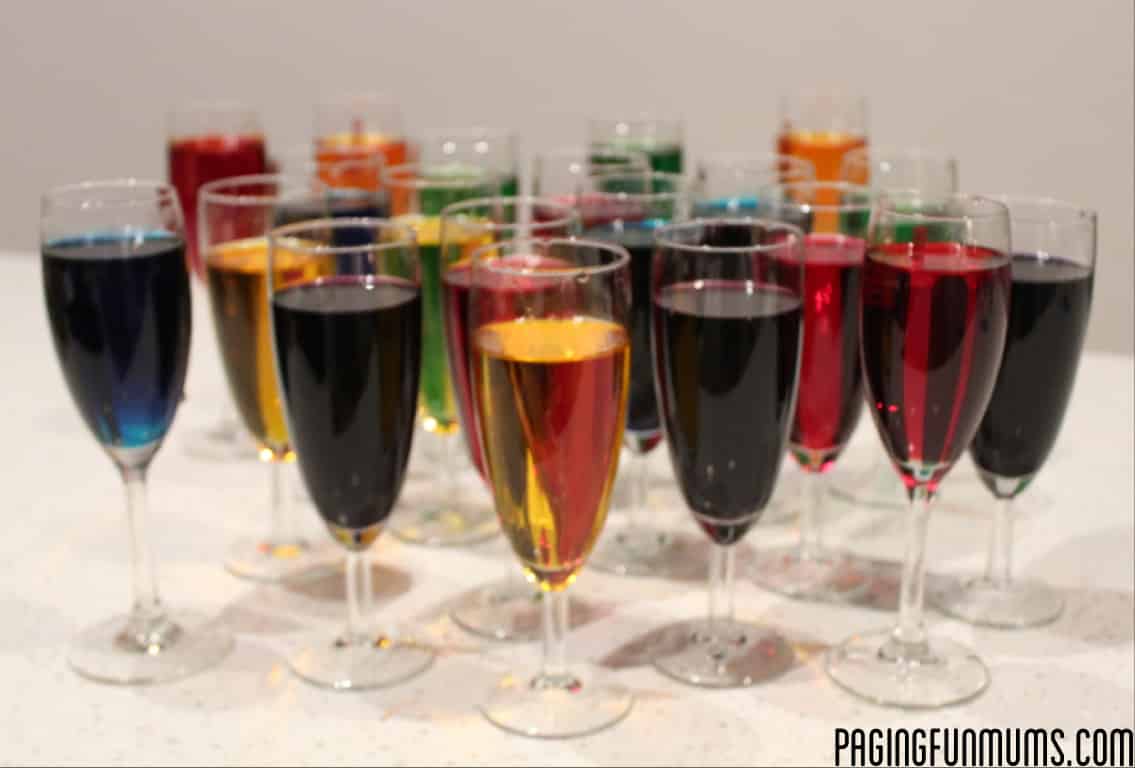
Carefully add the sugary solution to each glass/jar and give it a little stir. I happened to have a baster on hand which made this task much easier, but you could use a gravy boat, funnel or small cup.
Take your sugary skewers & place a peg at the top of each and place into the glasses (make sure they do not touch the bottom or sides as this will hinder the ‘growing process’.
Now it’s time to be patient. The crystals will start growing in 2 – 3 days, but depending on how big you want your Rock Candy sticks will depend on how long you will need to keep them in the glasses (we let ours grow for 2 weeks). The kids loved checking in on the candy to see how much it had grown each day!
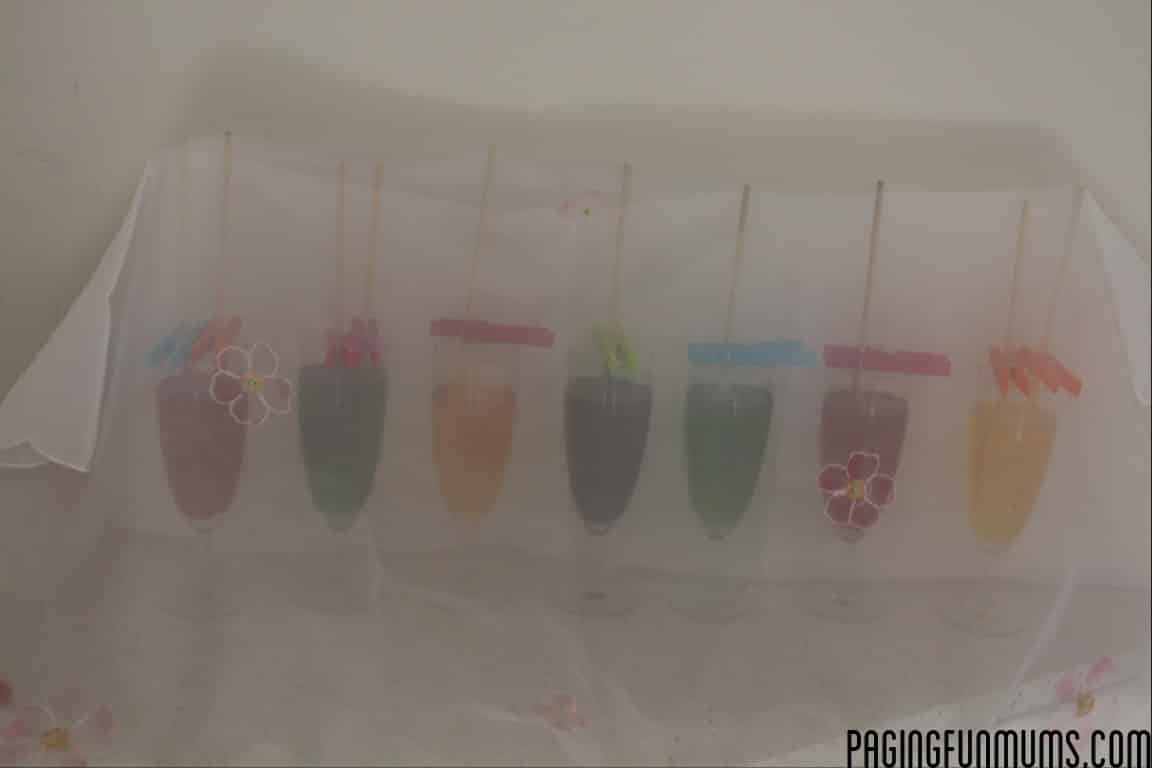
We also used a food cover to cover the glasses to stop any nasties venturing in!
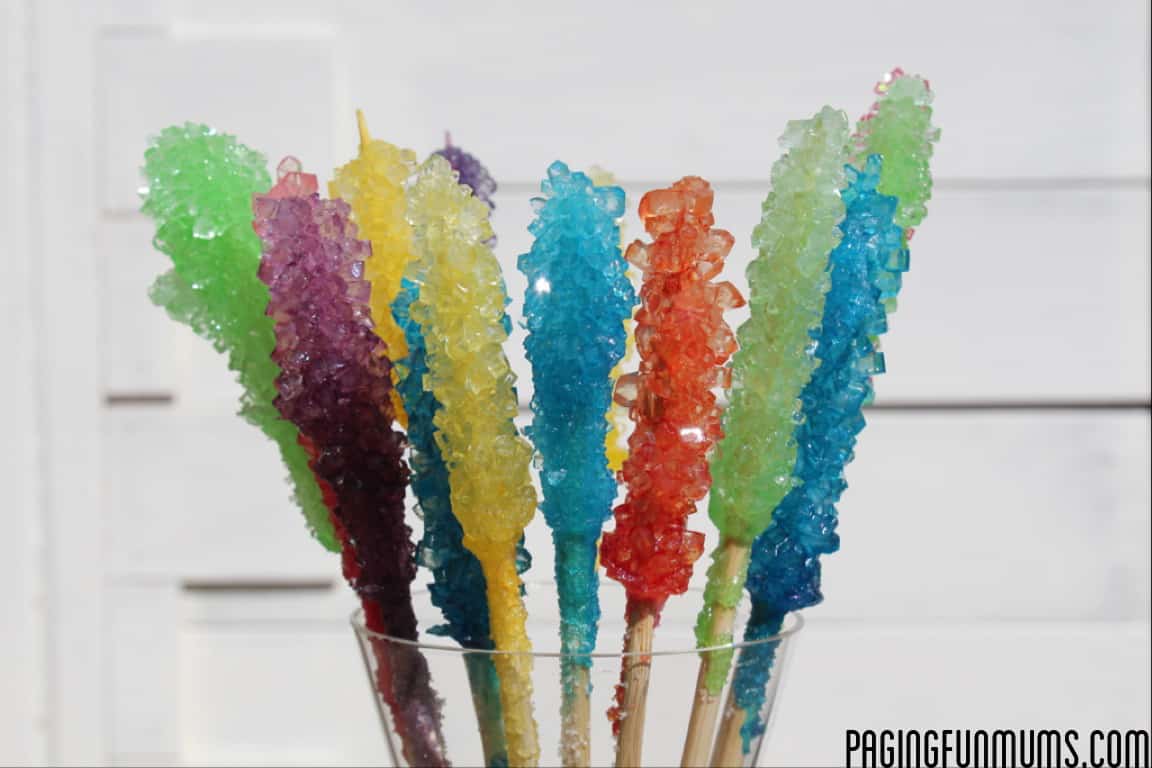
When you are ready to remove them, gently break the top with a butter knife or other sharp object. Gently remove the skewer and hang it upside down until the excess liquid drips off and it dries. You can pour out the liquid from the glass and use the glass to hang the skewer and catch the excess liquid.
via PagingFunMums

