Magnifying Glass Icon Photoshop Tutorial
In this tutorial I’ll teach you how to create a magnifying glass in Photoshop.
1. Open up a new document that’s 100×100 pixels.
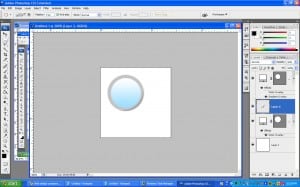
With the circle tool create 2 circles, one large and one small like this picture. Go to Blending Options on the large circle and make the color #c4c4c4. Go into the Blending Options on the smaller circle, then go to Gradient Overlay and make the Linear Gradient #9ddeff and #fffff.
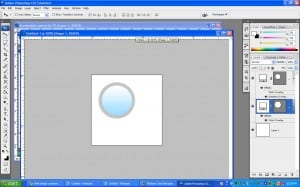
2. Go to the large circle layer, hold down the ctrl key and click on the white box, the circle should now be highlighted. Select the Elliptical Marquee tool, hold down the alt and draw over the selected circle leaving a it out like this picture.
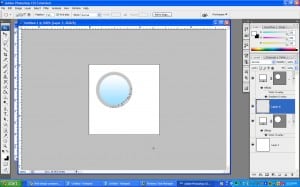
 3. Create a new layer and fill in the shape with the color #000000, make the opacity 16%.
 4. Using the rounded rectangular tool draw a handle with the color #c7c7c7. Then with the layer selected press ctrl+t and rotate the shape. Then go into blending options, choose gradient overylay and make the opacity 44%.
 5. With the same tool draw another handle with the color #3b2810. Then go into blending options, choose gradient overylay and make the opacity 44%.
6. Create a new layer to go ontop and draw a circle with the marquee tool. Fill in the color white, with the circle outline still active press on the left arrow key and move it to the left. Press delete to remove part of the circle.
 7. Make the opacity to the white 60%.
8. Create a new layer, again with the marquee tool draw a shape for reflection, make the opacity to that layer 13%.


