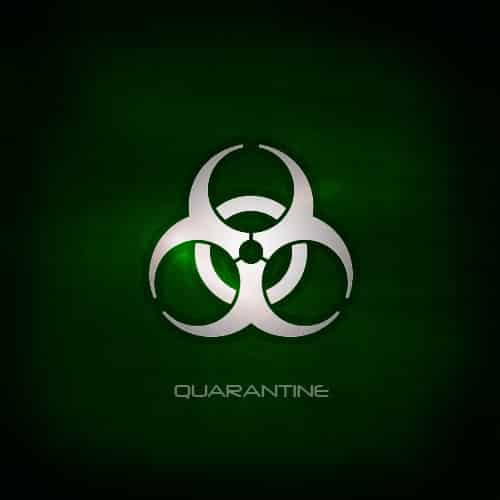
Learn how to design a grunge quarantine background effect in photoshop.
Step 1:
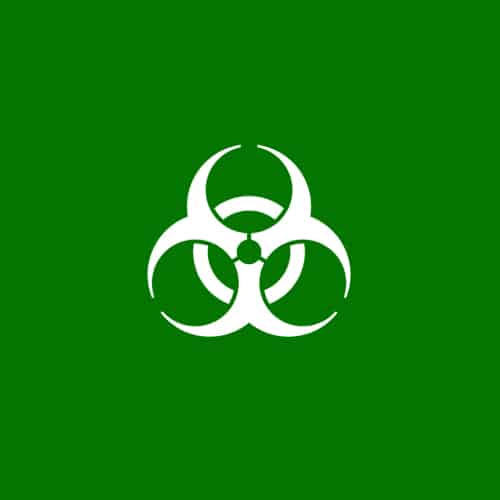
You will start with a blank canvas that’s 500×500 pixels. Add a plain green colour – #047501
Step 2:
Save image…
https://cdn.designbump.com/wp-content/uploads/2011/12/230px-Biohazard_symbol.svg_.png
…then open in photoshop. Then use the Invert Image tool (Ctrl+I)
Step 3
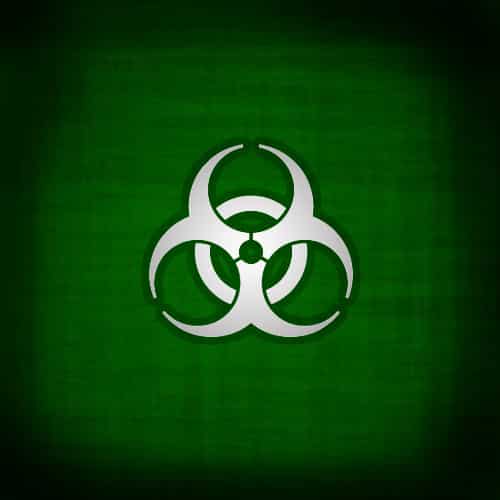
Drag the biohazard symbol out of the current document and into the plain green background document and adjust its size using the Free Transfer tool (Ctrl+T).
Step 4
Now, liven up the background layer by adding a radial gradient. Use the Gradient tool.
Background Colour – #013100
Foreground Colour – #047501
Step 5
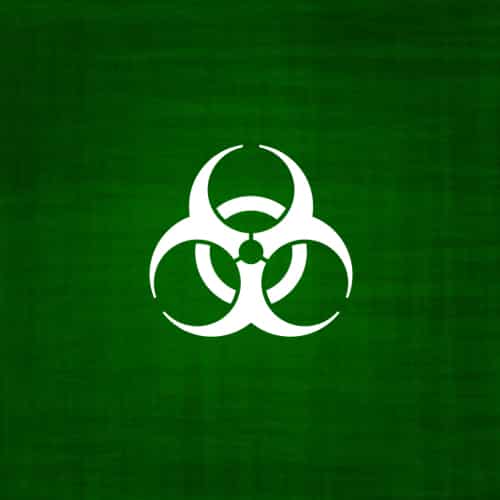
Get some texture into the design. Duplicate the background layer and go to Filters>Render>Fibres and use the default settings. Make sure you still have your green and dark green colours in your palette as this affects the rendering.
Set the opacity of this new layer to 30%.
Step 6
Now duplicate the layer with the fibres and then rotate the layer 90 degrees by press CTRL+T on the layer and rotating.
Step 7
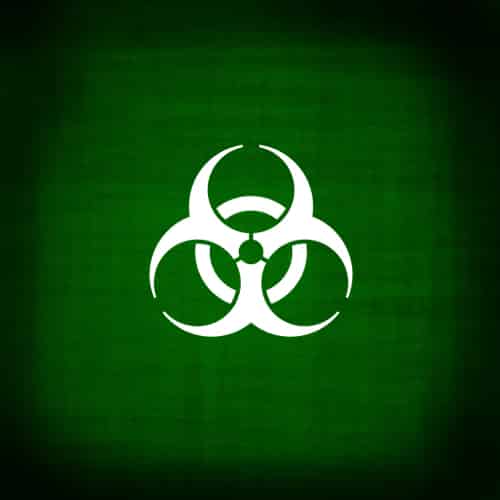
To generate a greater contrast for the gradient create a new layer and then use a large black soft brush – #000000 to add a bit more darkness around the edges of the gradient. Put the opacity of the brush to around 50- 60%.
Step 8
Next we want to add a bit of style to the biohazard symbol. Create a new layer UNDER the layer of the symbol. Then click Ctrl on the layer of the symbol. Then change to the layer underneath and go to menu and choose Select>Modify>Expand.
Expand the shape by 8 pixels.
Then fill that area with black, and set the opacity of the layer to 25%.
Step 9
Now we are going to give the symbol a radial gradient. Create a new layer, and put it above the symbol layer.
Now Ctrl click on the symbol layer and then click on the new layer and a radial gradient using these colours.
Foreground colour – #FFFEFE
Background colour – # 797777
Step 10
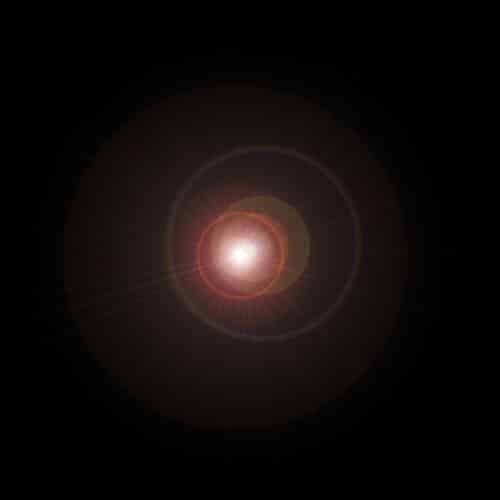
Now create a new layer above all the others, and fill it with black – #000000 – Then go to Filters>Render>Lens Flare and add a bright lens flare.
Next change the blend mode on this layer to Overlay and opacity to about 45%.
Step 11
While on your lens flare layer, go to Filter > Distort > Wave and play around with the settings until you get a wave distortion that resembles something like this.
Step 12
Finally, put the opacity of the lens flare layer down to around 60 and write in a word that reflects the imagery. Now put the opacity of the text down to around 40.
If you wish to use the same font as shown in the image, you can find it here.
http://www.dafont.com/neuropol.font

