Create a Clean Website Layout PSD to HTML/CSS [Tutorial]
Welcome to Part 1 of Create a Clean PSD to HTML/CSS Website Layout Tutorial. This tutorial set will go into detail with designing a website layout from scratch in Adobe Photoshop. We’ll be going through some useful techniques that will help you improve your web design skills. You can download this as a Free Responsive HTML5 Template.
In this tutorial we’ll be creating a Minimalist and Clean Website Layout in Adobe Photoshop. This Website Layout is suitable for Business and Portfolio purposes and will help you build up your skills when creating Photoshop layouts.
Tutorial Details
Program used: Adobe Photoshop CS5
Estimated Time: 1 Hour
Difficulty:Â Intermediate
Resources
Free Flat Social Media Icons (PSD)
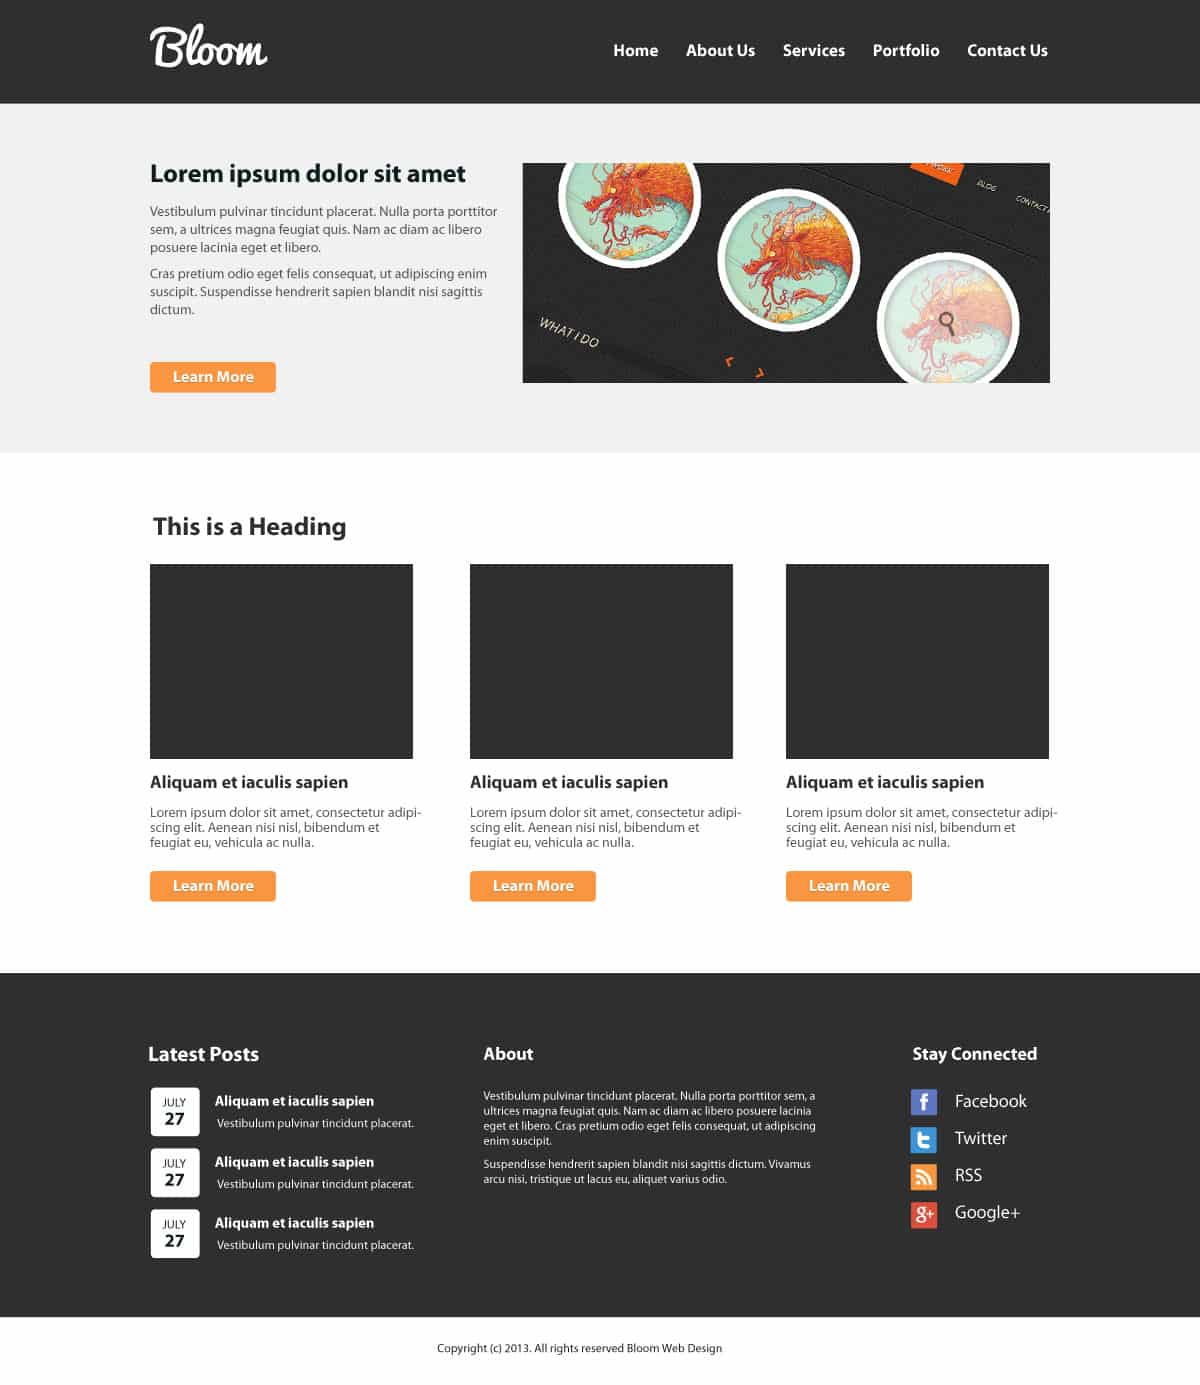
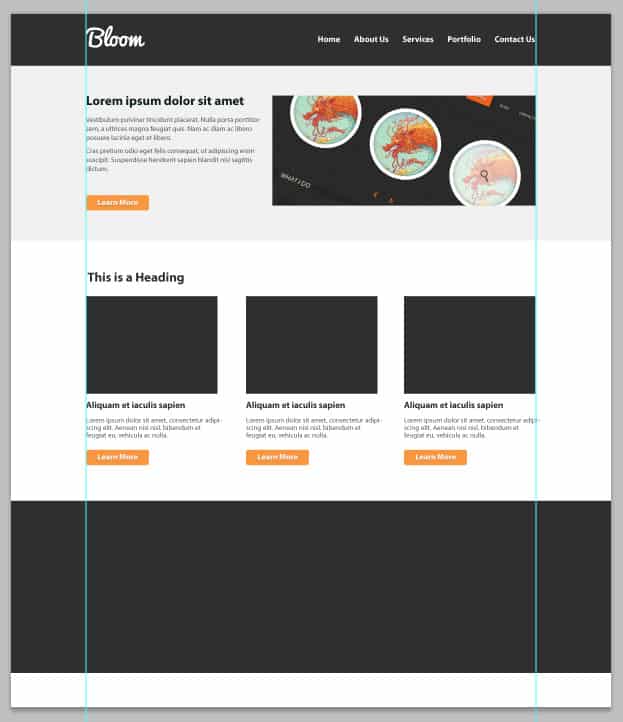
Final Result
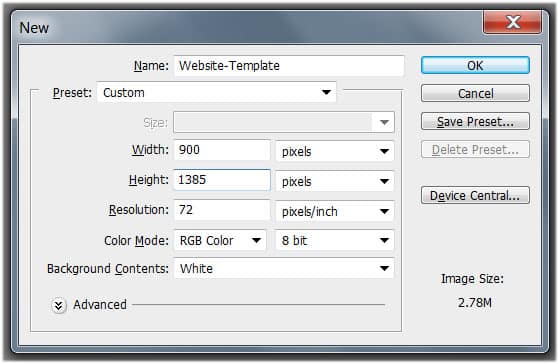
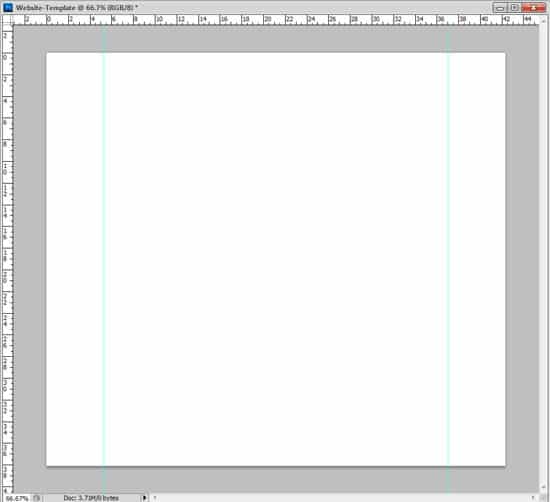
1. Well start our website layout by creating a new document. Set the width to 900 pixels and the height to 1385 pixels.
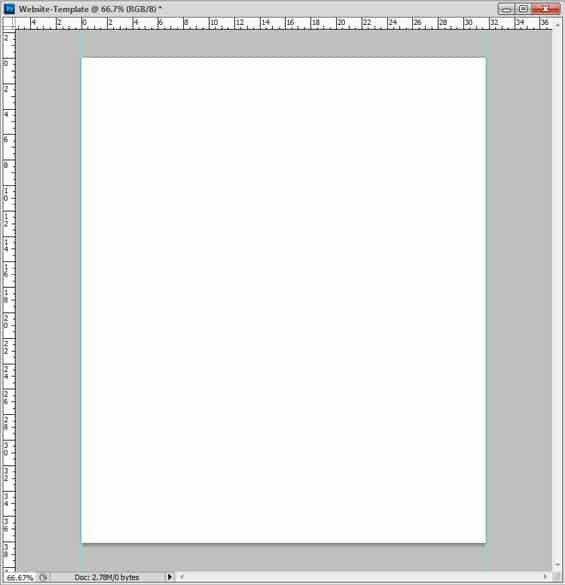
2. Press CTRL+R to bring up the ruler around the canvas and while selected on the Move Tool Drag out 2 Vertical Lines to the sides of the canvas like below.
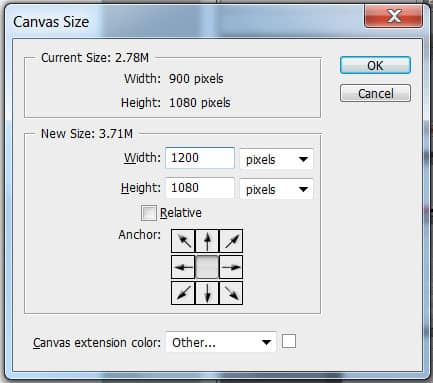
3. Now go into Image > Canvas Size and change the width to 1200 pixels. The ruler lines you pulled out are now your border for the website. Keep all your content inside these lines.
5. Select the Rectangle Shape Tool and draw the menu background and the banner background using the colours below.
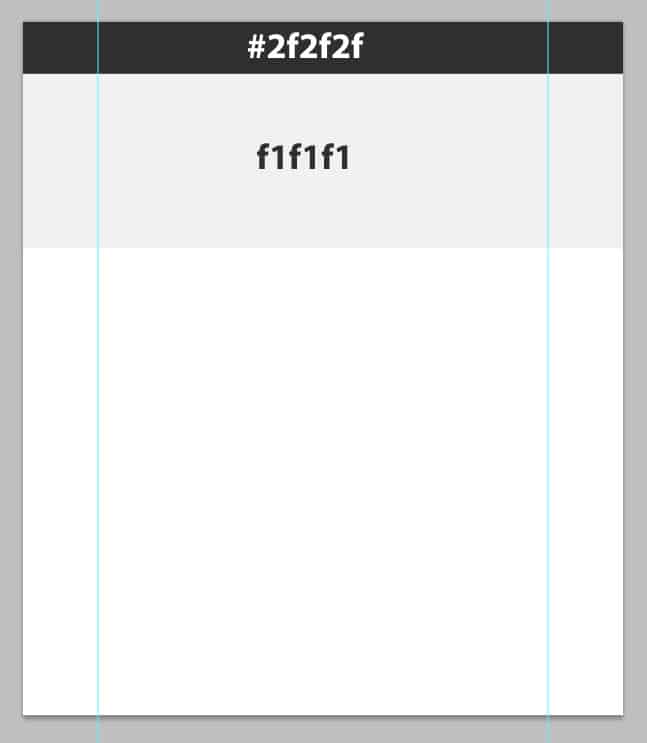
6. Using the fonts Pacifico and Myriad Pro write out your website name and the menu in white. Â The logo font (Pacifico) is sized 45pt while the navigation font is sized 17pt and bold.

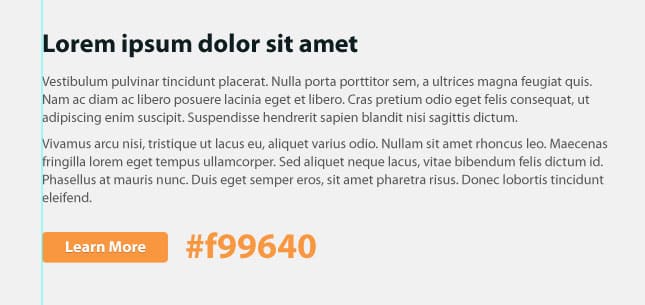
7. In the banner write out your heading and some text using Myriad Pro. The heading sized is 26pt and bold in the colour #0e1d1f. The paragraph text is sized 14pt and smooth in the colour #565656.
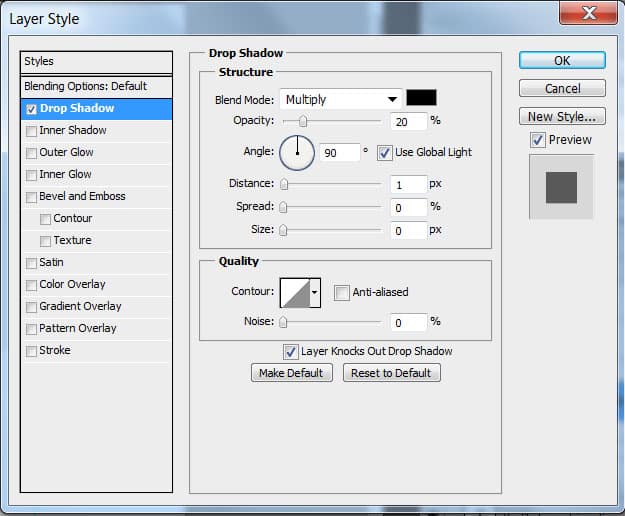
I’ve created a simple flat button by using the Rounded Rectangle Shape Tool with a radius of 5px. Draw the button shape using the color #f99640 and write out the button name in Myriad Pro > 16pt > Bold, in White. On the button text, double click on the layer to go into Blending Options and put in a Drop Shadow.
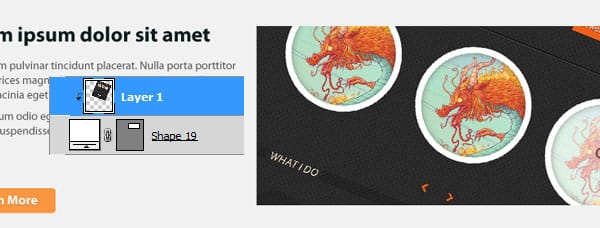
8. Beside the text you can create any image you want. I’ve drawn a white box. I’ve placed an image over the white box layer, right click the website portfolio and clicked Create Clipping Mask. This will crop my portfolio image down to the white box.
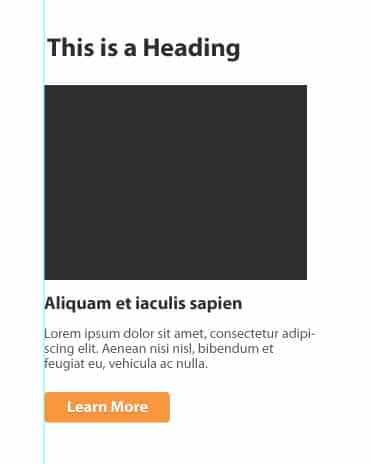
9. Next I’ve create a column of text. Write out the heading in Myriad Pro sized 26pt > bold > #2f2f2f. I’ve drawn a dark grey box to represent an image. Below the box I’ve written out another heading (Myriad Pro > 18pt > Bold > #303030) and some paragraph text (Myriad Pro > 14pt > Regular > #585858). I’ve duplicated the banner button and placed it underneath.
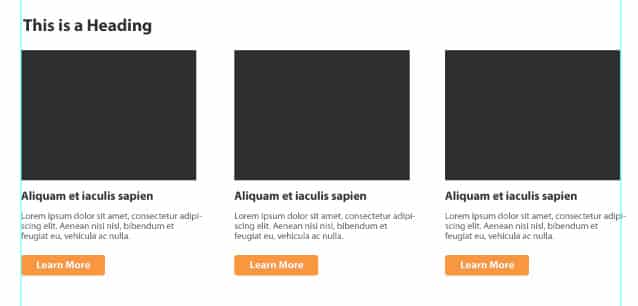
10.Duplicate the previous text and button layers and spread them out evenly like below.
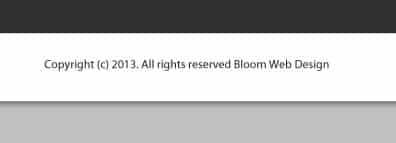
11. For the footer section, select the Rectangle Tool and draw the background of the footer using the colour #2f2f2f. Make sure to leave some white space on the bottom for the copyright details.
12. On the white space write out the Copyright details using the font Myriad Pro > Regular > 12pt > #0e1d1f
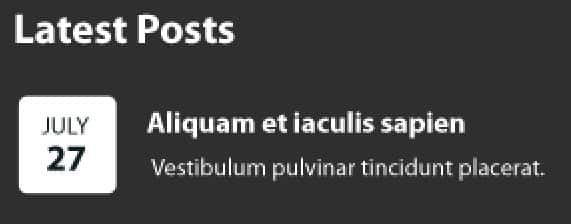
13. For the first Footer column, we’ll be writing out some Posts. Using the font Myriad Pro in Bold, write out the heading using the color white. Next select the Rounded Rectangle Tool and draw out a box. Using Myriad Pro write out the month in regular and the date in bold.

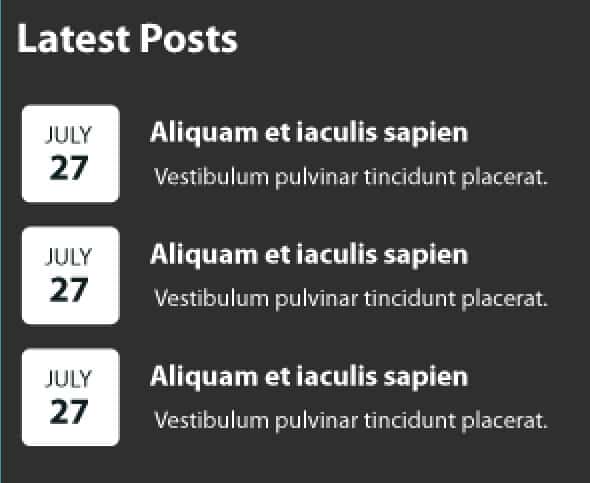
14. Next write out some fake post details using Myriad Pro > 15pt > Bold > Smooth for the heading and Myriad Pro > 12pt Regular > Smooth. The heading is bold and the paragraph is regular. Duplicate the Post details and arrange vertically down the footer.
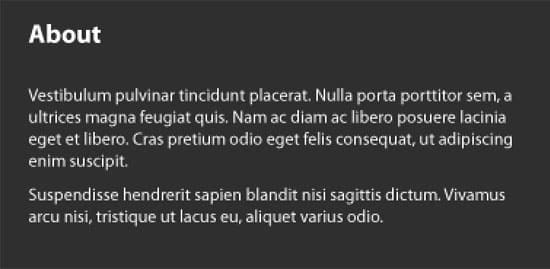
15. On the second column, write out some About text. We’ll be using Myriad Pro > 18pt > Bold > Smooth for the heading and Myriad Pro > 12pt Regular > Smooth.
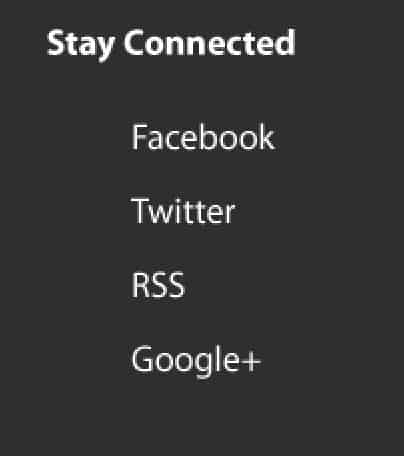
16. For the last footer column we’ll be placing some social icons. Write out the heading using Myriad Pro > 18pt > Bold > Smooth and write the social network names using the font Myriad Pro > 18pt > Regular > Smooth.
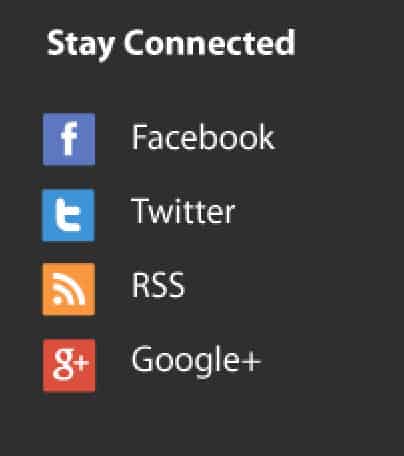
17. For the social icons I’ve placed these Free Flat Social Media Icons (PSD) onto the canvas and made smaller to fit.
Final Result
Conclusion
You’ve now completed how to Create a Clean Website Layout PSD. You can download this as a Free Responsive HTML5 Template.


