What’s The Process For Sanding A Hardwood Timber Floor

Homeowners have only two options when it comes to refinishing their timber floors. They can either do the deed themselves or hire professionals to handle the project.
When performing DIY duty, there’s the potential for saving a considerable amount of money if the floors turn out ok the first time. Go to https://www.popularmechanics.com/home/a40786027/sanding-a-wood-floor-with-tips-from-a-pro/ professional tips for sanding a floor.
If that’s not the case, you will have the costs from your attempt plus needing to hire a professional to redo plus possibly make repairs or replace boards that might have been damaged.
The first step in the process will be removing the finish before the sander can adequately remove the imperfections. In order to get the proper coarseness for the sander or “grit,” you need to know if the floors have been previously refinished, if they’ve been painted, and the thickness of the current finish.
The home improvement store can help with the sander grit and rent the equipment, including an “edger and walk-behind sander” you’ll need to complete the process. First, you’ll need to let them know the type of timber it is. Let’s look at the individual steps for sanding hardwood timber floors.
What’s The Process For Sanding A Hardwood Timber Floor
Before you get to timber floor polishing, there’s the cumbersome task of sanding. It takes a bit of “elbow grease,” but when it’s all done and said, the finished product makes it worthwhile.
Beautiful hardwoods add to the property value, and the overall timeless aesthetic works with any design scheme. Refinishing timbers that might be hiding under the years-old carpet is an ideal way to make a house feel entirely new.
In some cases, with minor scuffs or a ding here and there, or if the finish has faded, you can get away with perhaps easy buffing with a fresh coat of varnish. Otherwise, the total process will be necessary.
Suppose you feel uncomfortable handling the job in a DIY capacity. In that case, it’s wise to reach out to professionals who can ensure a top-notch job from start to finish in a relatively reasonable amount of time. Here are steps to follow when sanding as a homeowner.
Set the stage
For each room, the rug, window treatments, and furnishings must come out of the spaces. Vents and electrical outlets will need to be covered using painter’s tape to avoid the possibility of dust making its way into the crevices.
If only one room will be refinished, sheeting or a tarp of some sort should seal the doorway to keep the dust confined to that space. Hardware should be removed, including staples or nails, using needle nose pliers, and loose or damaged boards should either be secured or replaced.
Make necessary repairs
Inspect the floor thoroughly for any holes (cable wire), cracked areas, or other damages; you can use a spackle knife to fill it with wood filler. If there’s heavy damage, a “trowel filler” boasts the capacity to spread a thinner product over a more significant area with a large putty knife.
For only tiny holes or little scratches and dings, a “wood patch filler” will suffice. These products should be left to dry thoroughly. The floor can then be wiped down using a damp cloth to catch the dust and debris left behind. The surfaces need to be completely dry before the sanders can be used.
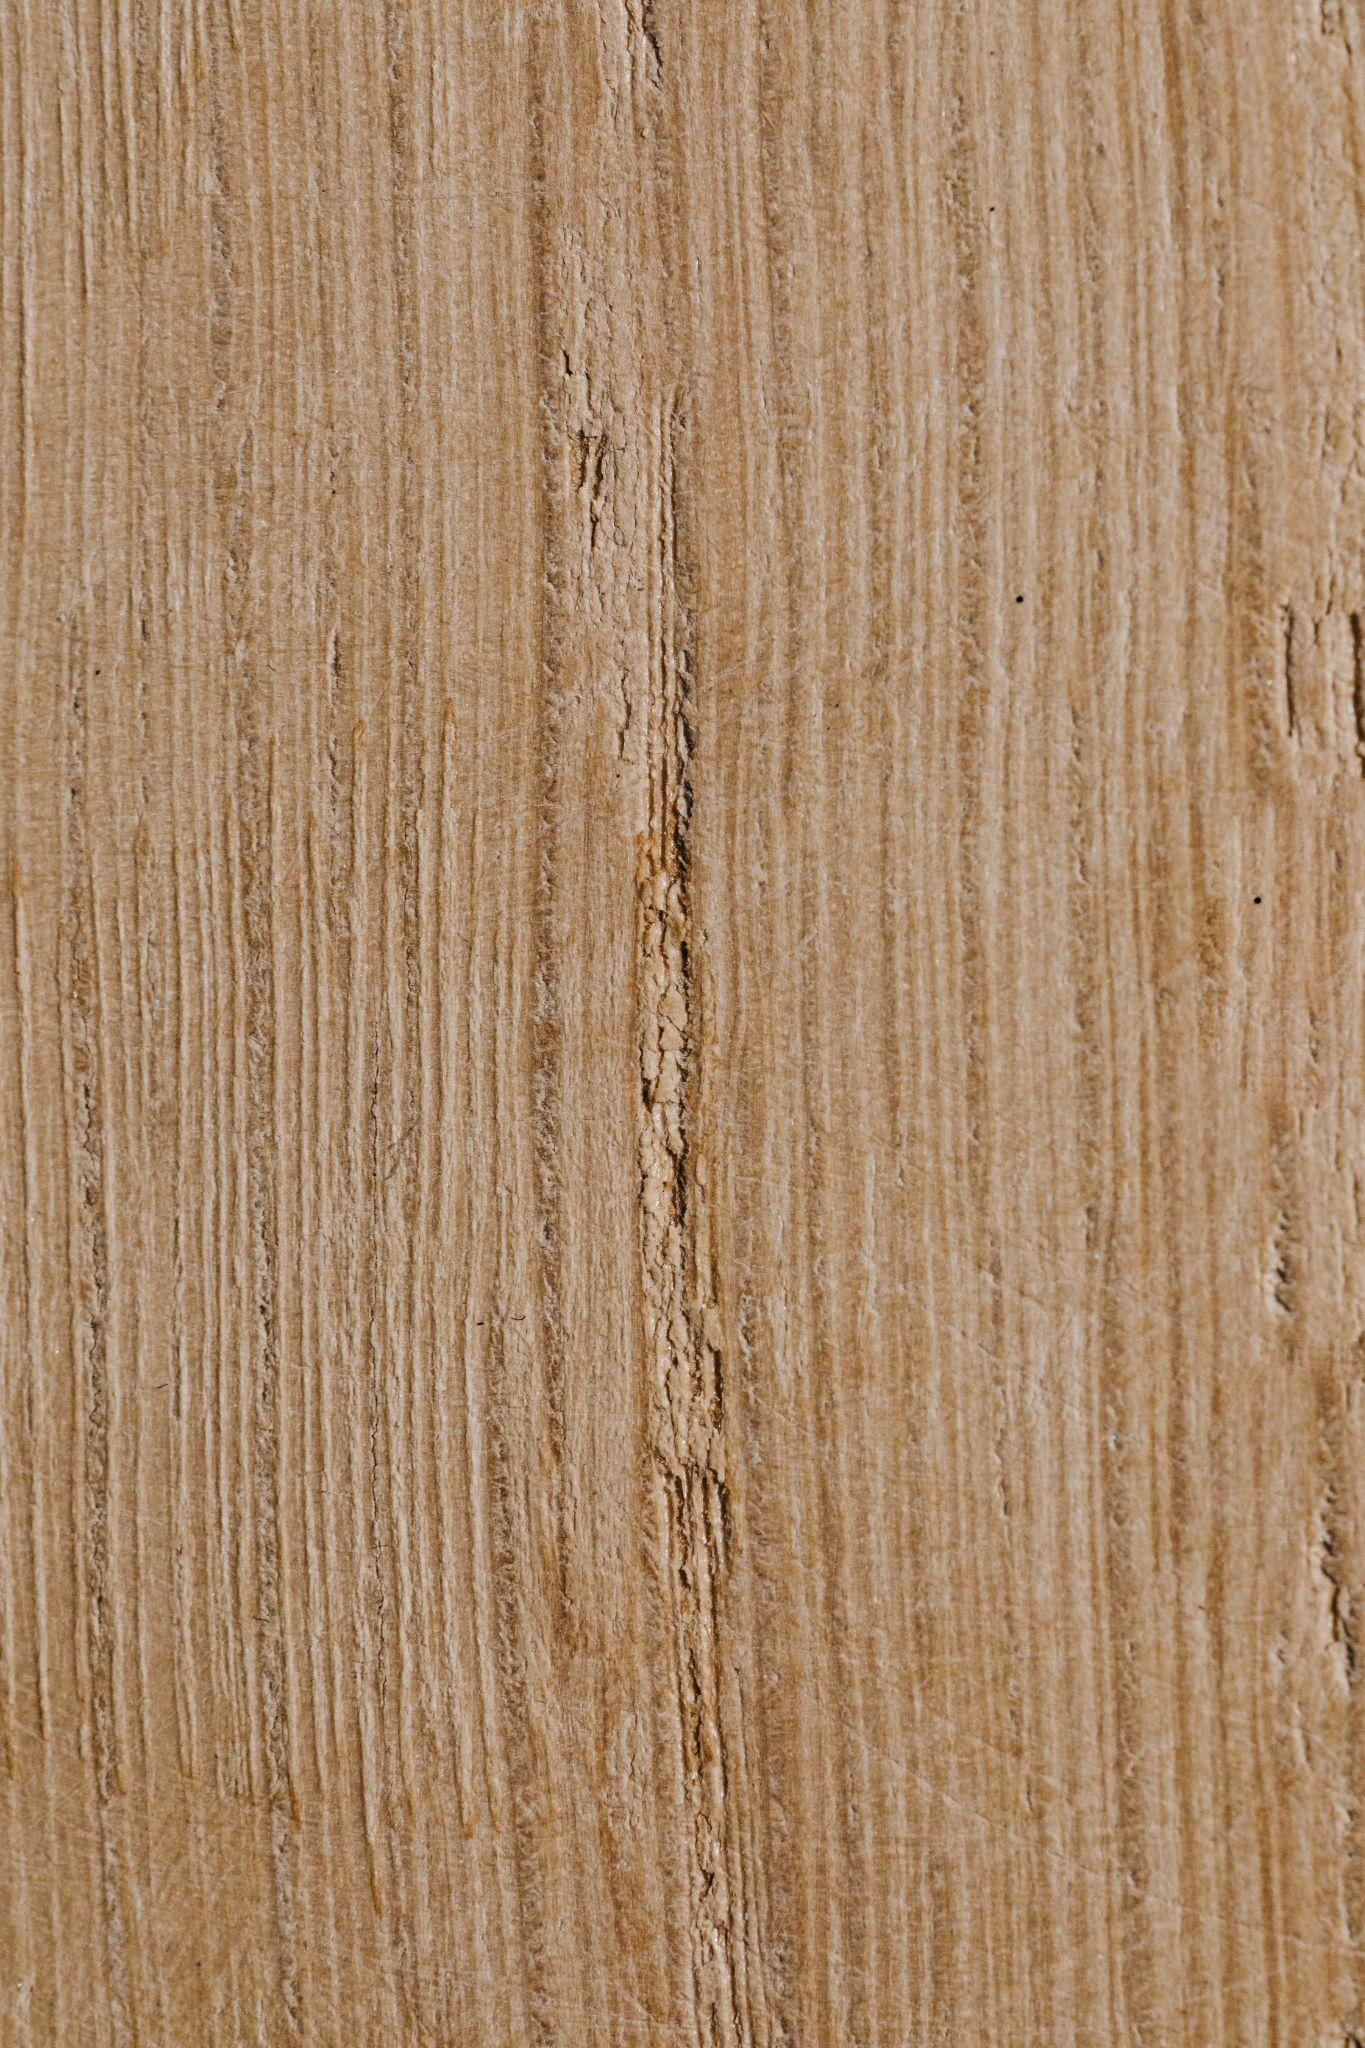
How to sand the floor
The home improvement stores will rent drum sanders and edgers to homeowners for the sanding process. The indication is that the drum sander can be a bit tricky, difficult to control, with the potential to damage floors if not careful.
The best approach is to speak with a representative at the rental counter to give you quick instructions on its usage and some tips to navigate smoothly. It would help if you then practiced before actually using it on the floors with a piece of plywood until you get the hang of it.
The idea is to move with the grain in steady motions slowly across the surface without stopping or standing still in one place, which can create marks in the wood. The paper should be switched out when it shows wear and the dust emptied from the bag regularly.
You’ll continue to sand until the color is uniform across the entire space. The process will start again with each grit of paper until the surface is level throughout, vacuuming and wiping dust and debris with each paper change. Go here for DIY tips for floor sanding.
The final component, buffing, will remove the marks left behind from sanding, leaving a smooth finished surface ready to be prepped for sealer or stain.


