Create a Easy Typographic Portrait in Photoshop [Tutorial]
Many people have asked How do you Create a Easy Typographic Portrait in Photoshop. In today’s tutorial, Photoshop Pro Help, teaches you how to Create a Easy Typographic Portrait in Photoshop using tools like Color Range and Blending Options. This Create a Easy Typographic Portrait in Photoshop Tutorial Video is super easy to follow and shows you step by step how to create an awesome Typography Portrait of your own! In the past we posted about 20+ Awesome Typography Portraits to Inspire You, the amazing Typography Portraits are one of the most inspiring collections Tutorials Share.
Typography is conducted by typesetters, compositors, typographers, visible performers, art administrators, comedian performers, graffiti performers, office employees, and anyone else who sets up type for a product. Until the Digital Age, typography was a specific profession. Digitization started out up typography to new years of visible developers and lay customers, and Bob Court declares that “typography is now something everybody does. You can also use a headshot retouching services to help you edit the photos’.
Below is a quick breakdown of the Create a Easy Typographic Portrait in Photoshop [Tutorial] video:
1. Choosing your image and preparing the canvas
Start by choosing a portrait image you’d like to turn into a Typography Poster. It’s best to choose a large image so you can see all the features of the face clearly.

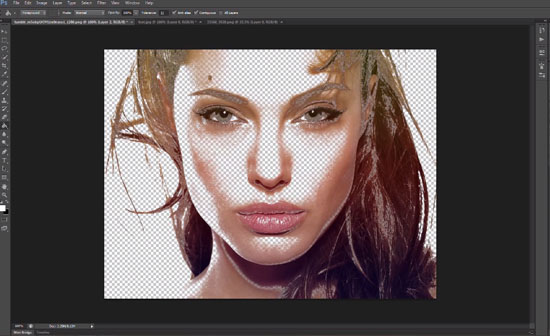
2. Adding in Color Range Shadows and Mid Tones
To select the appropraite areas on the face you’ll be using the Color Range Tool. This will select all the different tones on the face. Each time a Color Range is selected you’ll copy and paste it onto a new  layer. You’ll be removing the original image from view to have a transparent background.
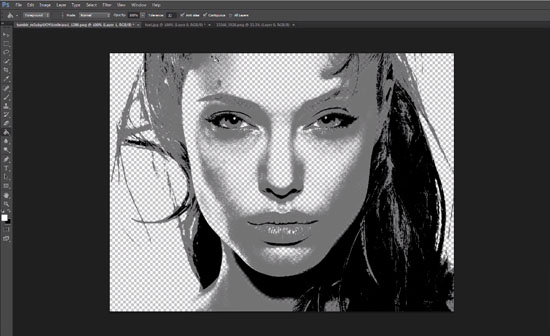
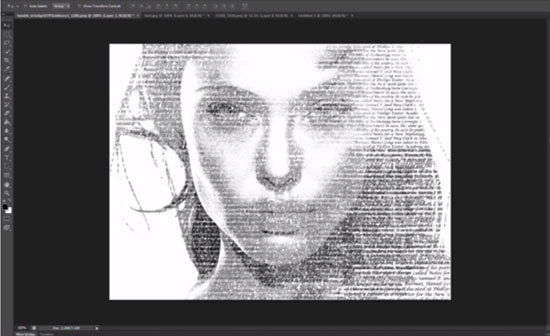
3. Converting to Black and White and Merging the 2 Color Range Layers
You’ll then to converting the 2 Tones into Black and White and merging the two layers together.
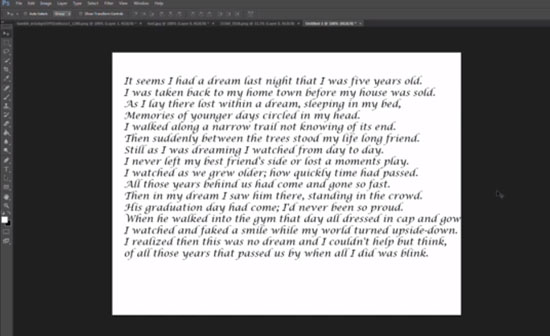
4. Create a new Canvas and add Text
Next you create a new canvas with the same size as the portrait image. Write out the text you’d like in the Typography Portrait, a poem or quote might add a nice touch rather then meaningless words.
5. Adding in yout Text
The text is then turned into a Brush and clicked onto the portrait canvas into a new layer using varient brushes sizes. A mask layer it then placed on the text layer. Go to your portrait layer and copy the image, the mask layer is click where you paste in the image. The portrait image on the mask layer is then inverted. You then click back onto the original text layer and remove the original portrait layer from view to see the new typographic portrait.
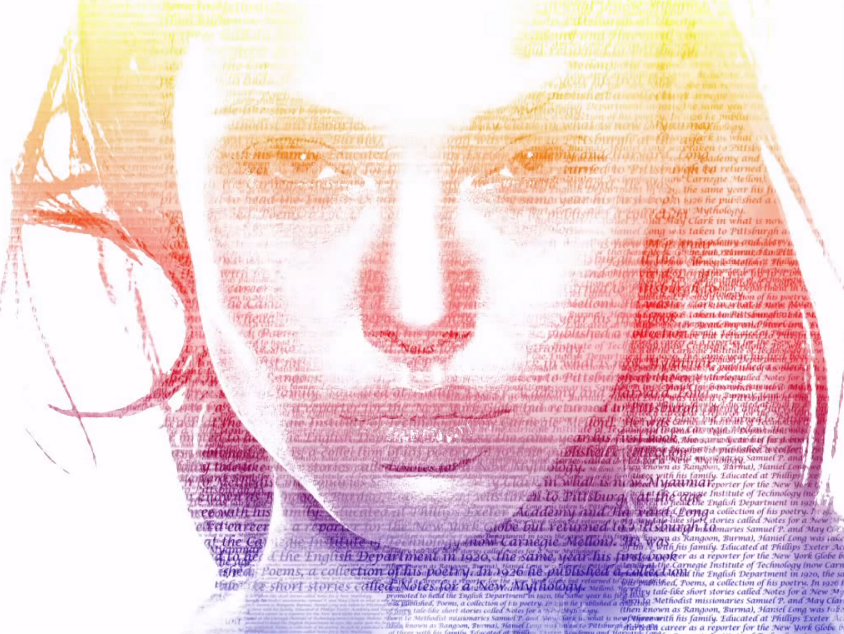
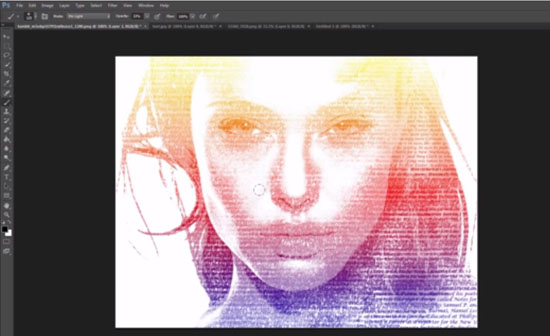
6. Gradient and Final Touches
A Gradient Option is added using Blending Options and a soft brush is selected and brushed on certain areas of the face using the color black and an opacity of 33%Â to enhance certain areas.
In this tutorial, Photoshop Pro Help, will take you through the process of Create a Easy Typographic Portrait in Photoshop, and show you how to create a colorful and beautiful Typography Portrait. Let’s get started!
View more Photoshop portrait tutorials about how to make a magazine Dodge & Burn effect or naturally smoothen skin to make any portrait photo pop and professionally edited easy and fast.


