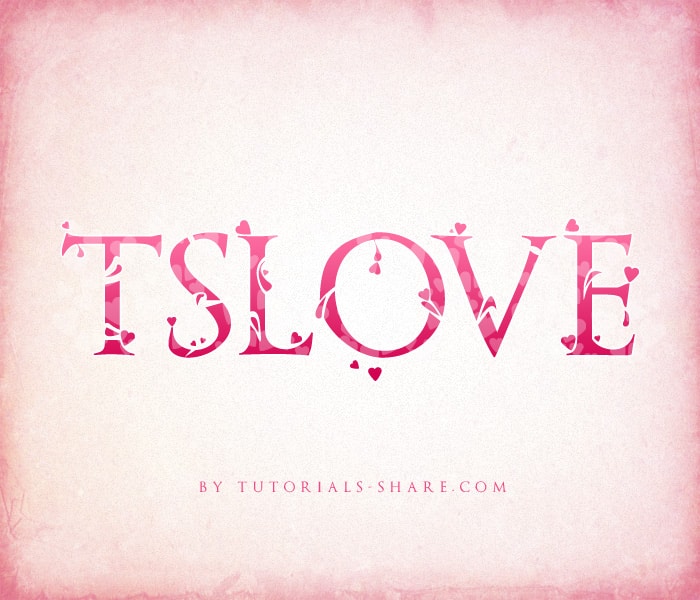
Learn how to create a Love, Valentine, Romantic Themed Typography Poster Design. We’ll be using Adobe Illustrator to create the typography, a heart shape and Adobe Photoshop to create the finished poster complete with Textures, Filters and Blending Options.
Final Result
Resources
Adobe Illustrator
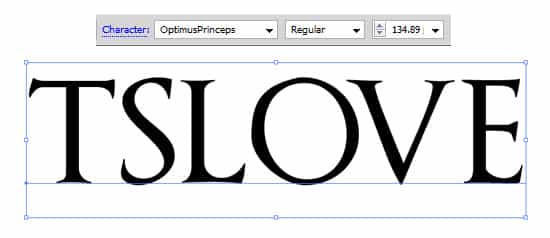
1. Create a new document that’s 600×600 pixels. Using the font below, write out your word.
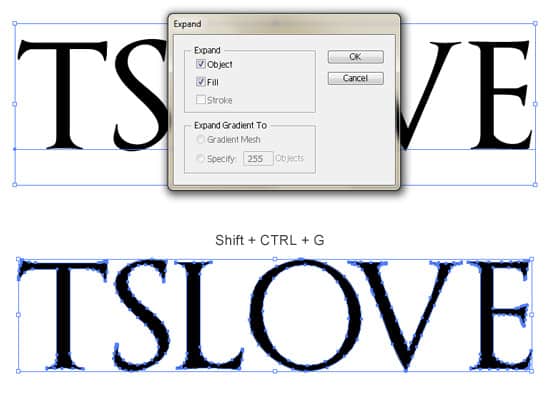
2. To make each letter selectable, select the font and go into Object > Expand, put in the settings below. Select the font again and go into Object > Ungroup (or Shift + CTRL + G). Do this many times until all the letters are each selectable.
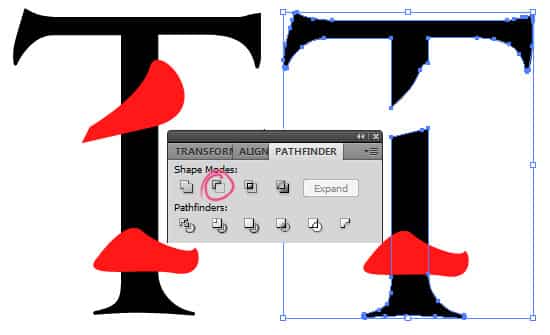
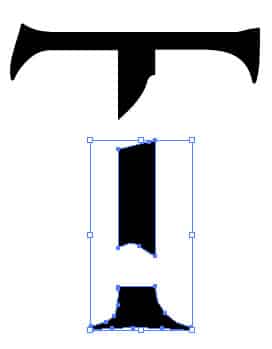
3. Zoom up to each letter (CTRL +), using the Pen Tool draw some shapes like below over each letter. Select the first shape and the letter and click on the Minus Front icon in Pathfinder. If the letter has 2 sections afterwards, select the letter and click Ungroup again to separate the 2 sections of the letter. Select the second shape and the letter and click on the Minus Front Tool again.
4.
4. Repeat step 3 for the rest of the letter.
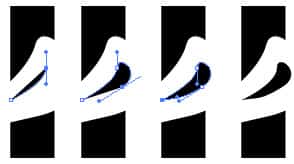
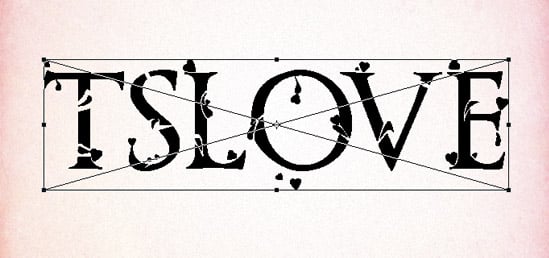
5. Next using the Pen, draw little tear drop shapes on the letters and in the spaces you made.
6. Repeat step 5 for all of the letters.
Heart Shape
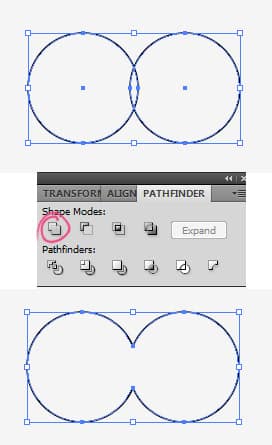
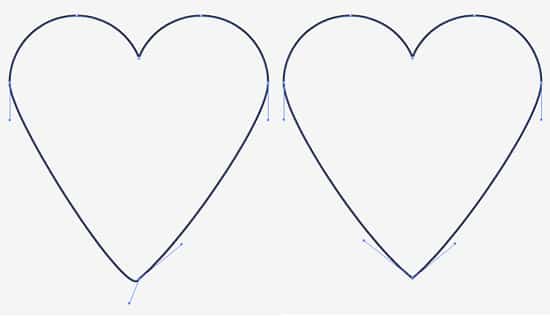
7. Select the Ellipse Tool, draw a circle while holding down the Shift Key to keep the shape perfect. To duplicate the circle, drag the shape away while holding down the ALT Key and place the second circle like below. Select the 2 circles and click on the Unite Icon in the Pathfinder to merge the 2 circles.
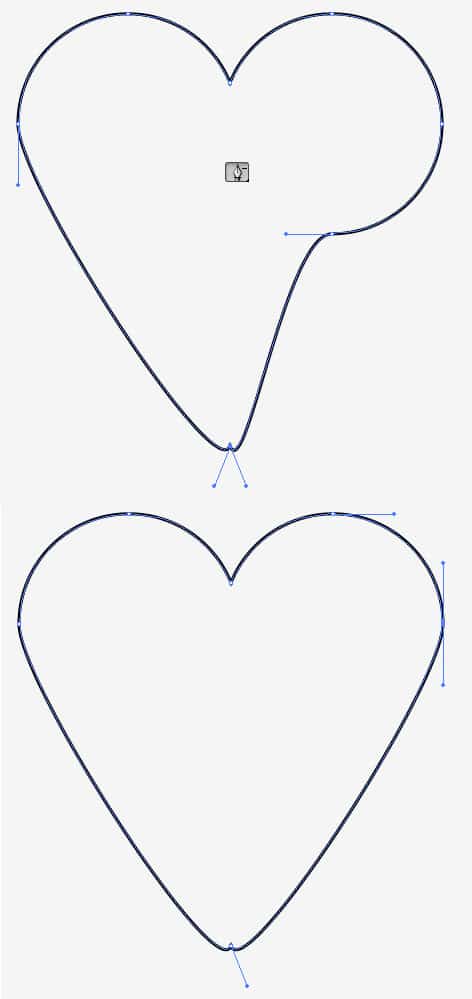
8. Using the Direct Selection Tool and click on the bottom center anchor. While holding down the shift key, click on the anchor again (with the Direct Selection Tool again) and drag it down.
9. Next select the Delete Anchor Point Tool and remove the 2 side anchors.
10. Select the Direct Selection Tool again and adjust the bottom anchor points to finish off the heart shape. Select the heart shape with the Selection Tool and set the Fill to Black and the Stroke to none.
11. Duplicate the heart shape (Press Alt and drag the shape away) and make them smaller by holding down the Shift Key and dragging the top corner down. Rotate and experiment with sizes and place the hearts around the text.
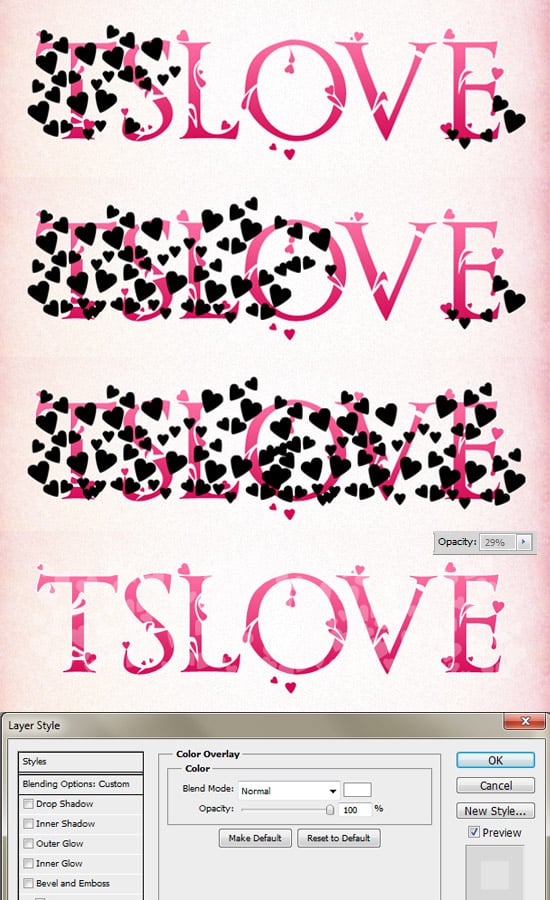
Photoshop
12. Create a new document that’s 700×600 pixels with a white background. Double click on the background layer to go into Blending Options and put in the following options below:
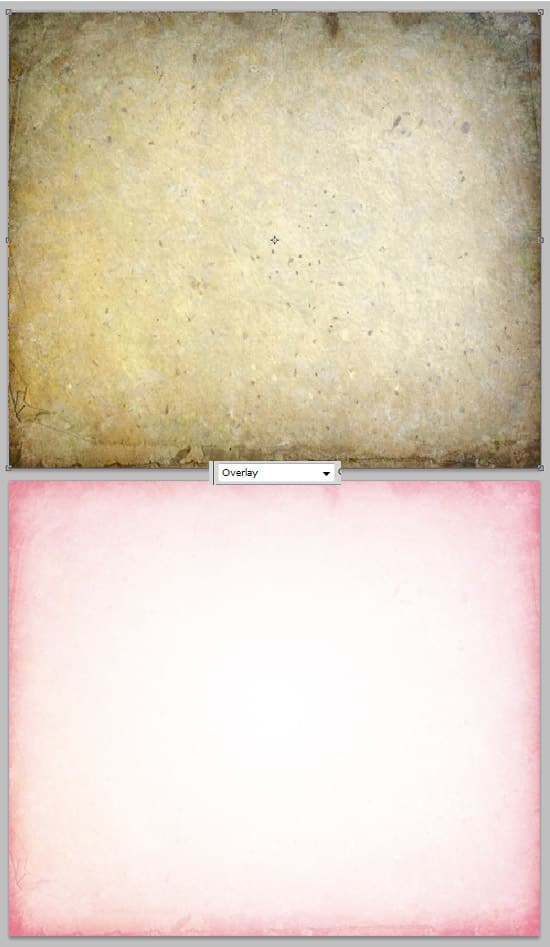
13. Copy and Paste the paper texture onto the canvas. To make the texture smaller, press CTRL+T and make the paper the same size as the canvas. Set the Blending Mode to Overlay.
14. Create a new layer, fill it white and set the Blending Mode to Multiply so it’s invisible. Go into Filter > Noise > Add Noise and put in 4.80%.
15. Go back into Illustrator, select the typography, copy and paste it onto the Photoshop canvas as pixels.
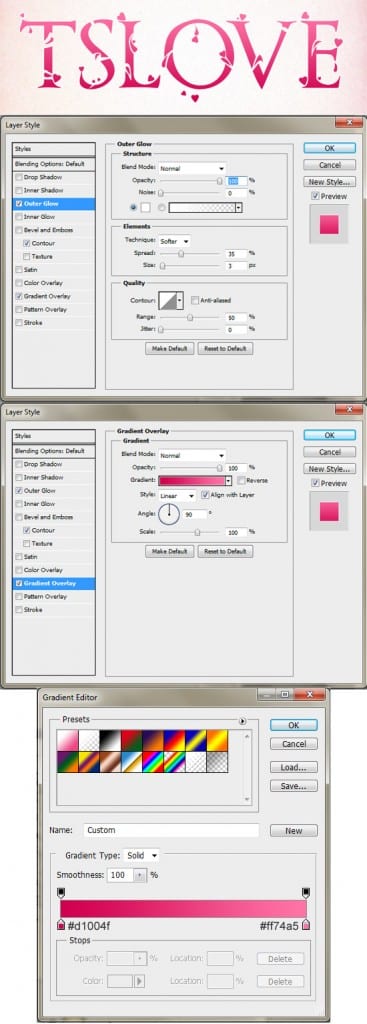
16. Double click on the typography layer to go into Blending Options and put in the settings below:
17. Select the main heart shape you created earlier and copy/paste it onto the Photoshop canvas. Make the heart shape small and rotate using the CTRL+T method. Duplicate the hearts shape until you have them like below. Click on the first heart shape, hold down the Shift Key then click on the last heart shape to select them all. Right click a layer then go to Convert Smart Object to place all the hearts on one layer.
Double click on the hearts layer to go into Blending Options and set the Color Overlay to White. Set the Opacity to 29%.
18. Â Lastly you can write out some more text if you want using the font options below:

