A Beginners Guide to DIY Product Photography
Learning digital product photography in order to take a picture of a product might seem incredibly simple. However you’ll find that there is actually a lot to understand with regards to good photography. Taking a real world picture for instance is a different photographic technique entirely to producing product photography for a online store.
Starting an online store? You should be. It’s one of the best ways of selling your products and tapping into a broad market of consumers. That is in so far as your store images employ the latest digital product photography production techniques.
When it comes to e-commerce, having a beautifully designed online store is a prerequisite to attracting and retaining customers, and one in which no corners should be cut. Those of us running e-commerce stores on platforms such as Shopify and WooCommerce can only benefit from adopting a slick and polished product digital image strategy.
How to Produce Beautiful and Engaging Product Images
The same rule applies to a physical brick and mortar store; you wouldn’t expect customers to stick around if your products were shoddily arranged and the general area was unkempt. In a similar vein, web design and the quality of your product photography should be kept to a high standard. The photos, after all, portray the perceived value of your products to potential customers, and having them displayed properly could mean the difference between a conversion or a missed sale.
In an ideal world, you would simply hire a professional photographer. Some photographers are, however, very expensive. If you’re just starting out and are trying to save funds, then taking the photos yourself could be a better option.
It might sound tricky at first, but if you’ve got a good eye for detail, some camera proficiency, and one or two photography accessories, then you can take some quality product photos for a fraction of what it would normally cost.
Video Tips : See How Great Product Photos are Made
With this selection of digital product photography video tips you can explore a range of topics. From selecting the right digital product photography equipment and accessories. To editing images for maximum effect in post production. Take a quick look and see.
Essential Photography Tools You’ll Need
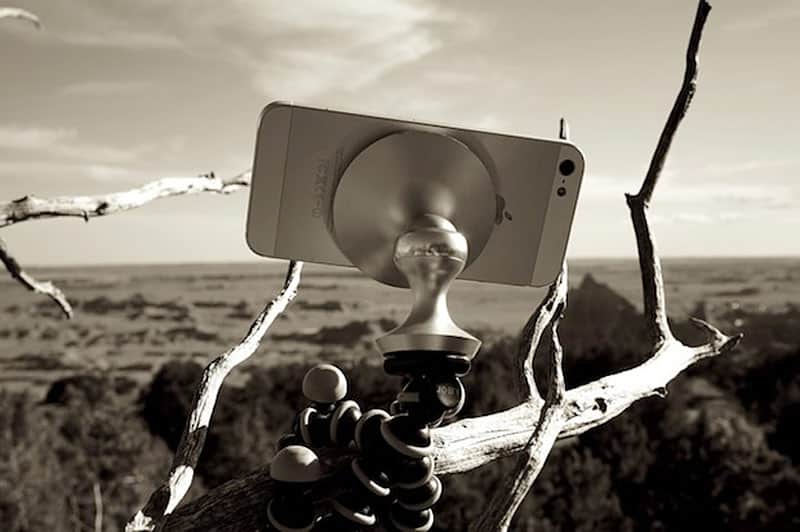
First thing’s first, you’re going to need a decent camera. The rules on this one are varied. If you have the budget, feel free to splurge on the latest Canon or Nikon. You’re going to get some sharp images, but it’s not always necessary to take awesome digital product photography.
A lot of people have found success using just their iPhone, and the results have been pretty impressive. But if you’re looking for a happy medium without spending too much, try finding a cheap digital SLR camera with a decent lens. The Canon Rebel EOS T5 or equivalent should do the job.
Next, you’re going to need a number of photography accessories such as a tripod. Human hands are just too shaky to take reliable and consistent photographs, so you’re going to need a stable base to keep your camera steady, especially when you have a very large aperture or taking long exposure photos. Luckily, tripods are pretty inexpensive, and you can pick up a decent one on Amazon for $20 or $30.
You’re also going to need a white background. This type of photography accessory ensures that your product, and not anything in the background, will be the focus of the photo. As well, get some white bounce cards to bounce light onto your product. While speaking of light, you’re going to need some of that natural light.
If you’re really patient and willing to deal with some unpredictably, shooting next to a wide window on a sunny day is a great (and free) way of bouncing sunlight onto your products. For a more controlled environment, making a lightbox essentially a box with two diffusing lights on either side is one of the best and cheapest ways of getting some clean and crisp photos. Learn how to use a lightbox for photos to achieve optimal results in your digital product photography.
Diffused light ensures you’ll have soft shadows instead of hard ones, which generally make product images look far more aesthetically pleasing and professional.
Ensuring The Correct Camera Setup
Once you have everything set up, you need to know how to take the photos, and that means understanding what camera settings to use. There’s a lot to consider here, but since this is a beginner’s guide, we’ll hammer out the basics.
Always shoot in a RAW format. This means the images are captured as they are, and can be easily edited in programs like Photoshop and Lightroom. Use a wide aperture to ensure you’re getting in as much light as possible without blurring or over saturating the image.
This is also closely linked to your shutter speed (how fast your camera opens to let in light), ISO (a measure of your camera’s sensitivity to light), and exposure (the amount of light passing through the lens). The best way to go about setting up your camera is to take some test shots and tweak your settings until you’re satisfied that you have the right calibration.
Digital Product Photography Editing and Post Production
Lastly, you’re going to need to know how to edit your photos once you’ve taken them. For this, having some basic knowledge of Adobe Photoshop or Lightroom is a good idea. The programs themselves are quite expensive, but there are loads of free alternatives out on the internet that will serve your purposes quite well.
When mastering digital product photography the extent to which you’d like to edit your images is up to you, but some basic color correction and shadow elimination will go a long way to making your product look amazing particularly when cropped to a range of differing sizes.


