Create a Dripping Icing Cake Font
Learn how to create a Dripping Icing Cake font in Illustrator & Photoshop!
Final Result
Illustrator
1. Open up illustrator, create a new document that’s 500x300px. With the font of your choice type in the word you wish to use. Write the word in a light grey colour and lock the layer.  2. Create a new layer and trace around the font like below with the fill colour on none, and the stroke colour on black. I’m using a Graphics Tablet to draw the letters.
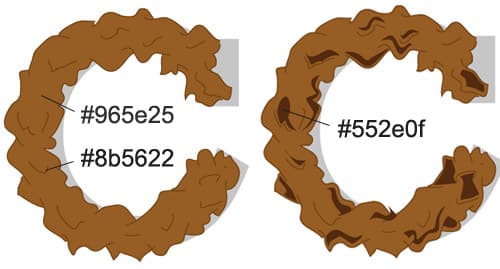
  3. Press ctrl+a to select all the lines, make the stroke colour to below, to fill the letters get the Live Paint Bucket, place the bucket over the shape and select through your swatched with the left & right arrow keys until you find the right ligh brown colour. Using the pen tool draw shapes using the colour below.
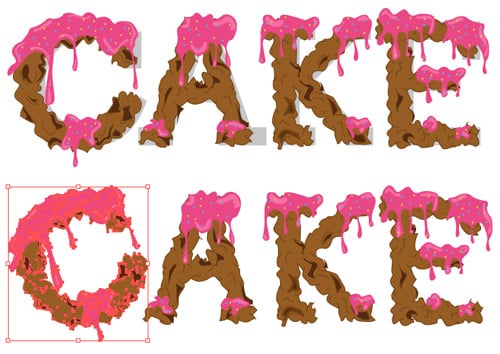
  4. Next using the pen tool draw some dripping icing & icing highlights. Using a small circle brush dot some sprinkles on top.
  5. Do the previous steps to the following letters. Then select the C with the Selection Tool and rotate. Remove the original font from view. Save the Illustrator File & open up Photoshop.
  6. Create a new canvas in Photoshop that’s 500×300. Open the Illustrator file, copy & paste it onto the canvas & press ctrl+t, hold down shift and move a corner of the to make the font smaller. Double click the background layer to make it unlock, right click the layer and go in Blending Options > Gradient Overlay and place in the gradient below. Right Click the font layer, go into Blending Options > Stroke and put in the following settings:


