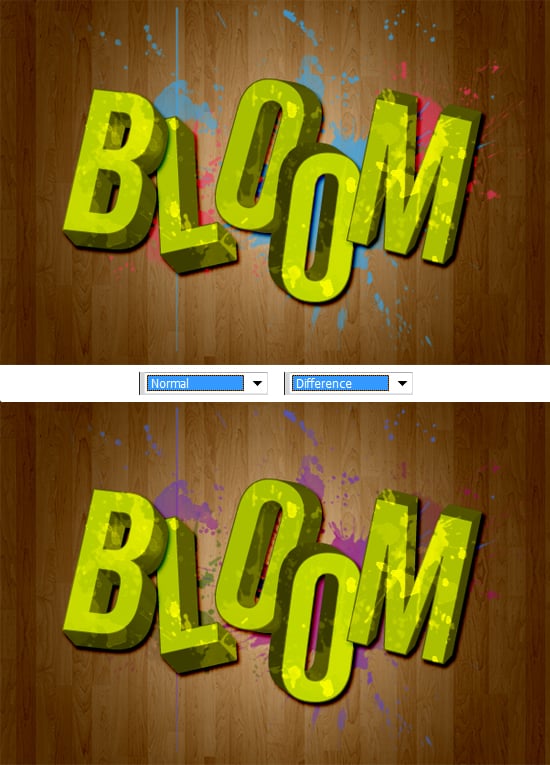
Create a Fun Typography Poster in Illustrator & Photoshop
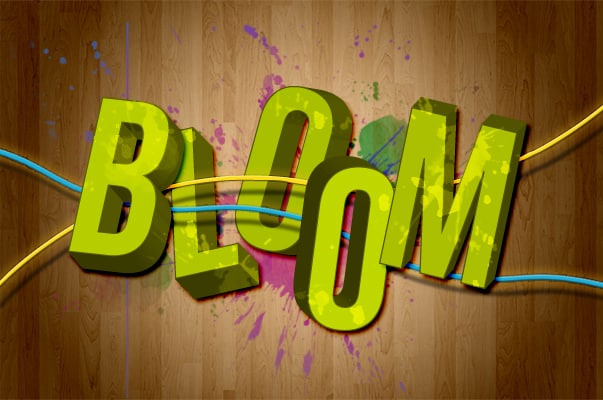
Learn how to create an attractive & colorful 3D Typography Poster using Illustrator & Photoshop!
Final Result
Illustrator
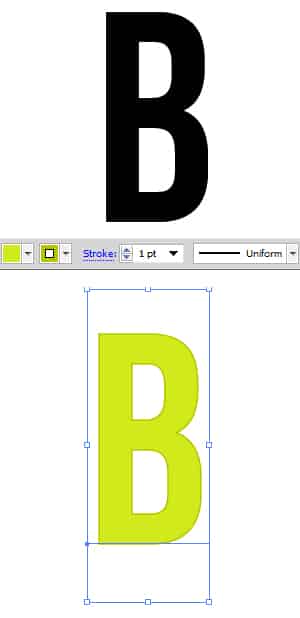
1. Open up a new Illustrator document using the size 600×600 pixels. Using the font Bebas Neue write out the first letter of the word you’re using. Fill the fill & stroke to the colour of your choice.
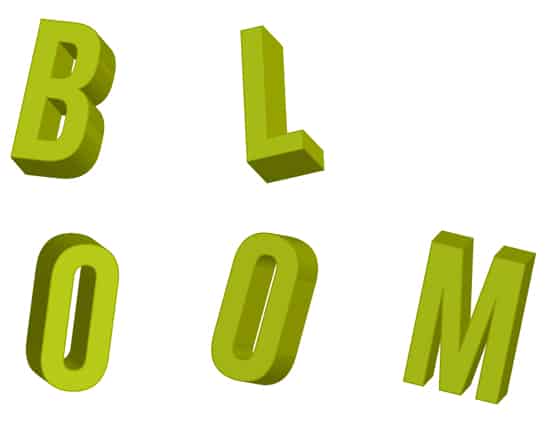
2. With the letter highlighted go to Effect > 3D > Extrude & Bevel & put in the settings to you liking
3. Do the previous 2 steps to each letter of your word separately.
Photoshop
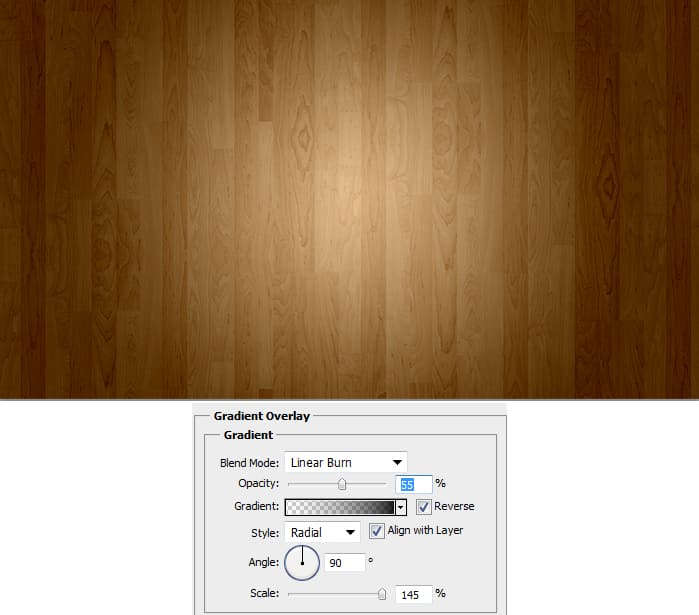
4. Next Copy/Paste this image onto a new Photoshop document that’s 600×400 pixels. On the image press CTRL+T and transform the image so it’s the same size as the document size. Next double click on the image layer to go into Blending Options > Gradient Overlay and put in the setting below.
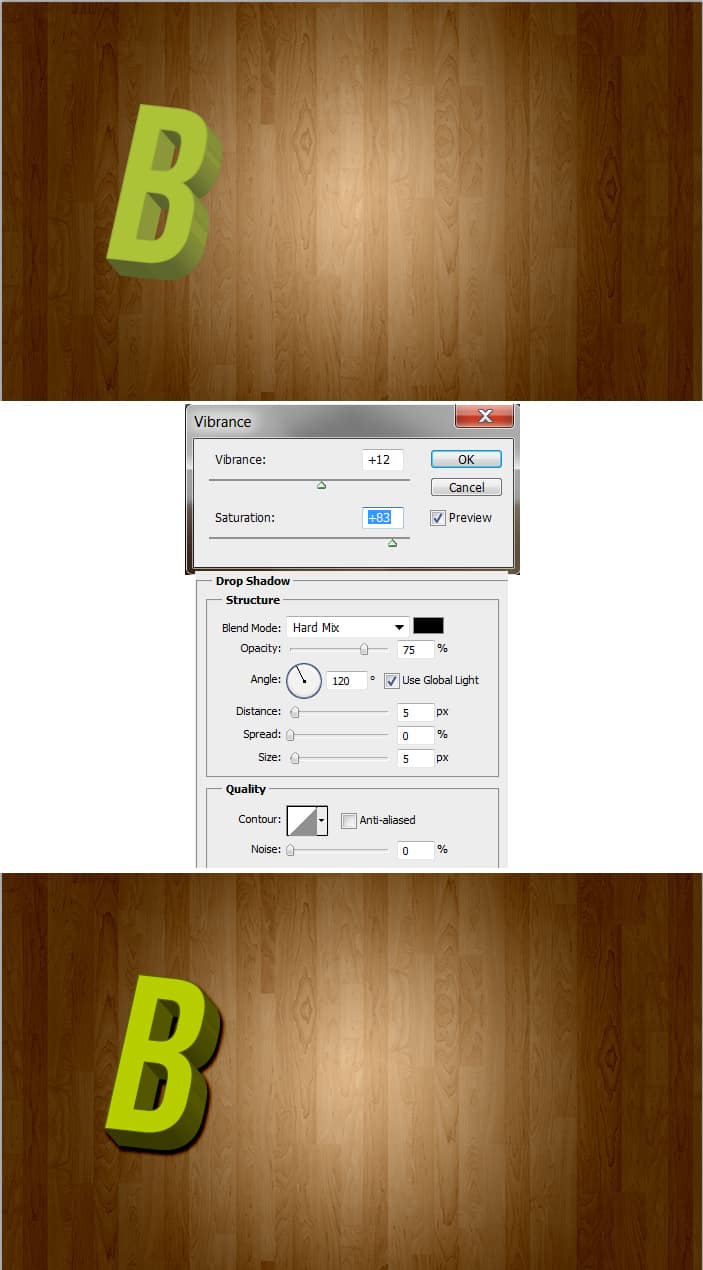
5. Go back to Illustrator and select the first letter, copy & paste it as Pixels onto the Photoshop canvas. Next go to Image > Adjustments > Vibrance and put in the settings below. Next double click onto the letter layer to go into Blending Options > Drop Shadow and put the settings below:
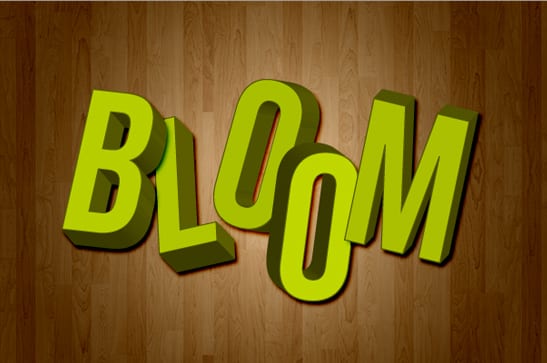
6. Repeat step 5 on the other letters & experiment the letters positions.
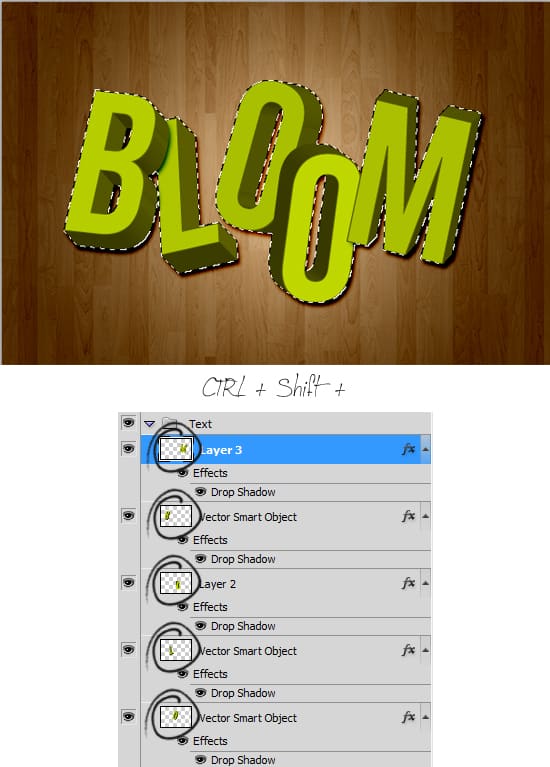
7. Download & Install these Splatters Photoshop Brush Set, While holding down the CTRL+SHIFT Key select each of the letter’s Layer Thumbnail (circled below) to highlight the shapes.
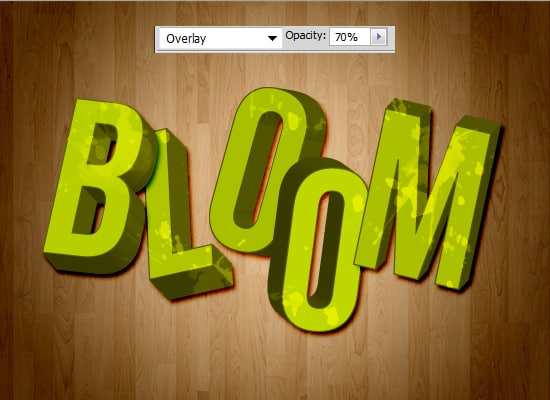
8. Create a new layer and using various Splatters draw on some white coloured splatters on the highlighted text area. Set the Blending Mode to Overlay & the Opacity to 70% on the splatters layer.
9. Create another new layer underneath the text and draw on some more larger splatters using colours of your choice. I’ve experimented with different Blending Modes and decided to go Difference.
Illustrator
10. Go back into Illustrator & draw a thin line using the Rectangle Tool. Duplicate the line by holding down the ALT key and dragging the line away. On the first line, select it and go to Effect > Distort & Transform > Twist. On the second line, select it and go to  Effect > Distort & Transform > ZigZag.
Photoshop
11. Like the Letters Copy & Paste the Lines as Pixels onto the Photoshop document. Rotate the lines by pressing CTRL+T and rotating. On each line, double click on the layer to go into Blending Options and put in the settings below:
