Create a Print Ready Invitation in Photoshop
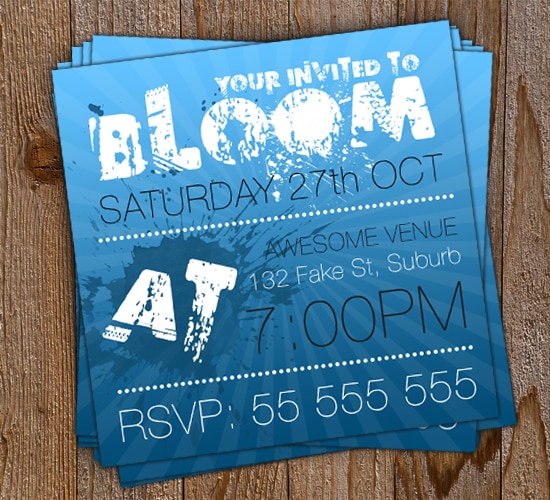
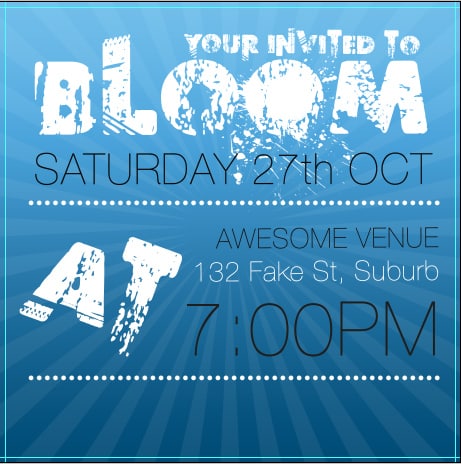
Learn how to create a Grungy Print Ready Invitation in Photoshop!
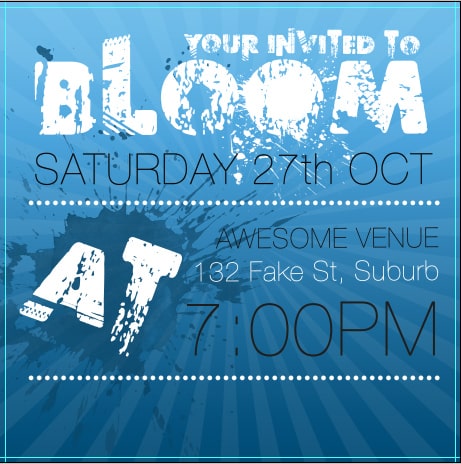
Final Result
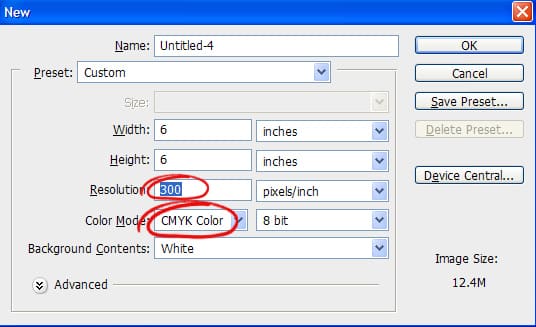
1. Create a new document  with the settings below. The resolution is set to 300 for high quality & CMYK is the Printing mode.
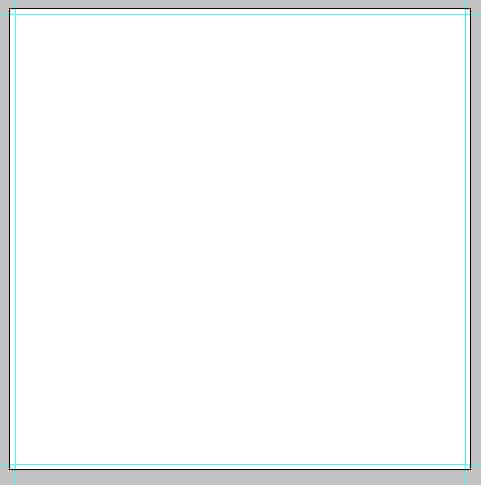
2. Press Ctrl+R to bring up the rulers around the canvas. Drag out 4 lines and place them on the edge of the canvas like below.
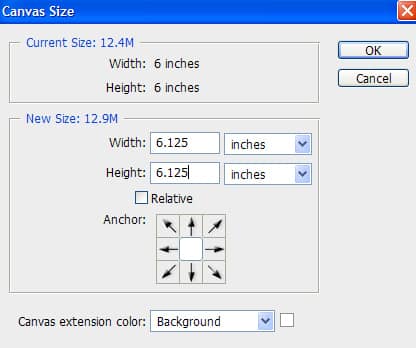
3. Next go to Image > Canvas Size and add on .125 to the measurements & press OK.
4. These will be for the ‘Cutting Risk Area’. Make sure your invitation design doesn’t go out of the lines.
5. For now let’s set the Colour Mode to RGB by going to Image > Mode > RGB Color and don’t Flatten the Image.
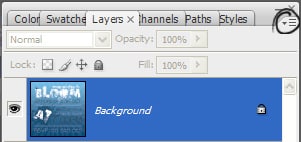
6. Go to the background layer, double click to unlock then again to go into Blending Options. Go into Gradient Overlay and put in a Linear Gradient with colours of your choice.
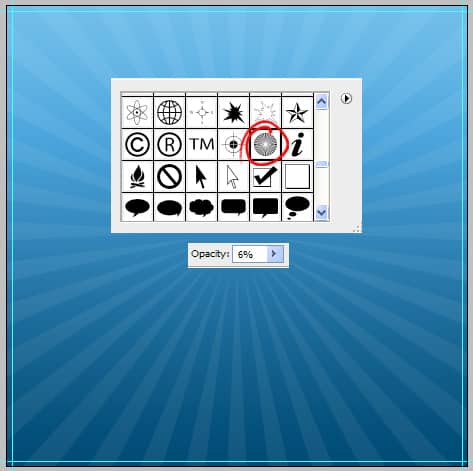
7. Next go into Custom Shape Tool and select the shape circled below. Hold down the shift key (to keep the shape perfect) and draw a large white shape for the background. Set the opacity to 6% for a light effect.
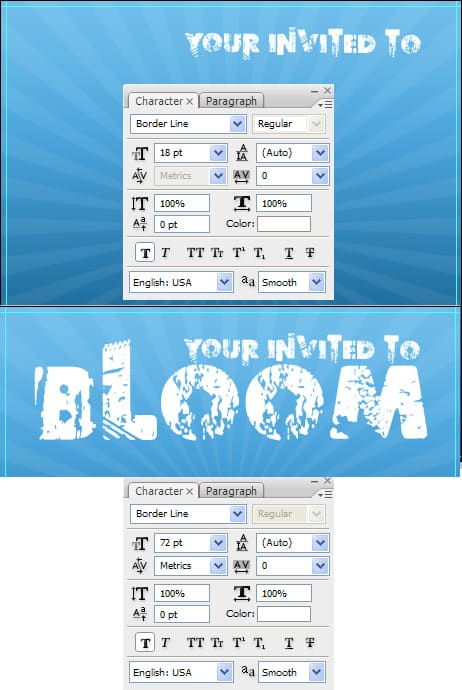
8. Using the font Border Line write out the words the headings on your invitation.
9. Next download and install these Spatter Brushes, create a new layer and put a small splat on a word for a grungy effect.
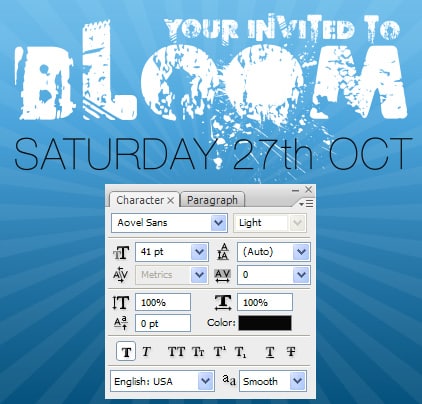
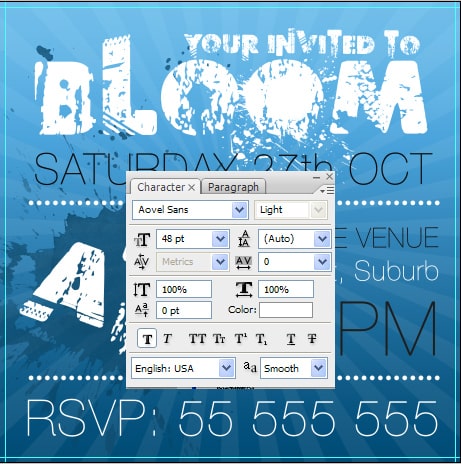
10. Next write out the date, I’m using the font Aovel Sans.
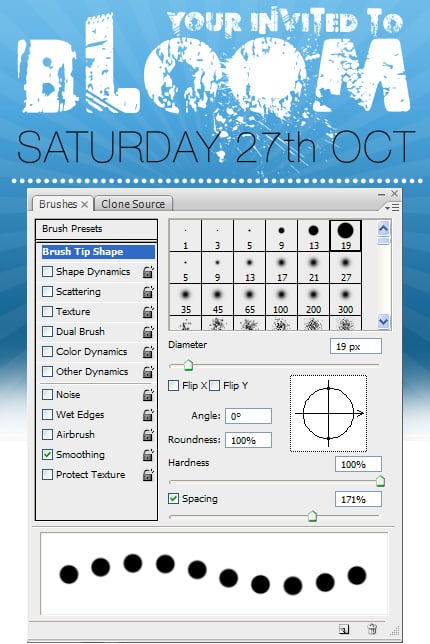
11. Next click on the brush tool, then go into Window > Brushes (F5) > Brush Tip Shape and put in the settings below. Create a new layer and draw a white line with the new brush while holding down the shift key.
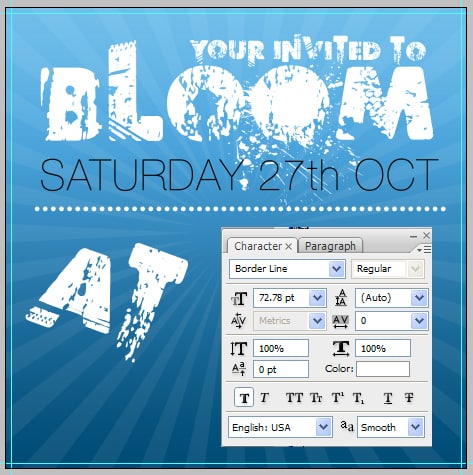
12. Next write out AT (or what you want) in the font below. To rotate the font press ctrl+t on the text layer and rotate an edge.
13. Next write out some Venue & Time details using the font below.
14. Duplicate the dotted line layer by dragging it to the new layer icon and place on the bottom of the details.
15. Create a new layer, select another Splat brush and put a splat on another word using a colour of your choice.
16. Next write out the RSVP details.
17. Now save the document (if you haven’t), then save again as another copy. Using the copy document, go to Image > Mode > CMYK to change it to a printing mode.

18. Click on the arrow (circled below) and click on Flatten Layer.
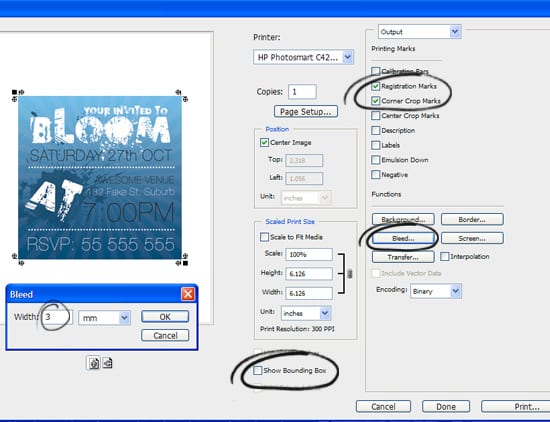
19. If you’re ready to print go to File > Print. A box should appear, click on the top right menu and go into output. Select the printing marks you want to appear on the printed work. Unclick Show Bounding Box, then go into Bleed and create a 3mm bleed. Then click Print.
If you want to take it to the printers for Printing, Save it in PDF format.
