Create a Professional Ebay Template in Photoshop Tutorial
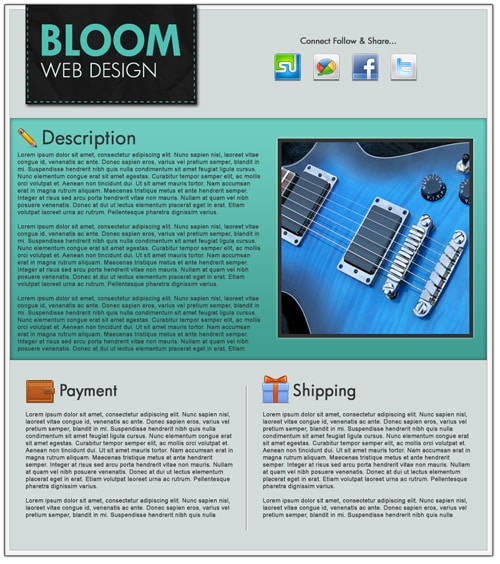
Learn how to create a Professional & attractive Ebay Template in photoshop!
Final Result
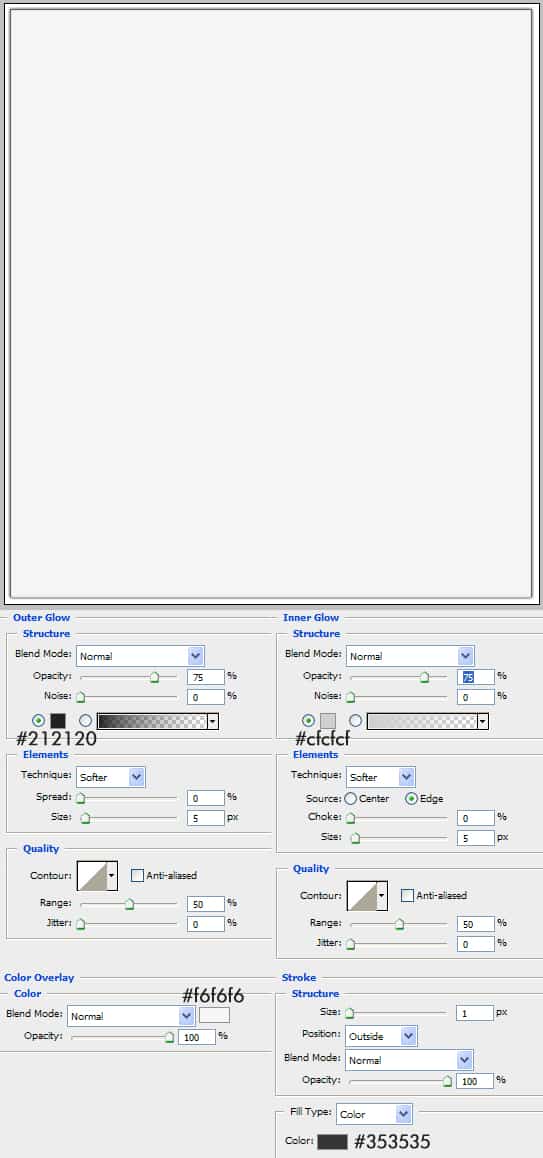
1. Create a new document that’s 800×900 pixels. Using the rectangle tool draw a large shape like below. Double click the layer to go into Blending Options and put in the following settings:
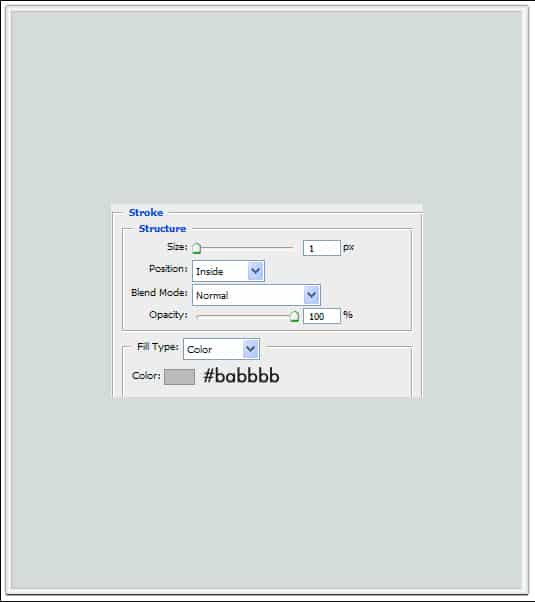
2. Â Get the rectangle tool again and another smaller shape like below using the colour #d3dbda. Double click into Blending Options and put in the following:
3. Download and install these Paper Texture Brushes.
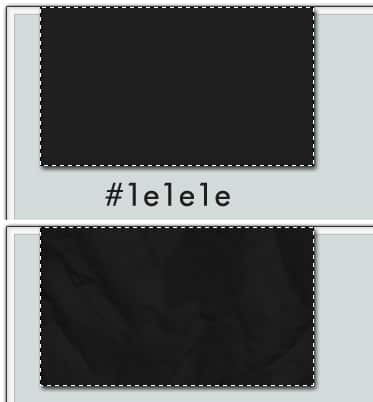
Again using the rectangle tool draw a shape for the company name background on the left corner. While holding down the CTRL key click on the layer thumbnail to highlight the shape. Create a new shape and choose a paper texture brush and click down in black to create a nice paper effect.
4. Next write out your ebay company name or item name. I’m using the font Futura. Using the minus (-) sign write it out and place it on the edges of the black square. To rotate the minus signs to go on the edges press ctrl+t and rotate.
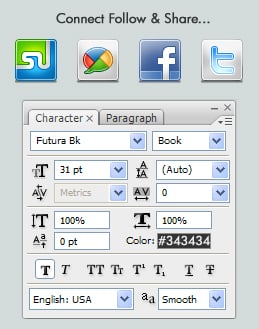
5. Next get these Social Media Icons and place them on the right side of the logo.
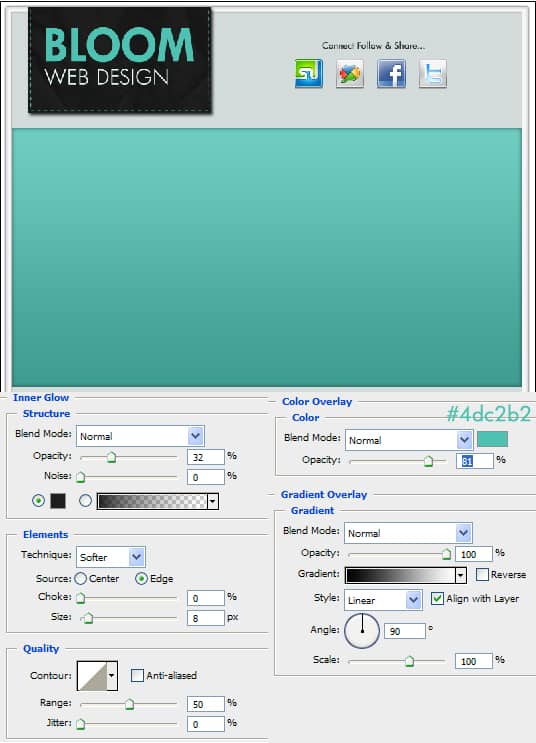
6. Next grab the rectangle tool and draw a shape like below, double click into Blending Options and put in the following settings:
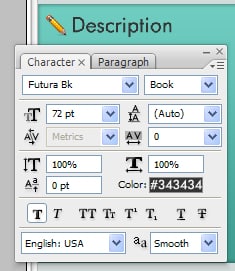
7. Next download these Basic Set icons. Write out ‘Description’ and choose an icon to put on the side.
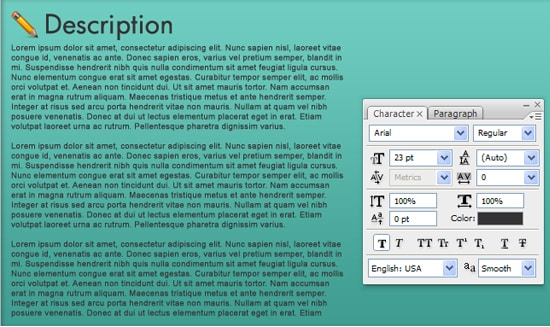
8. Next write out some example description text using the font below.
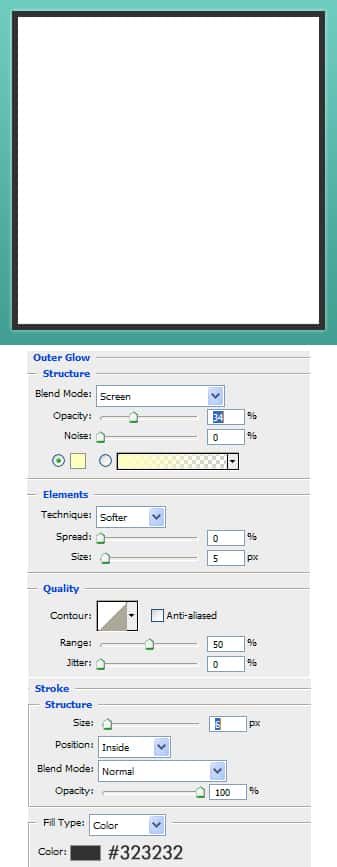
9. Next using the rectangle tool draw a white shape for the image on the right side. Double click into Blending Options and put in the following:
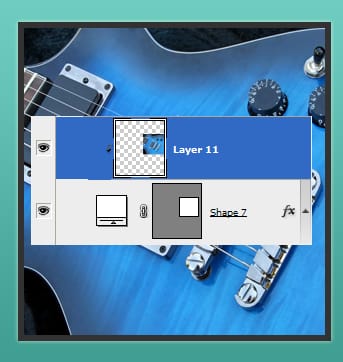
10. Next get a image of what you want to sell, place it over the white square you just created. Right click the image layer and Create Clipping Mask. This will crop the image down to the white square.
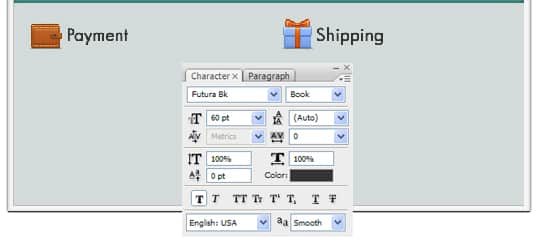
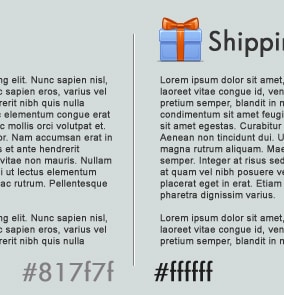
11. Next choose 2 icons from the previous Icon set you downloaded. Write out Payment & Shipping and place the icons next to the headings.
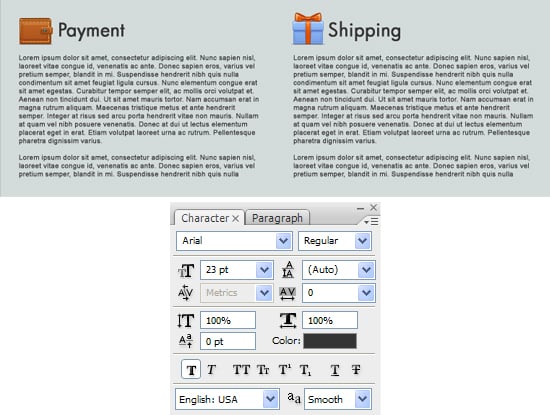
12. Next write out some example text.
13. Lastly using a the Line tool (1px), hold down the shift key (to keep the shape straight) and draw a vertical line to divide the two sections. Duplicate the line and move across slightly (cltr+arrow for small moves). Put in the colours below so you get a nice 3D dip look.
