Create a Grunge & Textured Mixed Collage in Photoshop
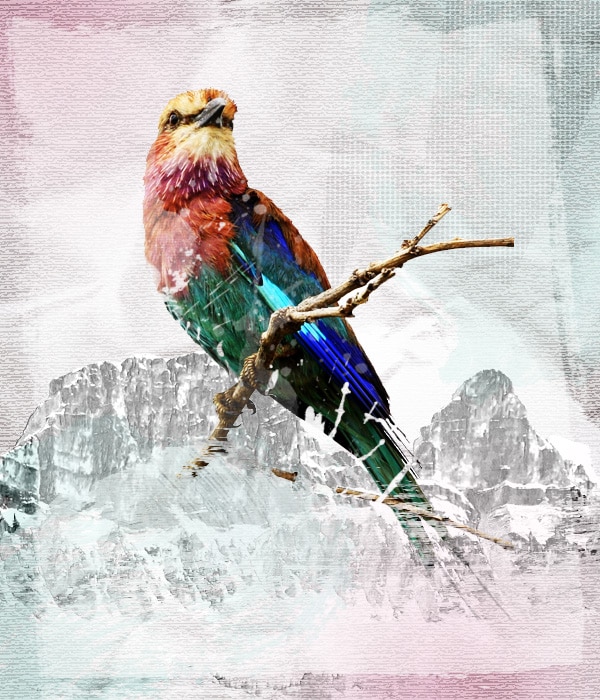
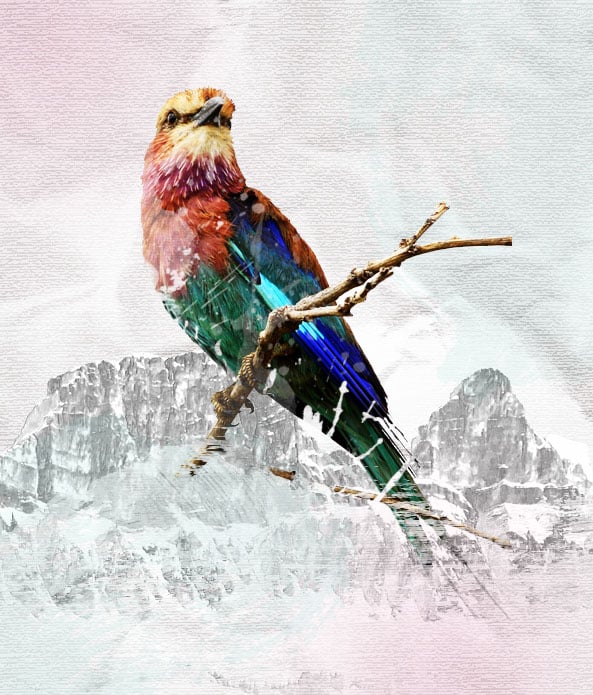
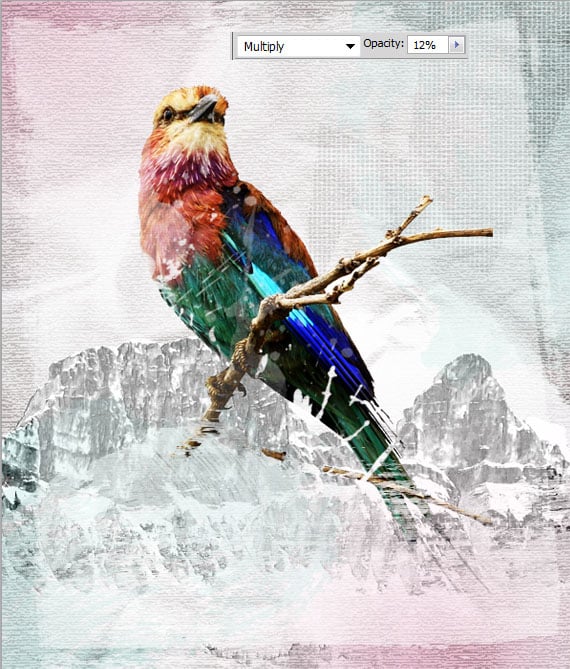
Learn how to create a Grunge & Textured mixed media Collage in Adobe Photoshop. We’ll be using Brushes, Photographs, Textures, Patterns and using various methods & techniques to create this mixed media collage artwork.
Final Result
Resources
- Paper Texture Brushes
- Grunge Paint Stroke Brushes
- Real Paint Splatter Brushes
- Bird Image
- Mountains Image
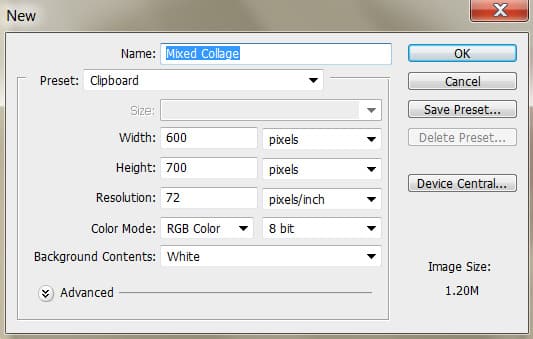
1. Open up Photoshop and create a new document with the settings below:
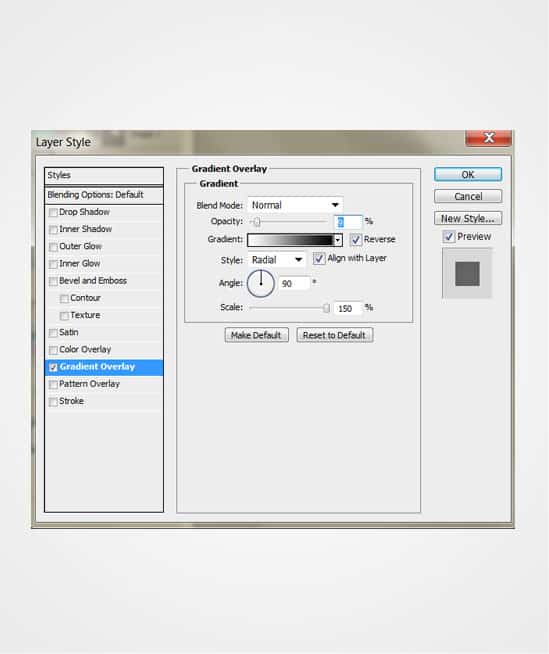
2. Double click on the background layer to go into Blending Options and put in this Gradient Overlay.
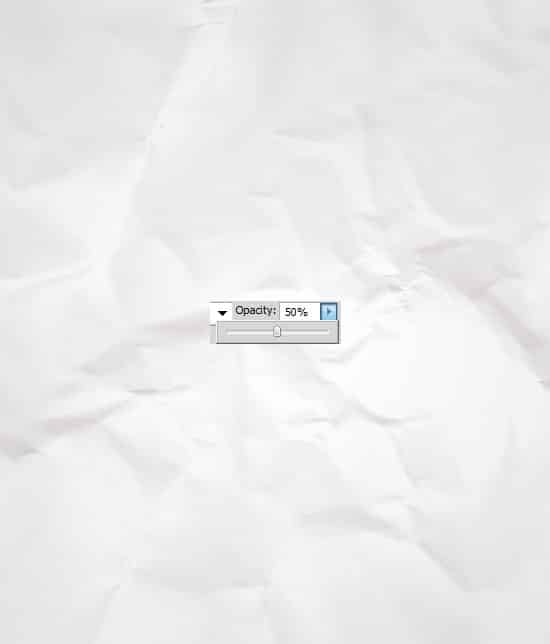
3. Using a Paper Textured brush, create a new layer and press on the texture using a light grey colour. Set the Opacity to 50%.
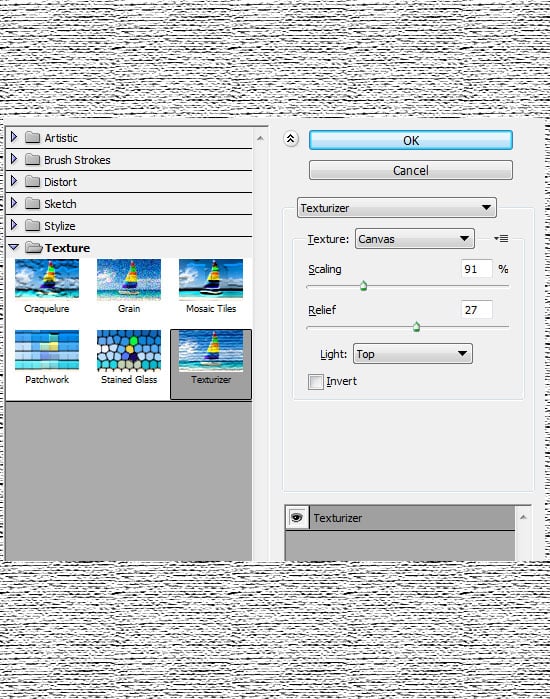
4. Create a new layer and fill it white, then go into Filter > Texture > Texturizer and put in the settings below.
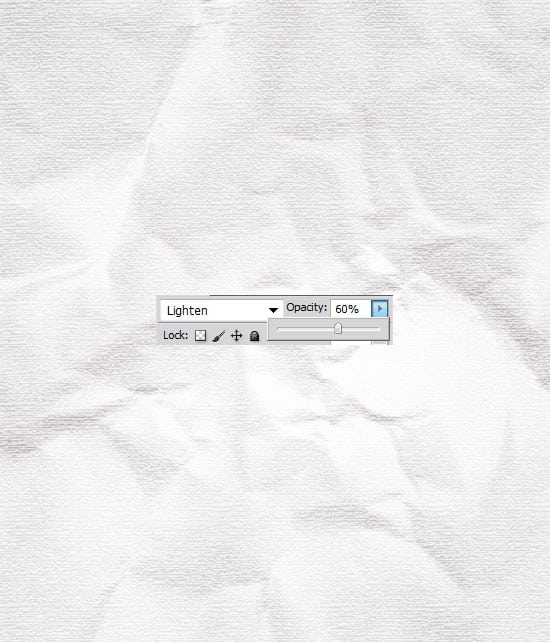
5. Set the Blending Mode to Lighten and the Opacity to 60% (or lower if you want) to make a subtle texture.
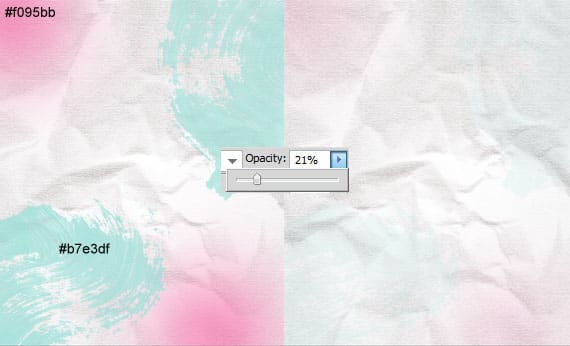
6. Using varied brushes -I’m using a soft edged brush & the Grunge Paint Strokes, create a new layer and draw on some colours. Set the layer’s Opacity to 20% if you want subtle colours.
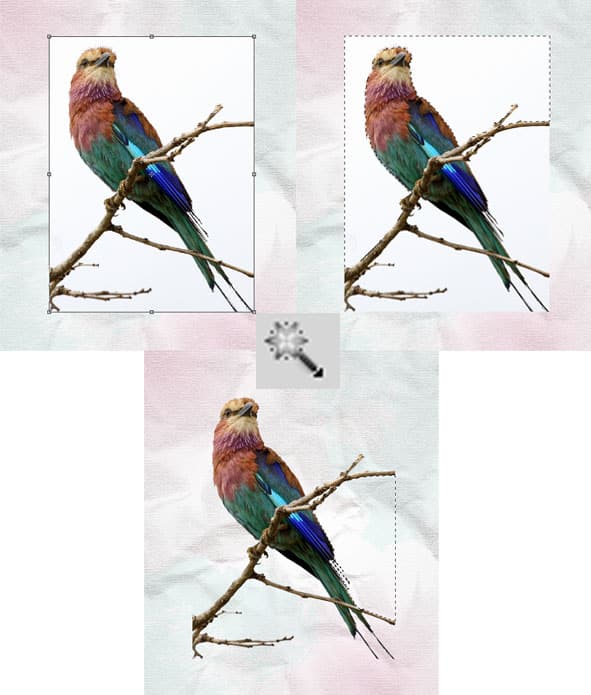
7. Copy and Paste the bird image onto the canvas, to shrink the image press CTRL+T and drag a top corner down while holding down the Shift Key. Using the Magic Wand Tool select the white background areas and delete.
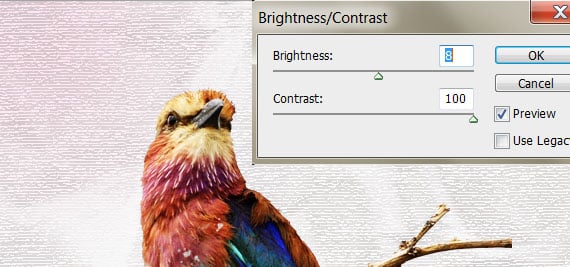
8. Next on the bird image go into Image > Adjustments > Brightness/Contract and put in the settings below. This will make the bird more vibrant.
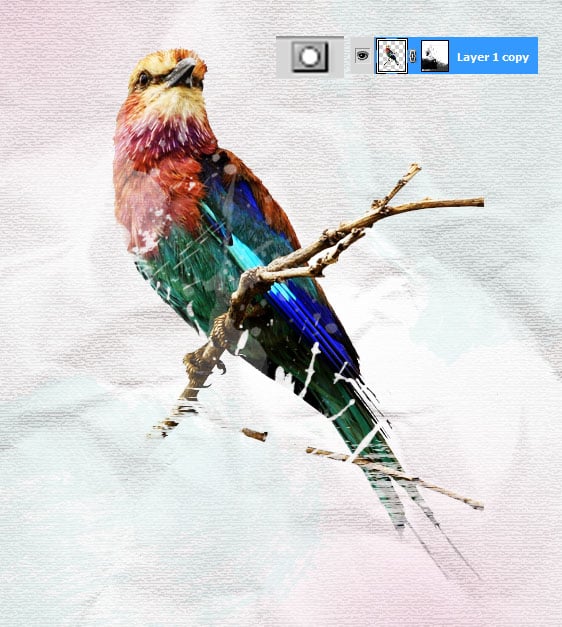
9. Now click on the Add Layer Mask icon to place a mask over the layer. using a black coloured brushes (experiment with the Grunge Paint Strokes & Paint Splatter brushes), click on the mask layer and draw on the bottom part of the bird. Because we’re using a black coloured brush this will erase, if you want to get a part of the image back use a white colour brush.
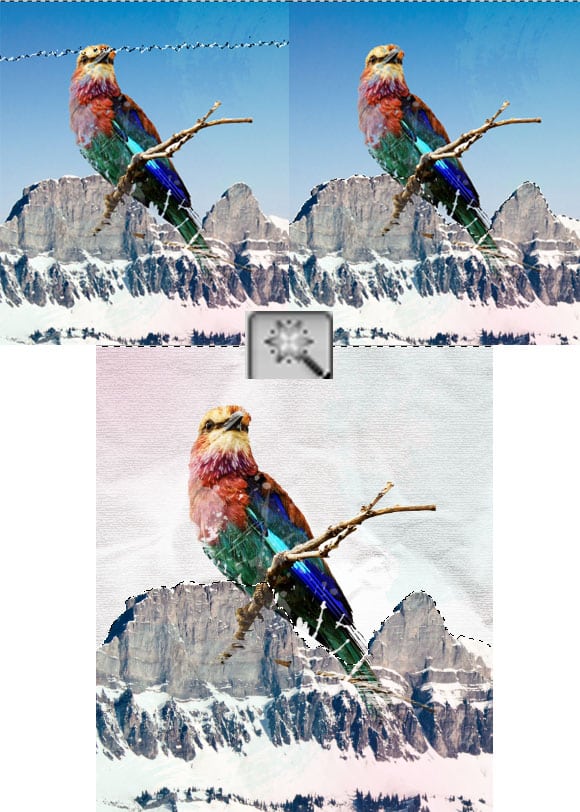
10. Copy and paste the Mountain image onto the canvas – placing it below the bird layer. Again using the Magic Wand Tool, click on the blue background and delete until only the mountains are visible.
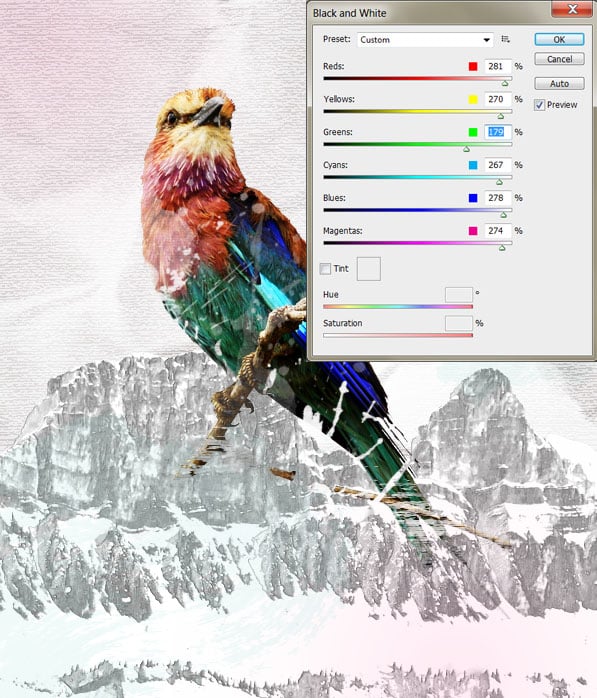
11. On the Mountain layer go into Image > Adjustments > Black and White and put in the settings below.
12. Like step 9, click on Add Layer Mask and erase the bottom of the mountain using various brush styles.
13. Create a new layer and place it on top. Using the horizontal & vertical Grunge Stroke Brushes, brush on a black border around the canvas. Set the Blending Mode to Overlay for a nice effect.
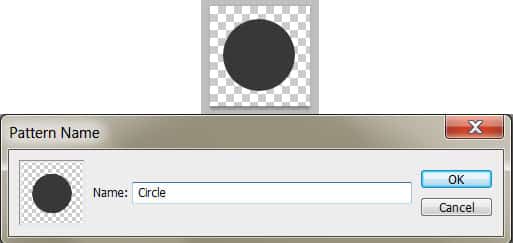
14. Create a new document that’s 100×100 pixels and make a small black circle. Go into Edit > Define Pattern and create the new circle pattern.
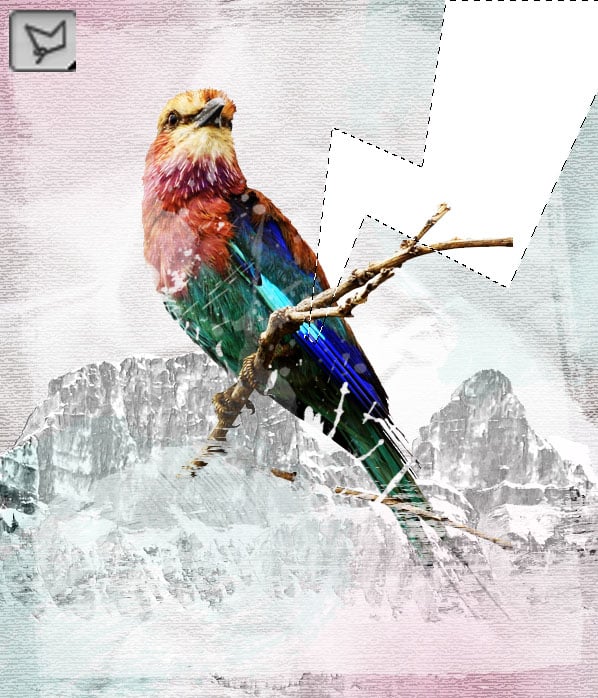
15. Go back to the Collage and create a new layer. Using the Polygonal Lasso Tool, draw a thunder shape and fill it white and set the Blending mode to Multiply so it’s invisible.
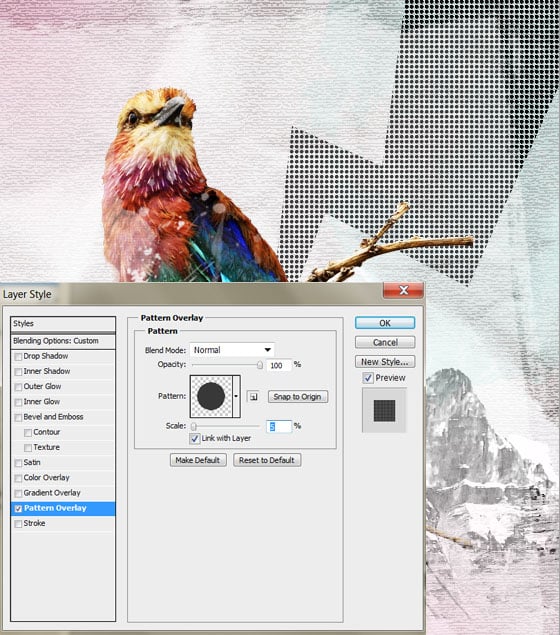
16. Double click on the layer to go into Blending options and put in Pattern overlay using the pattern you just created.
17. Lastly make the Opacity 12% so the pattern is subtle and doesn’t over power the design.
