In this article I will be going through some helpful tips on creating a successful Design Tutorial. Learn how to plan and get your tutorial idea going, the most effective way to present your tutorial on your blog/website and finally publishing your tutorial.
Choose your Topic
First decide on the kind of design tutorial you want to create, for example website layout, icon, photo manipulation etc. The options are endless, so choose something that you feel confident in creating, and start from there. Then choose the software that you feel is most appropriate to use when creating the design – Adobe Photoshop & Illustrator are popular choices. Next what type of utorial would you like to create?
Create & Finish the Design
 Once you've decided what tutorial to create, start by designing the initial idea. Do not take any screenshots at this time. By designing it first, you save time and can get a better result. I have found if you take screenshots as you are still designing and thinking, you may want to change something later eg. colour or shape. This would mean that you would need to go back and redo the screenshots which will waste time.
Take Screenshots of each Step
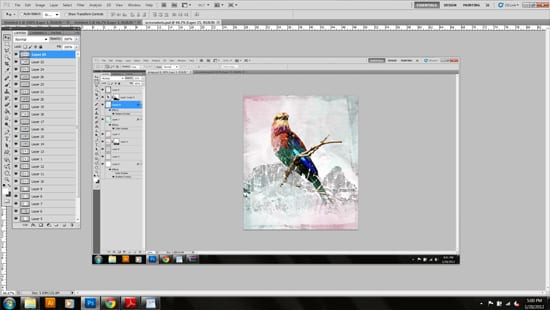 After you are happy with the design, go into the Layers Window and turn off the layers. Start clicking on the layers in the order you created them during the course of the design, and take screenshots of each stage of the design process. I like to create the screenshots on Photoshop even if I am using another software for the tutorial, as it's easier to use. Create a new document called "Screenshots", copy/paste the screenshots on the document and save.
Finalise each screenshot step
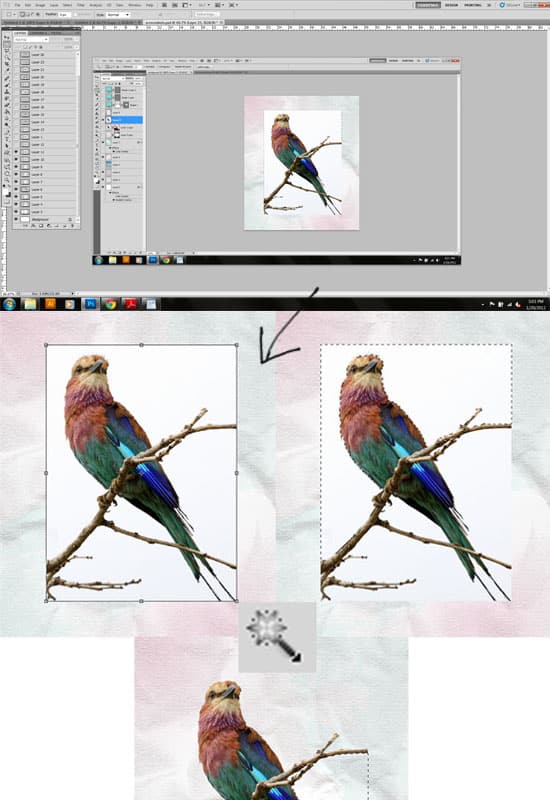
After all the screenshots have been taken, it's time to go to each screenshot and turn them into steps. It's a good idea to place colour codes in the steps so that it's easier for the viewer to know what colour you used. Try to keep the steps nice and clean, and simple to understand. After creating a step image, it's best to first save it as a PSD. If any magazines want to use your tutorials you can just send them the PSD files – this will be handy and will save you lots of time. Afterwards save them as a JPEG. It's best to have the images' names as the tutorial name, eg: website-layout-photoshop-tutorial-step-001.jpg. This will help your search engine ranking!
Write out your Tutorial Steps
Now it's time to write out your tutorial. I like to write out the steps in a Word document and save them first as a backup. Start off with a little introduction to hook the reader in, then go into the main steps. Try to keep the language clear and easy to understand. Have short sentences and try to avoid rambling on. Stick to the main point unless it's a particularly long step. Tip: If you've used any outside resources (eg. textures, brushes) it's best to place all the links at the start of the tutorial under the name: Resources.
Upload the Tutorial to your Blog
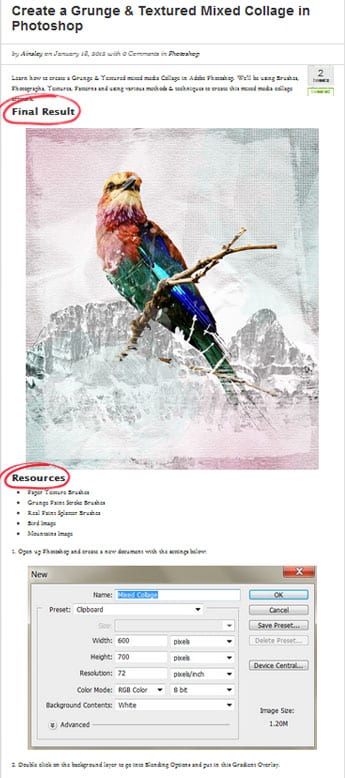
- Make sure your tutorial title is descriptive and eye-catching, for eg. Design a Business Website Layout using Photoshop.
- Write out tags that relate to your tutorial in order to get high rankings on the search engines, for eg. Adobe Photoshop, Tutorial, Website Layout, Business, learn web design.
- Put in an attractive Featured Image of your final design.
- Make sure you have the final design before and after the tutorial under the heading Final Result. Many times I've gone into tutorials and I have had to scroll down to the bottom of the page, or even worse go to another page to see the final result which will turn people away!
Publish
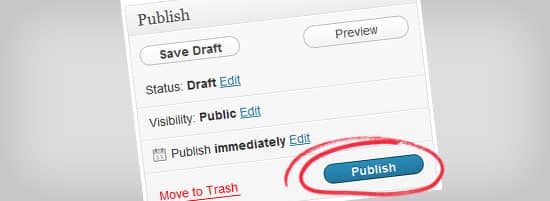
After you've finished the Tutorial, publish and start submitting to websites which showcase tutorials eg. Tutorials-Share, Good-Tutorials, 9tutorials are just a few to name.
