Design a Business Chick Character in Illustrator
Learn how to create a classy business chick character in Illustrator & Photoshop!
Final Result

Illustrator
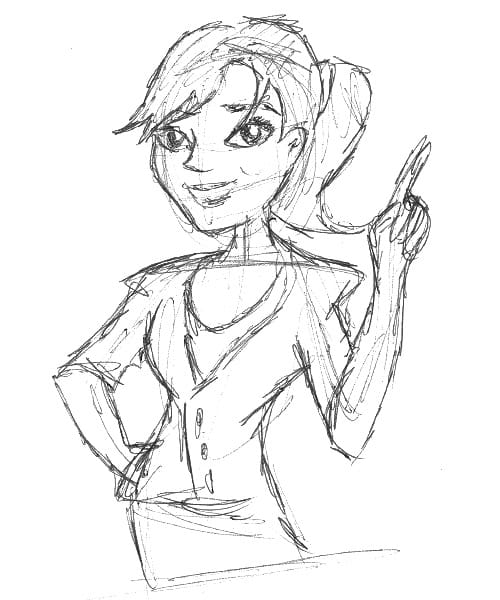
1. Firstly sketch out your character & scan it in. Open up illustrator, copy and paste your sketch onto the canvas, if you need to shrink the sketch down choose the selection tool, hold down shift and pull the corners down. Lock the layer.
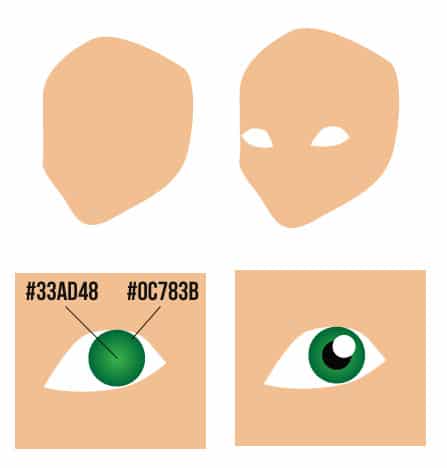
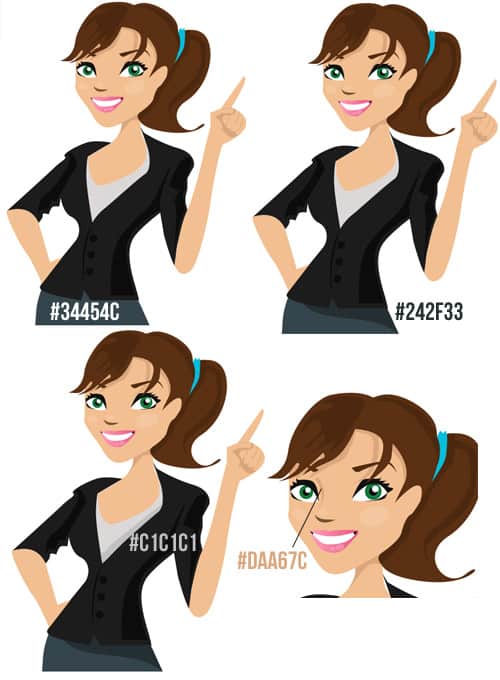
2. Using the colour #F2BF91 get the pen tool and trace around the face. With the colour white draw the eyes. Get the circle tool, hold down shift and draw the eye, make the eye a Radial Gradient using the colours below. Holding down the shift key, draw a black circle, and a white circle for light reflection.
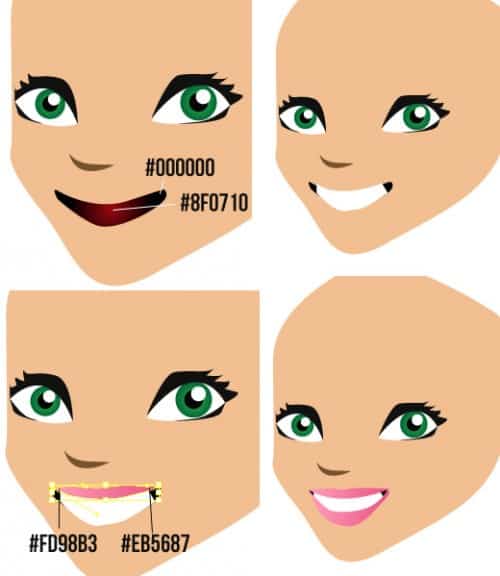
 3. Using the pen tool (for all of these features), draw the eyelashes in black. Next draw the nose in the colour #775330. Next the mouth with the radial gradient colours below, the teeth in white, draw the lips with a linear gradient using the colours below.
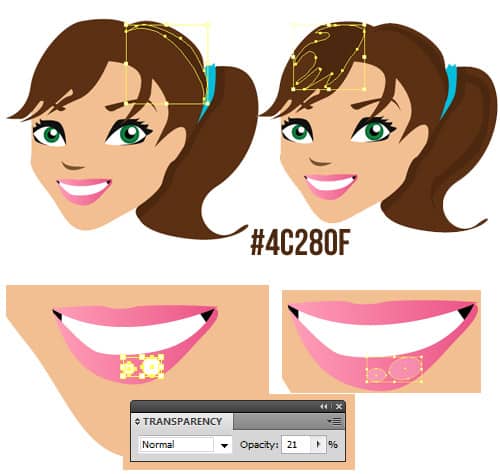
4. Next draw the eyebrows & hair & hair band using the pen tool & colours below.
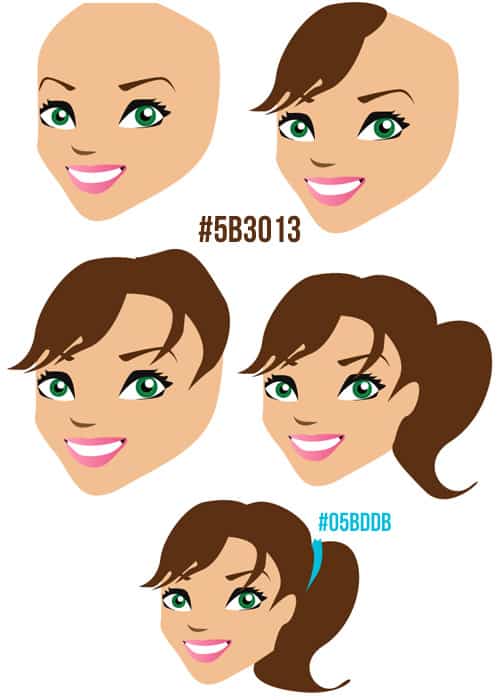 5. Next drawn some shades for the hair using the pen tool and colour below. Get the circle tool and draw 2 circles on the bottom lip in white & set the transperancy to 21%, if the transperancy window isn’t open go to Window > Transperancy or shift+ctrl+f10.
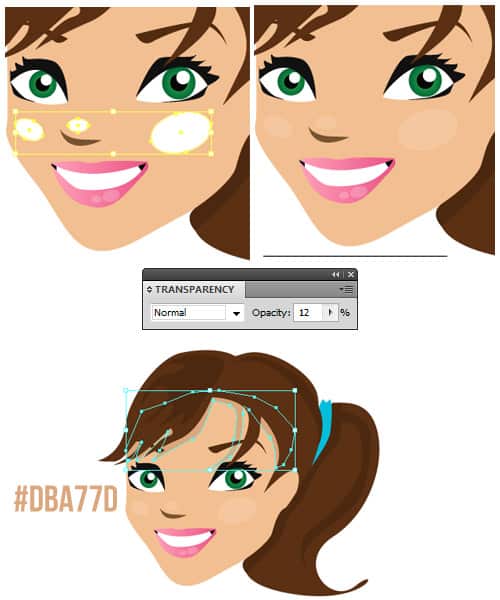
6. Draw 3 more circles on the cheeks & nose in white & set the transperancy to 12%. Using the colour below draw some shadow under the hair with the pen tool using the colour below.
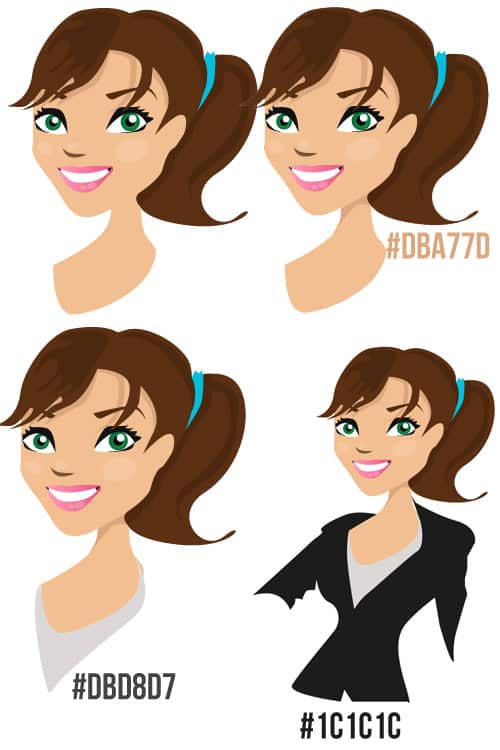
7. Next draw the neck with the pen tool and some shadow. Draw the top & jacket using the pen tool & colours below:
8. Next trace around the arm & hand.
 9. With the pen tool & colour below draw the rest of the hand.
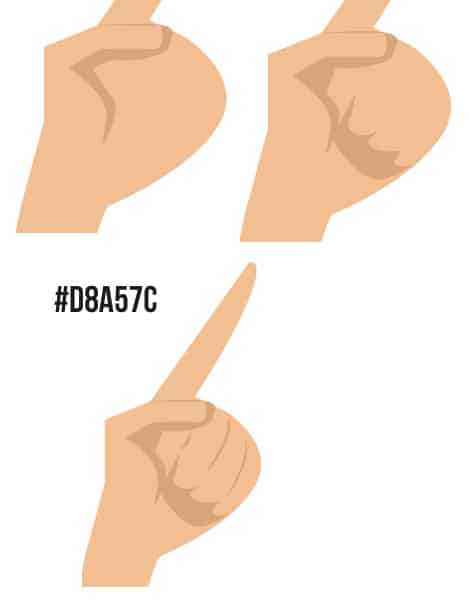
10. Using the same skin colour trace the other arm.

11. Using the colour below draw the shades & button on the jacket with the pen tool.
 12. Next draw the skirt, skirt shading & shirt shading with the colours below. I’ve decided to added an extra bit to the nose. Save the document.
Photoshop
13. Open up photoshop, create a new document that’s 550×635 & double click on the layer to unlock it. Right click the layer and go into Blending Options > Gradient Overlay & create a Linear Gradient using the colours below.
Open the business woman character into photoshop, press ctrl+a to select all of the canvas & press ctrl+c (to copy).
Go back to the original canvas & press ctrl+v (to paste the character on). Click ctrl+t (which will make the character transformable), holding down the shift key (so it doesn’t go out of shape) pull down on the corner of the character to shrink it.
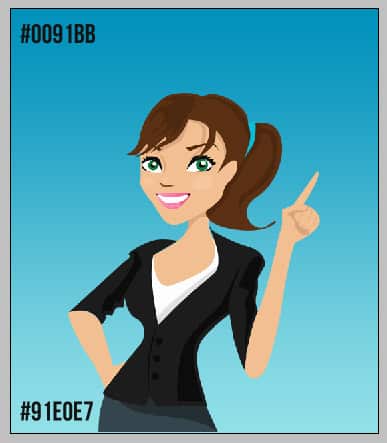
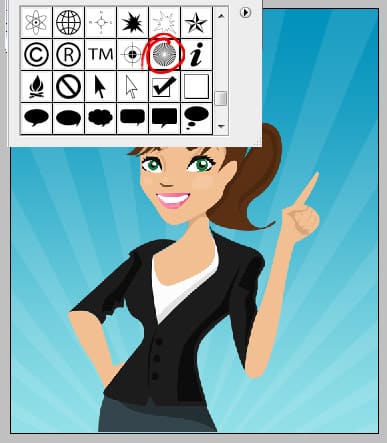
14. Next go to the Custom Shape tool & choose the shape I have circled below. Holding down shift draw the shape onto the canvas. Put the layer between the background & character layers.
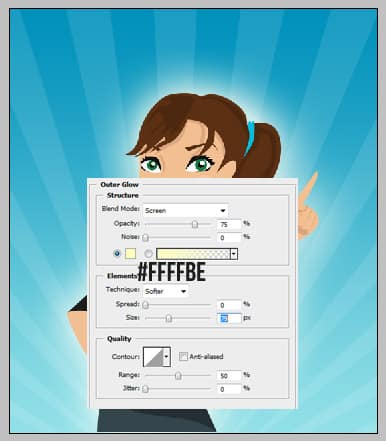
15. Lastly right click the character layer and go into Blending Options > Outer Glow and put in the settings below:
Final Result


