Design an Professional Admin/Control Panel Template in Photoshop
Learn how to design a Sleek & Professional Admin/Control Panel Website Layout in Photoshop!
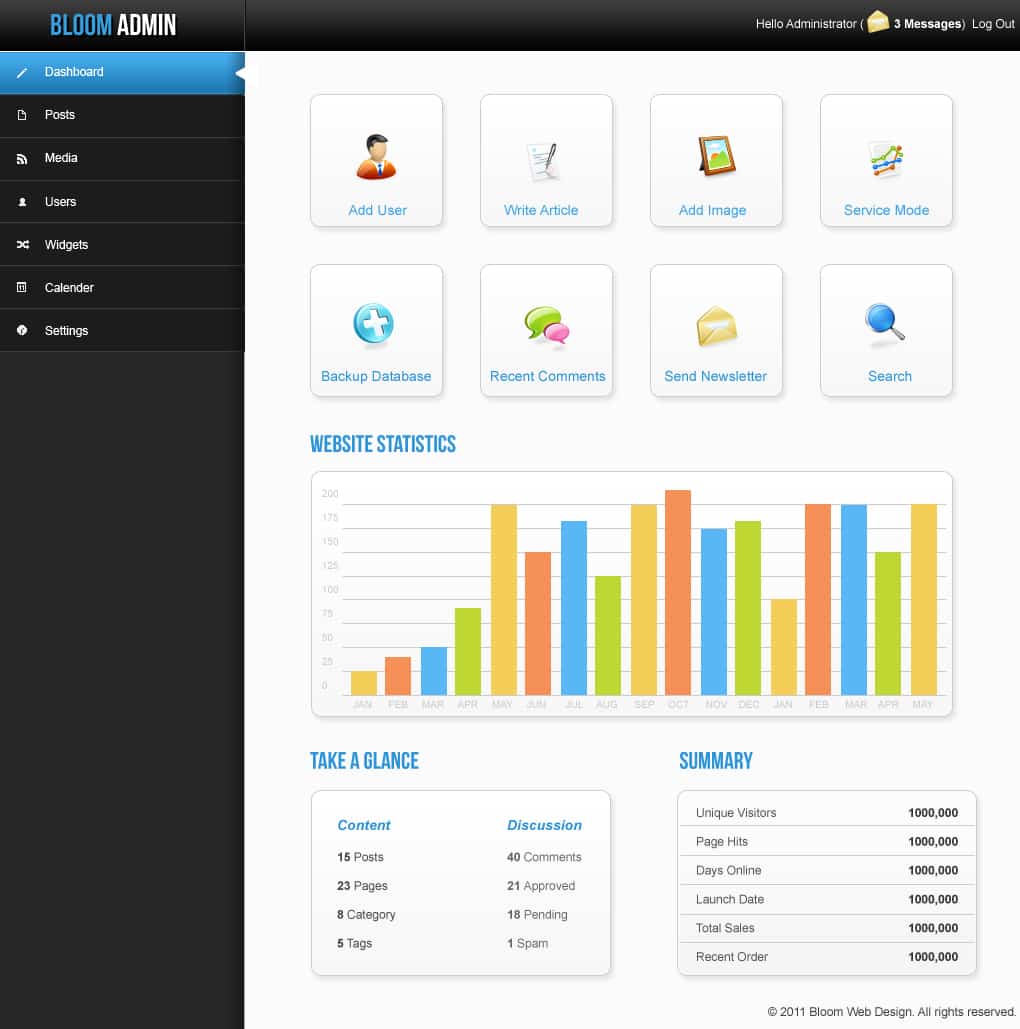
Final Result
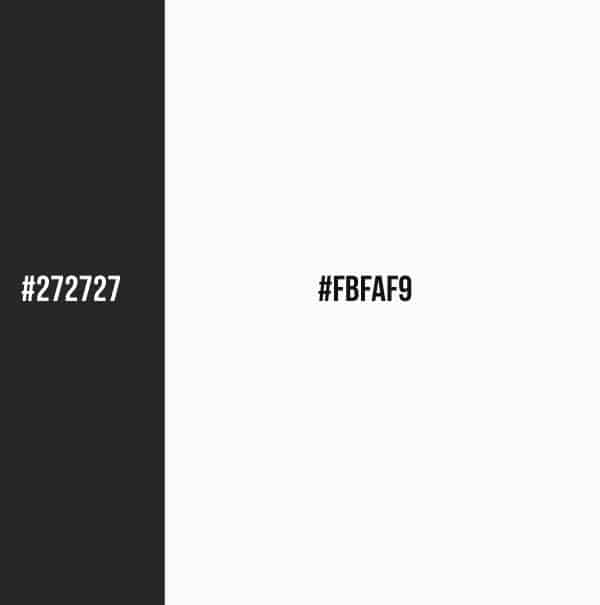
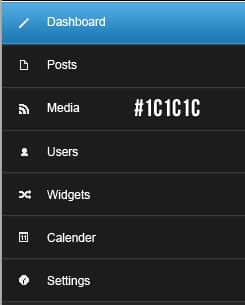
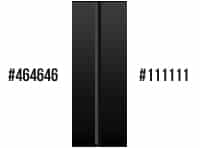
1. Create a new document that’s 1020×1030 pixels. Select the Rectangle Tool and draw a sidebar using the grey colour below, while making the background colour #FBFAF9.
2. Using the rectangle tool again draw the top bar. Double click on the layer to go into Blending Options and put in the Gradient Overlay below. Using the Line Tool (1px) draw a light grey line on the bottom of the Tool Bar while holding down the Shift Key (to keep the line straight).
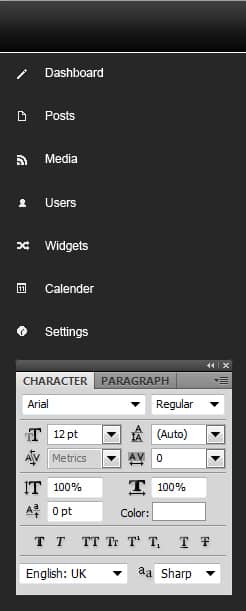
3. Using the font below, write out the sidebar menu. Download these Pixelated Light Only Icons and place them on the side of the menu names.
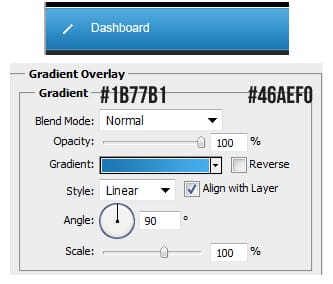
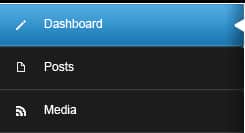
4. Using the Rectangle Tool draw a hover example under the first menu name. Double click on the layer to go into Blending Options and put in the Gradient Overlay below.Using the Line Tool (1px) draw a white line on the bottom of the blue button using the colour white. Set the Opacity to 20%.
5. Repeat the previous step again using the colour below for the button colour and place the white line (20% Opacity) as a divider.
6. For the shadow using the Rectangle Tool, draw a white shape down the right side on the sidebar & set the Blending Mode to Multiply so it’s invisible. Double click to go into Blending Options & put in the Gradient Overlay below for the shadow.
7. Go into the Custom Shape Tool and select the black triangle. While holding down the Shift Key, draw a small white triangle. Â Press CTRL+T and rotate the triangle to the Left and place it over the Blue Hover button.
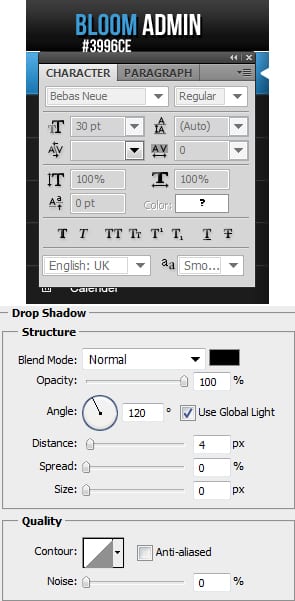
8. Next write out the your Admin Name using the font Bebas Neue. Double click into Blending Options and put in a Drop Down Shadow.
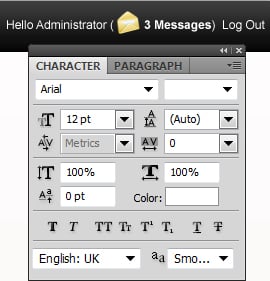
9. Next write out some administration details using the font below. Download these Web Application Icons and place the email icon on the top bar. To make the icon smaller press CTRL+T and pull down a corner while holding down the Shift Key.
10. Next draw 2 lines to separate the heading & administration details on the top bar using the colours below.
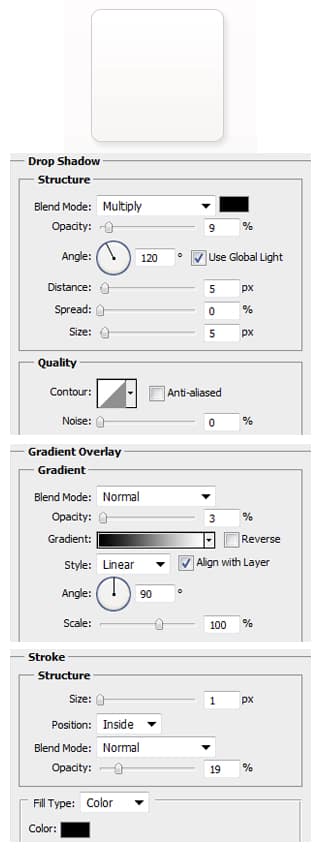
11. Next draw a white square using the Rounded Rectangle Tool, double click on the layer to go into Blending Options and put in the options below:
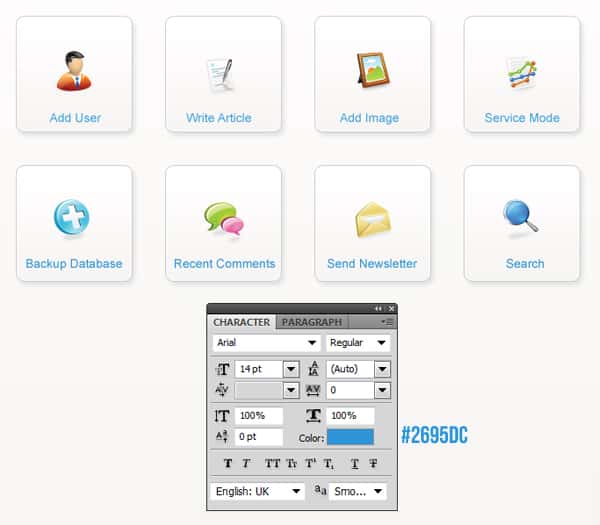
12. Duplicate the button by dragging it to the new icon layer & write out the buttons names.Using the Web Application Icons place an icon on each button.
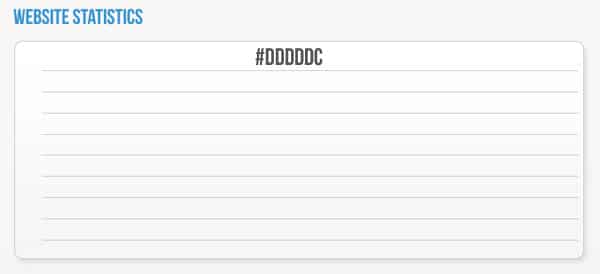
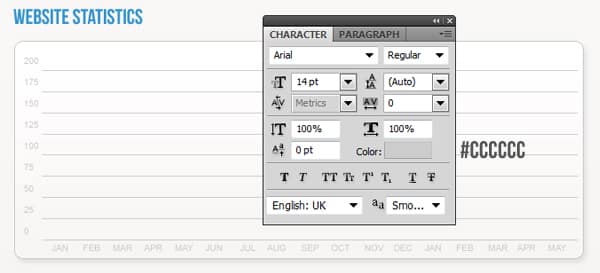
13. Next write out Website Statistics & draw a stats box using the same Blending Mode options as Step 11.
14. Using the Line Tool (1px) draw lines for the Stats using the colour below.
15. Write out the stats details below.
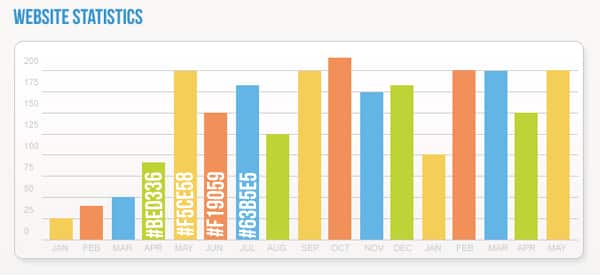
16. Draw out some stats using the Rectangle Tool.
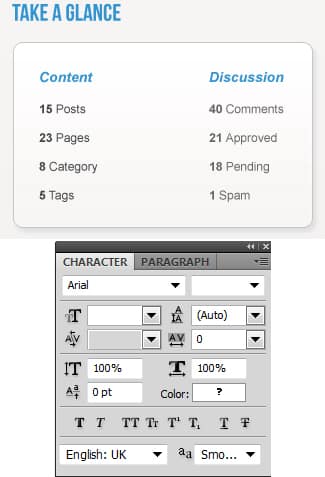
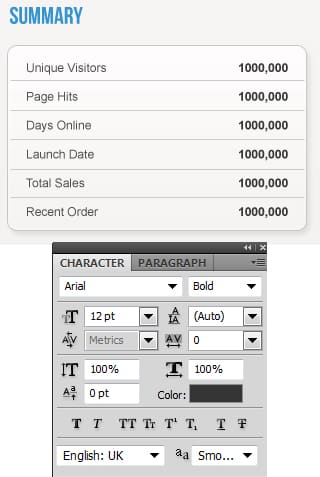
17. Draw another shape using the Rounded Rectangle Tool using the same Blending Options as Step 11 & write out the box content using the font below.
